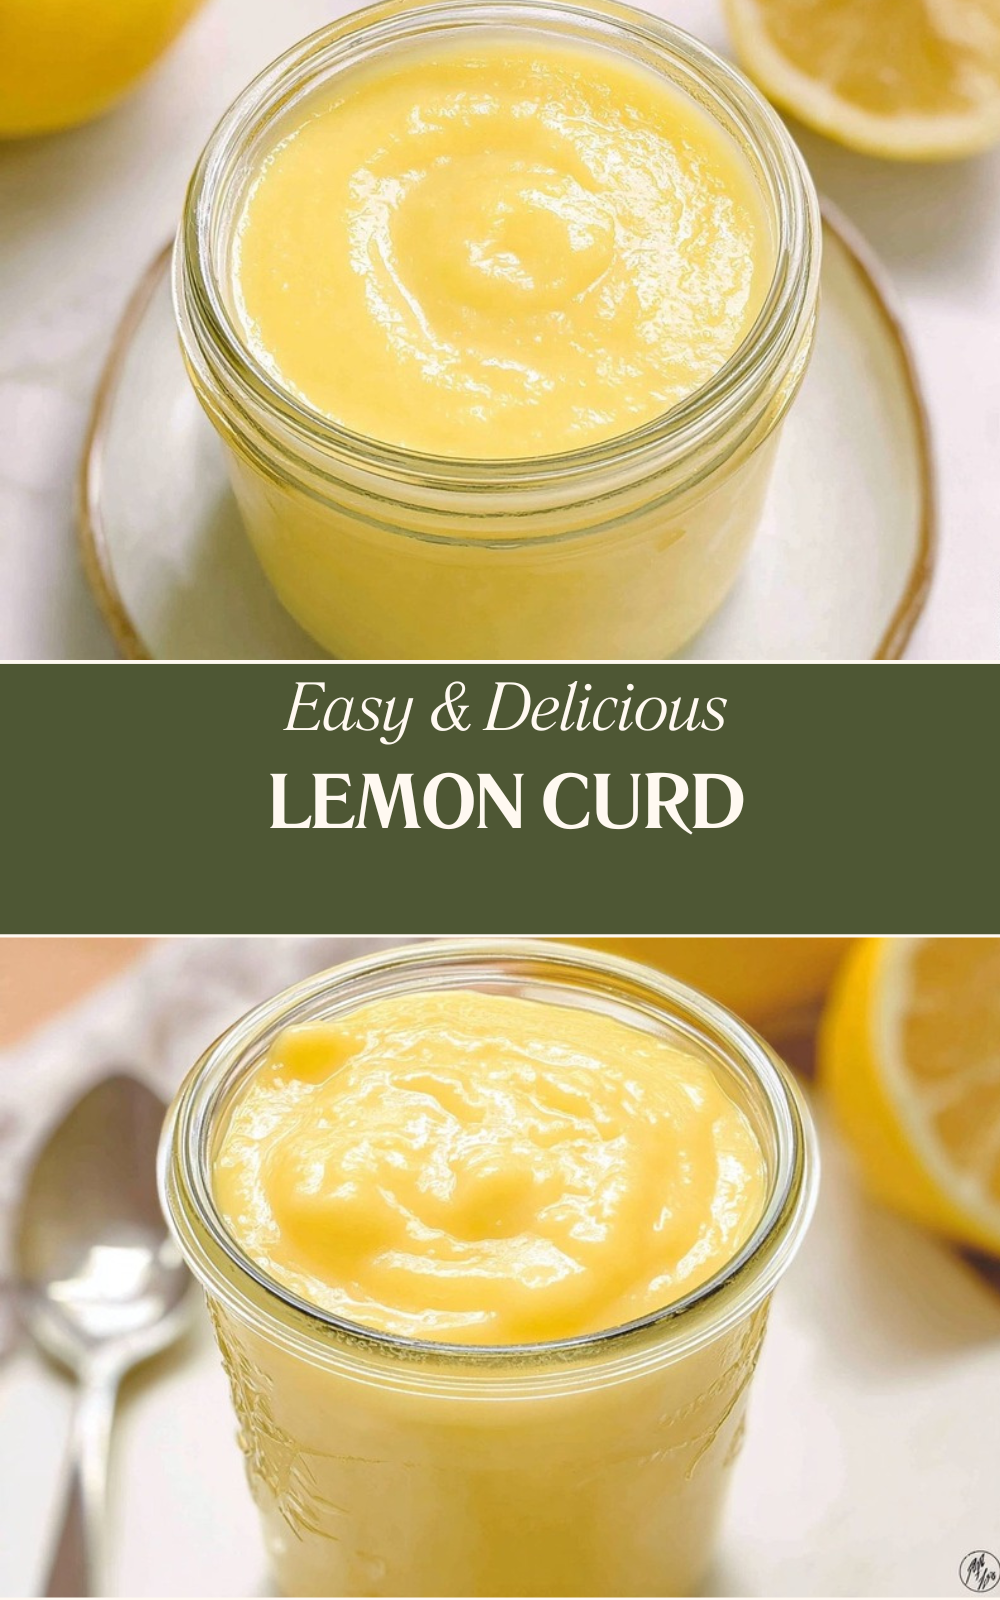
Why You’ll Love This Lemon Curd Recipe
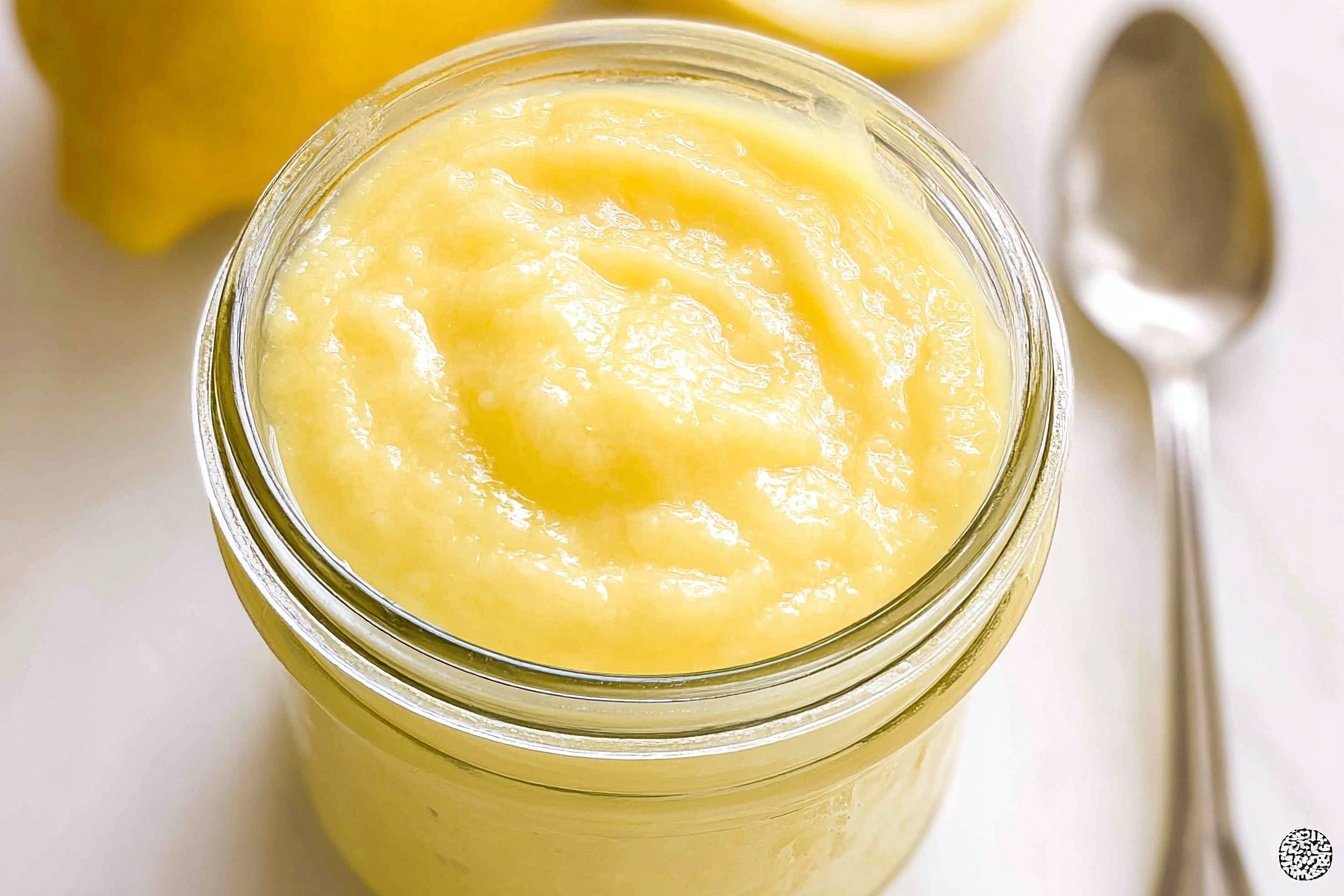
If you have been looking for a lemon curd recipe that tastes bright, buttery, and smooth as silk, this one is for you. This homemade lemon curd comes together with simple pantry staples, and the flavor is the kind that makes you sneak a spoonful straight from the jar. It is sweet, tangy, and rich without feeling heavy.
- Easy to make: With just 5 minutes of prep and about 10 minutes of cooking, this easy lemon curd fits busy days, last-minute baking, and small kitchen wins.
- Bright and fresh flavor: Fresh lemon juice and zest give this curd a bold citrus taste that bottled juice just cannot match.
- So many ways to use it: This lemon curd filling works in tarts, cakes, cupcakes, thumbprint cookies, yogurt bowls, and even on toast.
- Simple ingredients: You only need egg yolks, sugar, lemon, salt, and butter, so it feels fancy without being fussy.
Lemon is also a cheerful choice for home cooks who want a dessert spread with a lively, sunny bite. If you enjoy citrus desserts, you may also like these lemon oatmeal cookies or a creamy treat like lemon cream cheese dump cake.
Once you make this silky smooth lemon curd recipe, you may start finding excuses to spread it on everything.
For readers who like quick facts, lemons are a good source of vitamin C and add a fresh pop of flavor to many recipes. You can read more about lemon benefits at Cleveland Clinic’s lemon benefits guide. And since this recipe uses egg yolks, it is worth noting that eggs bring useful nutrients and structure to rich sauces and desserts. For more on that, check out egg nutrition facts from Iowa Egg.
Jump To
- 1. Why You’ll Love This Lemon Curd Recipe
- 2. Ingredients for Silky Smooth Lemon Curd
- 3. How to Prepare the Perfect Lemon Curd: Step-by-Step Guide
- 4. Dietary Substitutions to Customize Your Lemon Curd
- 5. Mastering Lemon Curd: Advanced Tips and Variations
- 6. How to Store Lemon Curd: Best Practices
- 7. FAQs: Frequently Asked Questions About Lemon Curd
- 8. Lemon Curd
Ingredients for Silky Smooth Lemon Curd
Here is everything you need for this tangy lemon curd recipe. The measurements below are exact, and the ingredient list is kept simple on purpose.
- 4 large egg yolks
- 2/3 cup granulated sugar
- 1 tablespoon lemon zest, about 1 lemon
- 1/3 cup fresh lemon juice, about 2 to 3 lemons
- 1/8 teaspoon salt
- 6 tablespoons unsalted butter, softened and cut into 6 pieces
Optional thickening swap: For thicker lemon curd, replace 2 egg yolks with 1 whole egg. If you use salted butter instead of unsalted butter, leave out the salt.
Quick Recipe Details
| Category | Details |
|---|---|
| Prep Time | 5 minutes |
| Cook Time | 10 minutes |
| Total Time | 1 hour 15 minutes, including cooling |
| Method | Double boiler or heatproof glass bowl over simmering water |
| Texture Goal | Hollandaise-like, thick and smooth |
| Nutritional Information | Not specified |
How to Prepare the Perfect Lemon Curd: Step-by-Step Guide
First Step: Set up your double boiler
Fill the bottom of a double boiler with 1 to 2 inches of water and bring it to a gentle simmer. If you do not have a double boiler, a heatproof glass bowl set over a saucepan works well too. Keep the water at a steady simmer, not a hard boil, so the curd cooks gently and does not scorch.
This low-and-slow method is the secret behind how to make silky lemon curd. Direct heat can make the eggs scramble, and that is not the dreamy texture we want here.
Second Step: Mix the base ingredients
In the top pot or bowl, combine the 4 large egg yolks, 2/3 cup granulated sugar, 1 tablespoon lemon zest, 1/3 cup fresh lemon juice, and 1/8 teaspoon salt. Whisk until everything looks smooth and well blended. The mixture will be pale yellow and a little loose at this stage.
Be sure to use fresh lemon juice, not bottled. Fresh juice gives the curd a cleaner, brighter taste and helps it shine as a creamy homemade lemon curd.
Third Step: Cook while whisking constantly
Place the bowl over the simmering water and whisk constantly. This part matters a lot because constant whisking keeps the eggs from curdling and helps the sugar dissolve fully. Use a silicone whisk if you have one, since it is safer for nonstick or glass bowls.
Cook the mixture for about 10 minutes, or until it thickens to a hollandaise-like texture and reaches about 170 degrees Fahrenheit. If you are using a thermometer, this is the sweet spot where the eggs thicken safely without turning into scrambled bits.
Tip: If the curd is taking too long to thicken, gently increase the heat a little while still whisking nonstop.
Fourth Step: Add the butter
Once the curd has thickened, remove it from the heat. Add the 6 tablespoons of softened butter, a piece at a time, and whisk until fully melted and smooth. The butter gives the curd its glossy finish and rich flavor, so do not skip this part.
If you prefer a firmer curd for piping or layering, remember that you can swap in 1 whole egg for 2 egg yolks at the start. That little change gives the filling a sturdier set.
Fifth Step: Strain if needed
If you want an extra smooth texture, pour the curd through a fine-mesh sieve into a clean bowl or jar. This step is optional, but it is helpful if you want to remove zest bits or any tiny cooked egg pieces. It is especially nice when the curd will be used as a polished lemon curd filling for cakes or tart shells.
Final Step: Chill until set
Cover the curd with plastic wrap pressed directly onto the surface so a skin does not form. Refrigerate it until fully chilled and thicker, which usually takes about 1 hour. After cooling, it will be spoonable, spreadable, and ready to use.
This lemon curd without cornstarch gets its thickness from egg yolks and butter alone, so the texture stays lush and natural. That makes it a wonderful choice for bakers who want classic flavor without extra starch.

Dietary Substitutions to Customize Your Lemon Curd
Protein and Main Component Alternatives
If you want a firmer curd, replace 2 of the egg yolks with 1 whole egg. This helps the mixture set a little more firmly after chilling. It is a handy trick when you need a thicker filling for layer cakes, tartlets, or sandwich cookies.
For people who are short on butter, salted butter can be used instead of unsalted butter. Just omit the added salt in the recipe. This keeps the flavor balanced while saving a trip to the store.
Vegetable, Sauce, and Seasoning Modifications
Lemon is wonderful, but the same method works for other citrus fruits too. Try limes for a sharp, zippy version, oranges for a sweeter and softer taste, or grapefruit for something a little more grown-up and bold. You can also lean into seasonal fruit by pairing citrus with other flavors in desserts.
If you want to make the curd match a certain dessert, change the citrus to fit the filling. Lime curd works beautifully in pie bars, orange curd tastes lovely on scones, and grapefruit curd can add a fancy touch to breakfast pastries. The base recipe stays the same, so you can play without a lot of guesswork.
Mastering Lemon Curd: Advanced Tips and Variations
Pro cooking techniques
For the best homemade lemon curd, keep the heat gentle and whisk the whole time. A double boiler or heatproof bowl over simmering water is the safest setup because it prevents burning and keeps the curd from picking up a metallic taste. A silicone whisk is a smart tool here because it is comfortable and safe to use with hot bowls.
If your curd seems slow to thicken, do not panic. Raise the heat slightly and keep whisking. The mixture should end up thick enough to coat the back of a spoon and look glossy and smooth.
Flavor variations
Once you know the base, the fun starts. Add a tiny splash of vanilla after cooking for a softer flavor, or mix in a little extra zest if you want a stronger citrus punch. For a sweeter version, use orange juice and zest. For a tarter kick, stick with lemon and keep the sugar level as written.
You can also use this curd as a filling for tarts, a topping for cheesecake, or a swirl in yogurt. It is also lovely spooned over pound cake, pancakes, waffles, or fresh berries.
Presentation tips
For a pretty finish, spoon the curd into small jars and top with a curl of lemon zest. If you are serving it at brunch, pair it with scones, biscuits, or toast on a platter. A little mint leaf on top makes it look extra cheerful.
Make-ahead options
This recipe is a gift to busy parents, students, and working professionals because it can be made ahead. Prep it the day before you need it, chill it overnight, and it will be ready whenever dessert calls. It also freezes well, so making a double batch is a smart move if lemons are on sale.
How to Store Lemon Curd: Best Practices
Refrigeration
Store lemon curd in a clean jar or airtight container in the refrigerator for up to 10 days. Press plastic wrap directly on the surface before sealing the container to help keep it smooth and fresh. Always use a clean spoon when scooping it out.
Freezing
For longer storage, freeze lemon curd for 3 to 6 months. Portion it into freezer-safe jars, bags, or ice cube trays for easy use later. Leave a little space at the top of jars so the curd has room to expand as it freezes.
Reheating
Thaw frozen curd in the refrigerator overnight. If it looks a bit loose or separated after thawing, stir it gently until smooth. Avoid high heat when reheating, since that can damage the texture.
Meal prep considerations
Batch cooking lemon curd is a smart choice if you like having dessert building blocks ready to go. Portion it into small containers for quick access when you need a cake filling, toast topper, or tart layer. It is one of those little kitchen helpers that makes a busy week feel easier.
FAQs: Frequently Asked Questions About Lemon Curd
How do you make lemon curd at home?
Making lemon curd at home is simple with just lemons, sugar, eggs, butter, and a bit of patience. Juice and zest 4-5 lemons (about 3/4 cup juice), whisk with 1 cup sugar, 4 whole eggs, and 1/2 cup butter (cut into pieces). Cook over low heat in a saucepan or double boiler, stirring constantly until it thickens to coat the back of a spoon (about 10-15 minutes, reaching 170°F). Strain through a sieve to remove zest or bits, then pour into jars. Cool to room temperature before refrigerating. This yields about 2 cups. Avoid high heat to prevent curdling—use a thermometer if possible. Store in airtight jars; it sets fully after chilling. Perfect for tarts, cakes, or toast. Total time: 20 minutes active, plus chilling. (92 words)
How long does homemade lemon curd last?
Homemade lemon curd lasts 1-2 weeks in the fridge when stored in an airtight container or jar. For longer storage, it freezes well up to 3 months—portion into freezer bags or ice cube trays for easy use. Thaw overnight in the fridge and stir before serving. Signs it’s gone bad: mold, off smell, or watery texture. Always use clean utensils to avoid contamination. If using pasteurized eggs, shelf life extends slightly. Refrigerate immediately after cooling to maintain freshness and safety, as it contains eggs. Pro tip: Label jars with dates. This makes it ideal for batch prepping for desserts like pies or yogurt parfaits. (98 words)
Can I make lemon curd with other citrus fruits?
Yes, swap lemons for limes, oranges, grapefruuits, or even pineapple juice for tasty variations. Use the same recipe ratios: for limes, 3/4 cup juice and zest from 6-8 limes (adjust sugar slightly for tartness). Oranges need less zest to avoid bitterness—try 3 large ones. For grapefruit, balance with extra sugar due to natural bitterness. Pineapple curd works with 3/4 cup juice (no zest needed) for a tropical twist. Cranberry version: simmer 1 cup cranberries with juice, strain pulp. Cook as usual, stirring constantly. Each swap keeps the creamy texture. Test flavors in small batches first. Great for seasonal fillings in cakes, tarts, or thumbprint cookies. (102 words)
Does lemon curd need to be cooked?
Yes, cooking is essential to thicken lemon curd safely and kill potential bacteria in raw eggs. Gently heat the mixture to 170°F (not boiling) while stirring to activate the eggs without scrambling. Microwave method: cook in 1-minute bursts, stirring between, for 5-7 minutes total. Double boiler prevents direct heat issues. Raw versions exist but risk salmonella—use pasteurized eggs if skipping heat. Thickening takes 10-15 minutes; it firms more when chilled. Strain for smoothness. Safety first: discard if it curdles or smells off. This step ensures spreadable, shelf-stable results for pies, scones, or as a curd cheese substitute. (96 words)
Can you freeze lemon curd?
Absolutely, lemon curd freezes beautifully for up to 3 months, preserving flavor and texture. Cool completely, then spoon into freezer-safe bags, jars (leave headspace for expansion), or ice cube trays for portions. Flatten bags for quick thawing. To use, defrost in the fridge overnight—stir well as separation may occur. Avoid refreezing thawed curd. Freezing works for all variations like lime or passionfruit. Thaw only what you need; use in meringue pies, layered cakes, or as a pancake topping. Label with dates. This extends usability beyond fridge life, making it perfect for holiday baking prep without waste. (94 words)
Lemon Curd
- Total Time: 1 hour 15 minutes
- Yield: 12 servings
- Diet: Vegetarian
Description
🍋 Lemon curd silky smooth: velvety tangy citrus filling for tarts, cakes or spoons—versatile pantry gem!
☀️ 15-min stovetop whisk; fridge-stable 10 days for effortless desserts anytime!
Instructions
1-First Step: Set up your double boiler Fill the bottom of a double boiler with 1 to 2 inches of water and bring it to a gentle simmer. If you do not have a double boiler, a heatproof glass bowl set over a saucepan works well too. Keep the water at a steady simmer, not a hard boil, so the curd cooks gently and does not scorch. This low-and-slow method is the secret behind how to make silky lemon curd. Direct heat can make the eggs scramble, and that is not the dreamy texture we want here.
2-Second Step: Mix the base ingredients In the top pot or bowl, combine the 4 large egg yolks, 2/3 cup granulated sugar, 1 tablespoon lemon zest, 1/3 cup fresh lemon juice, and 1/8 teaspoon salt. Whisk until everything looks smooth and well blended. The mixture will be pale yellow and a little loose at this stage. Be sure to use fresh lemon juice, not bottled. Fresh juice gives the curd a cleaner, brighter taste and helps it shine as a creamy homemade lemon curd.
3-Third Step: Cook while whisking constantly Place the bowl over the simmering water and whisk constantly. This part matters a lot because constant whisking keeps the eggs from curdling and helps the sugar dissolve fully. Use a silicone whisk if you have one, since it is safer for nonstick or glass bowls. Cook the mixture for about 10 minutes, or until it thickens to a hollandaise-like texture and reaches about 170 degrees Fahrenheit. If you are using a thermometer, this is the sweet spot where the eggs thicken safely without turning into scrambled bits.
4-Fourth Step: Add the butter Once the curd has thickened, remove it from the heat. Add the 6 tablespoons of softened butter, a piece at a time, and whisk until fully melted and smooth. The butter gives the curd its glossy finish and rich flavor, so do not skip this part. If you prefer a firmer curd for piping or layering, remember that you can swap in 1 whole egg for 2 egg yolks at the start. That little change gives the filling a sturdier set.
5-Fifth Step: Strain if needed If you want an extra smooth texture, pour the curd through a fine-mesh sieve into a clean bowl or jar. This step is optional, but it is helpful if you want to remove zest bits or any tiny cooked egg pieces. It is especially nice when the curd will be used as a polished lemon curd filling for cakes or tart shells.
6-Final Step: Chill until set Cover the curd with plastic wrap pressed directly onto the surface so a skin does not form. Refrigerate it until fully chilled and thicker, which usually takes about 1 hour. After cooling, it will be spoonable, spreadable, and ready to use. This lemon curd without cornstarch gets its thickness from egg yolks and butter alone, so the texture stays lush and natural. That makes it a wonderful choice for bakers who want classic flavor without extra starch.
Notes
🔥 Double boiler prevents eggs curdling—whisk nonstop!
🍋 Fresh lemons only; zest first for max bright tang.
🧊 Fridge 10 days or freeze 3 months—thaw overnight.
- Prep Time: 5 minutes
- Chill: 1 hour
- Cook Time: 10 minutes
- Category: Dessert
- Method: Stovetop
- Cuisine: British
Nutrition
- Serving Size: 2 tablespoons
- Calories: 120 calories
- Sugar: 11 grams
- Sodium: 50 milligrams
- Fat: 8 grams
- Saturated Fat: 4 grams
- Unsaturated Fat: 3 grams
- Trans Fat: 0 grams
- Carbohydrates: 12 grams
- Fiber: 0 grams
- Protein: 1 gram
- Cholesterol: 100 milligrams
Keywords: lemon curd recipe, silky smooth lemon curd, tangy homemade lemon curd, easy lemon curd