
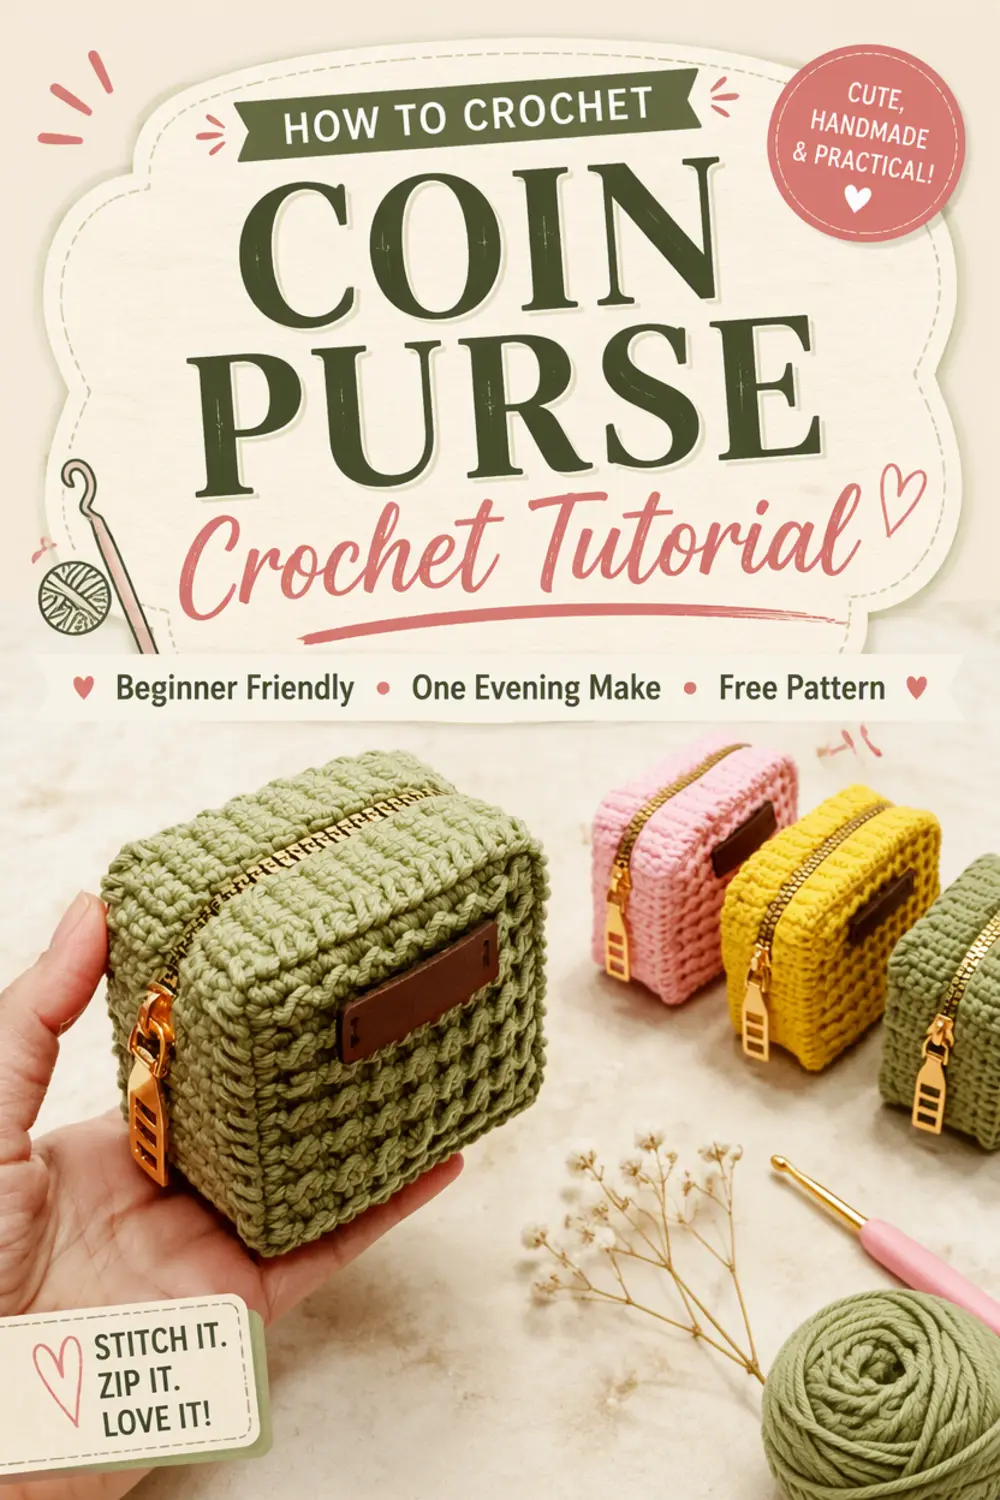
Coin Purse Crochet Tutorial, A Step by Step Guide
A crochet coin purse is a small project that earns its place in your bag. It is compact, practical and endlessly customizable, which makes it a lovely first project for anyone who wants to finish something in an evening. Loose change, earbuds or a few small keepsakes all have a tidy home inside.
This step by step guide walks you through the whole process, from choosing yarn and hook to sewing in a sturdy zipper. You can keep it simple or add stripes, texture and color until the little purse looks exactly how you imagined.

Jump To
The Coin Purse Crochet Tutorial
A handmade coin purse has a charm that store bought versions rarely match. It is the kind of project that lets you play. Try a different stitch, a new texture or a color combination you have been saving for something special. Best of all, it works up quickly, so you get a finished result without committing weeks of your time.
The finished purse can include a sturdy zipper and a neat finish, which turns it into a thoughtful gift for a friend, a teacher or anyone who appreciates something made by hand. The size is flexible too. Crochet a petite version for coins, or make it slightly larger for makeup and travel essentials.
This guide follows the original coin purse crochet tutorial. If you would like to compare shapes and closures before you begin, you can also browse a free crochet coin purse pattern for extra inspiration.
Why This Project Suits Beginners and Experienced Crocheters
The coin purse is a friendly project because it is small. You are not working on a large blanket that takes months, and you are not juggling complicated shaping. A few rows of basic stitches build the whole body, so a beginner can see how tension, turning chains and edging behave on a real, useful item.
Experienced crocheters enjoy it for a different reason. The small surface area is perfect for experimenting. Add a textured stitch, a stripe pattern, a small motif or a contrasting border. Because the purse uses very little yarn, you can try a bold color without committing a full skein to it.
It also makes a satisfying gift. Handmade accessories feel personal, and this one is practical enough to be used every day.
What You Need Before You Start
Gather your supplies first so you can crochet without stopping. You do not need much.
- Yarn: a medium weight cotton or cotton blend works well because it holds its shape.
- Hook: a small hook, around 3.0 mm, gives a firm fabric that keeps coins safely inside.
- Zipper: a sturdy zipper slightly longer than the opening, trimmed to fit.
- Yarn needle: for weaving in ends and stitching the purse together.
- Scissors and pins: for trimming yarn and holding the zipper in place.
- Stitch marker: handy for keeping track of the first stitch in a round.
If you prefer a softer, drapier purse, a lighter yarn with a matching hook works too. Just remember that a looser fabric needs a lining or a tighter edge to keep small coins from slipping through.
Choosing Yarn, Hook and Colors
Color is where a small purse really shines. Choose one shade for a clean, classic look, or pair two or three for stripes. A neutral base with a bright border is an easy way to make the project feel designed rather than random.
Cotton is a popular choice for purses and pouches because it is durable, washable and holds a crisp shape. Acrylic is affordable and comes in a huge range of colors. A cotton and acrylic blend sits between the two, giving you softness with a bit of structure.
Match your hook to the yarn label as a starting point, then check the fabric. If it feels floppy, go down a hook size. If it feels stiff and hard to work, go up. For a purse, slightly firm is better than slightly loose, because the stitches need to hold small items.
The Basic Stitches You Will Use
You only need a few beginner stitches. If any of them are new to you, practice a small swatch first.
| Stitch | Short form | Where it is used |
|---|---|---|
| Chain | ch | Starting the project and turning at the end of a row |
| Slip stitch | sl st | Joining rounds and neatening edges |
| Single crochet | sc | Building the firm body of the purse |
| Half double crochet | hdc | Adding a softer, taller texture |
Keep your tension even rather than tight. Even stitches create straight edges, and straight edges make the zipper easier to sew in later.
Crocheting the Purse Body Step by Step
Work in rows for a simple rectangle that folds into a purse, or work in rounds for a seamless pouch. The row method is easier for a first attempt.
- Make a foundation chain. Chain enough stitches to reach the width you want for the purse, plus one turning chain.
- Work the first row. Single crochet into each chain across, then turn.
- Repeat the row. Chain one, single crochet into each stitch across, then turn. Keep going until the piece is as tall as it is wide, or a little taller for a deeper purse.
- Check the shape. Lay the piece flat. The edges should be straight and the fabric firm enough that light does not show through easily.
- Fold and join. Fold the piece in half with the right side facing out. Join the two side edges with slip stitch or single crochet, working through both layers.
- Neaten the top. Work one round of single crochet around the opening to give the zipper a stable edge to sit against.
If you prefer a rounder purse, start with a small ring and work in continuous rounds instead, using a stitch marker to mark the first stitch of each round.
Adding the Zipper and Getting a Neat Finish
A sturdy zipper turns a crochet pouch into something you can actually toss in a bag. The trick is to sew it in slowly.
- Pin the closed zipper along the top opening, centering it so the ends are even. Open the zipper slightly so you can sew without catching the teeth.
- Thread a needle with matching thread and back stitch through the crochet fabric and the zipper tape. Small, even stitches look best and hold firmly.
- Trim any extra zipper length, then fold the raw ends under and stitch them down so they do not scratch your hand.
- Weave in all yarn ends on the inside, then shape the purse gently with your hands so the edges settle.
If you want a more polished look, add a fabric lining before sewing in the zipper. A simple rectangle of cotton, sewn on three sides and slipped inside, hides the wrong side of the crochet and protects the stitches from wear.
Take your time on this stage. A neat finish is what makes a handmade purse look considered rather than rushed.
Adjusting the Size for Coins, Makeup or Travel
One of the best things about this project is how easily it scales. The same method works for three very different purses.
- Petite coin purse: keep the foundation chain short and the body square. This version is perfect for loose change and fits in a pocket.
- Everyday pouch: add a few more chains and a few more rows to hold earbuds, hair ties or a small key.
- Makeup or travel pouch: work a larger rectangle, add a lining and choose a longer zipper. This size handles lip balm, a small mirror or charging cables.
Whatever size you choose, keep the proportions roughly square. A purse that is much wider than it is tall will sag when it is filled, while a very narrow one becomes awkward to open.
Troubleshooting Common Problems
Most issues with a small purse come down to tension, edges or the zipper. Here is how to handle them.
- The fabric curls. Curling usually means the stitches are too tight. Try a larger hook, or work a border of single crochet around the piece to help it lie flat.
- The sides are uneven. Count your stitches at the end of every row. Missing the last stitch is the most common cause of a triangle shaped purse.
- Small items slip through. Tighten your tension slightly or line the purse with fabric. A tighter gauge is the simplest fix.
- The zipper puckers. Unpick it and pin again with more pins. Puckering almost always comes from stretching the crochet edge while sewing.
None of these problems ruin the project. Small purses are quick to rework, which is one more reason they make such good practice.
Gift Ideas and Ways to Use Your Finished Purse
A finished coin purse is a genuinely useful gift, and it suits almost anyone on your list.
- Fill it with a gift card for a teacher or a coworker.
- Tuck in a pair of earrings for a birthday present.
- Use it as a wedding favor or a small bridesmaid gift.
- Keep one in your own bag for earbuds, coins or a spare key.
- Make a set in different colors for a craft fair table.
Because the project uses so little yarn, you can make several from the leftovers of a bigger project. That makes it a wonderful way to use up odds and ends while still creating something people will actually keep.
If you enjoy small handmade accessories, the free crochet pearl keychain pattern is a natural companion project, and it uses the same quick, satisfying rhythm.
Tips to Keep the Project Enjoyable
- Work in good light so you can see each stitch clearly.
- Keep a small notebook of your chain count and row count so you can repeat a size you like.
- Block or gently steam the purse before adding the zipper for straighter edges.
- Choose a zipper that matches your yarn or contrasts deliberately. Both look intentional.
- Stop while you are still enjoying it. This is a one evening project, not a marathon.
If you want to build your confidence with small projects first, these beginner friendly crochet projects are a great place to start before you tackle a zipper.
Keep the fabric firm and the finish neat. A small purse that holds its shape will always look better than one with fancy stitches and a loose edge.
Frequently Asked Questions
What size crochet hook should I use for a coin purse?
A 3.0mm hook is a common starting size for a medium-weight yarn coin purse. However, many crocheters prefer to use a hook one size smaller than the yarn label recommends, as this creates a tighter fabric that holds its shape and prevents coins from poking through. The key is to choose a hook that produces stitches dense enough to form a sturdy pouch.
How do I sew a zipper into a crochet coin purse?
First, baste the zipper in place with contrasting thread to hold it steady. Then, use a yarn needle and matching yarn to hand-sew the zipper with a whip stitch or backstitch, which gives you more control than a sewing machine. A woven zipper with nylon teeth is recommended because it is flexible and sews neatly into crochet fabric. A standard 7- or 8-inch zipper works well for a purse about 4 inches wide.
What is the best yarn for a crochet coin purse?
Medium-weight or worsted-weight yarn is a good choice for a durable and practical coin purse. Using a slightly smaller hook than recommended for your yarn will create the tight fabric needed to prevent small items from falling out. Cotton yarn is an excellent option because it is sturdy, holds its shape well, and is easy to clean with spot washing.
Can a beginner crochet a coin purse?
Yes, a coin purse is an excellent project for a beginner. It typically uses basic stitches and works up quickly, offering a satisfying sense of accomplishment. Beginners should practice even tension on a small swatch before starting, as uneven tension is the most common cause of a misshapen purse. The small size makes it a low-commitment project that requires very little yarn.