Why You’ll Love This Stabilized Whipped Cream
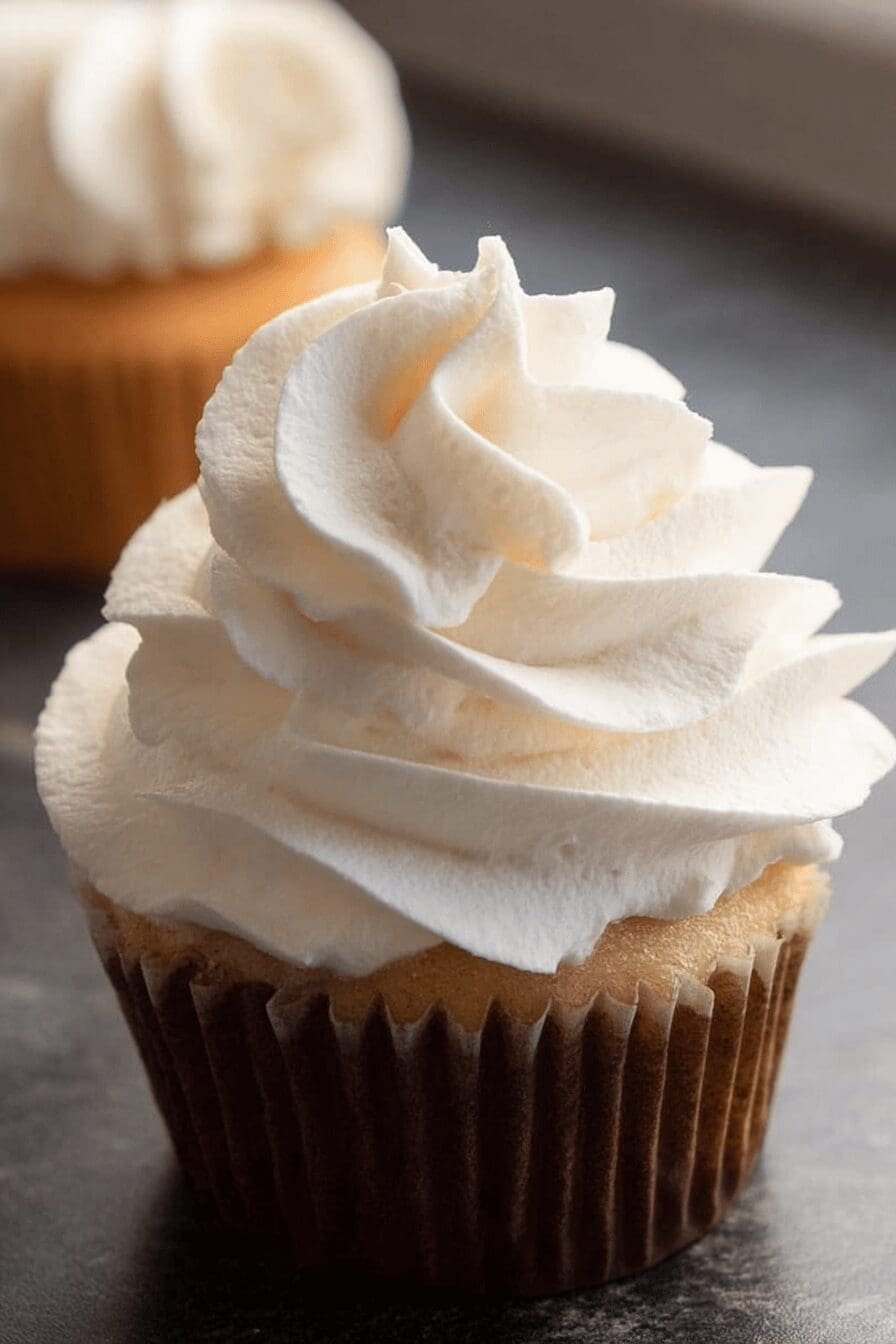
This stabilized whipped cream recipe is quick and simple, turning everyday ingredients into a fluffy topping that keeps its perfect shape for hours. Picture piping it on your favorite desserts without worrying about it melting away!
One of the best parts is how easy it is to prepare, taking just a few minutes from start to finish. You’ll appreciate how this version offers options for different diets, like swapping in healthier choices to fit a busy lifestyle. If you’re new to baking, this recipe makes it fun and approachable, helping you create tasty treats that impress everyone at the table.
For those watching their diet, you can tweak it with less sugar or plant-based swaps, adding to its appeal for home cooks of all kinds. Whether you’re a parent juggling meals or a student experimenting in the kitchen, this whipped cream adds a touch of joy to your recipes.
Benefits of Using Stabilized Whipped Cream
Here are some key reasons this recipe stands out, as mentioned in the blog’s description about simple and accessible cooking. It uses everyday items you might already have, making it ideal for inspiring new flavors without a big fuss.
- It’s ready in under 15 minutes, perfect for busy schedules.
- You can customize it for health needs, like cutting calories while keeping that creamy taste.
- This whipped cream enhances desserts with a stable texture, helping create memorable family moments.
Beyond ease, it supports wellness by relying on natural ingredients, avoiding extras that might not sit well. On my blog, we focus on recipes that bring people together, and this one does just that by letting you adapt it to your preferences.
Jump To
- 1. Why You’ll Love This Stabilized Whipped Cream
- 2. Essential Ingredients for Stabilized Whipped Cream
- 3. How to Prepare the Perfect Stabilized Whipped Cream: Step-by-Step Guide
- 4. Dietary Substitutions to Customize Your Stabilized Whipped Cream
- 5. Mastering Stabilized Whipped Cream: Advanced Tips and Variations
- 6. How to Store Stabilized Whipped Cream: Best Practices
- 7. FAQs: Frequently Asked Questions About Stabilized Whipped Cream
- 8. Stabilized Whipped Cream
Essential Ingredients for Stabilized Whipped Cream
When it comes to making stabilized whipped cream, the right ingredients make all the difference. Let’s break down the list based on the specific recipe provided, ensuring you have exactly what you need for great results. Explore more crumb cake recipes on the blog for ideas on using this cream in other desserts.
This recipe yields about 4 cups and takes just 6 minutes total, with 5 minutes for prep and 1 minute for cooking. Below is the comprehensive list of ingredients with precise measurements to help you get it right every time.
Ingredients List
- 12 oz (about 340 g) cold heavy whipping cream
- 2 oz (about 57 g) powdered sugar
- 1 teaspoon gelatin
- 1 ½ tablespoons cold water
- 1 teaspoon vanilla extract
- 1 teaspoon heavy whipping cream
These ingredients work together to create a cream that holds up well. For instance, the gelatin acts as the key stabilizer, as you’ll see in other recipes. Remember, for best results, keep everything cold from the start.
| Ingredient | Quantity | Purpose |
|---|---|---|
| Cold heavy whipping cream | 12 oz (340 g) | Base for creaminess |
| Powdered sugar | 2 oz (57 g) | Sweetness and stability |
| Gelatin | 1 teaspoon | Helps maintain shape |
| Cold water | 1 ½ tablespoons | For blooming gelatin |
| Vanilla extract | 1 teaspoon | Flavor enhancement |
| Heavy whipping cream (additional) | 1 teaspoon | To cool gelatin mixture |
This table shows how each part plays a role, making it simple to follow. Also, check out an external resource for more on health benefits of heavy whipping cream to understand why it’s a great choice.
How to Prepare the Perfect Stabilized Whipped Cream: Step-by-Step Guide
Follow this straightforward guide to whip up stabilized whipped cream in no time. It’s designed for home bakers like you, with tips to make it fun and easy, just as my blog promises with simple recipes.
First, start by sprinkling 1 teaspoon of gelatin over 1 ½ tablespoons of cold water and let it sit for 5 minutes to bloom. That step is crucial for the cream’s stability, so don’t skip it!
- Melt the gelatin in the microwave for 5-8 seconds until it’s clear, then mix in 1 teaspoon of heavy whipping cream to cool it down quickly.
- Pour 12 oz of cold heavy whipping cream into a chilled bowl and whip on medium speed until it turns foamy.
- Add 2 oz of powdered sugar and 1 teaspoon of vanilla extract, then keep whipping until soft peaks form.
- Drizzle in the cooled gelatin mixture on low speed and continue whipping until firm peaks appear, being careful not to over-mix.
- Once done, your stabilized whipped cream is ready it holds its shape well for up to 3 days in the fridge.
These steps make the process smooth and enjoyable, perfect for turning kitchen time into a fun adventure. If you’re looking for more dessert ideas, try delicious strawberry pie recipes that pair great with this cream.

Dietary Substitutions to Customize Your Stabilized Whipped Cream
Everyone has different needs, so adapting this recipe is a breeze. Whether you’re vegan or watching calories, you can tweak it without losing that wonderful texture. My blog is all about making cooking accessible, so let’s dive into some easy swaps.
- Swap heavy cream with coconut cream for a vegan option that still whips up nicely.
- Use aquafaba instead of cream for a dairy-free version that’s light and airy.
- Opt for agar-agar in place of gelatin to keep it vegetarian-friendly.
- Try maple syrup instead of powdered sugar for a natural sweetener that adds a unique flavor.
These changes let you enjoy the cream in ways that fit your lifestyle, like adding citrus zest for a fresh twist. It’s all about exploring flavors while keeping things simple and fun.
Mastering Stabilized Whipped Cream: Advanced Tips and Variations
Once you’ve got the basics down, try some pro techniques to elevate your skills. Chilling your bowl and beaters first helps the cream whip faster and stay stable, which is a game-changer for baking.
Flavor and Presentation Ideas
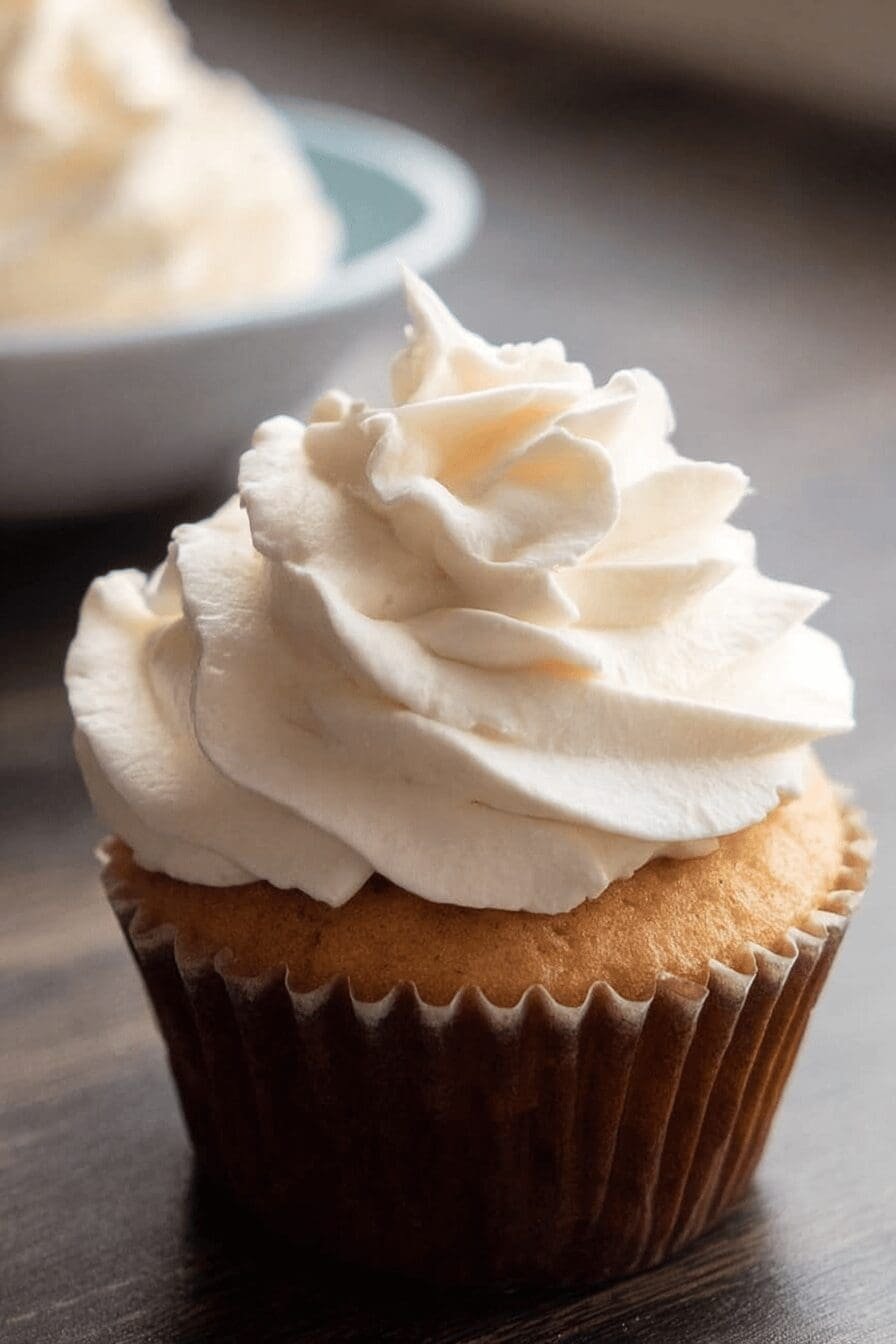
Experiment with fun additions like espresso or citrus zest to make your cream stand out. For presentation, pipe it onto cakes or layer it with fruits it’s a simple way to make desserts look amazing. You can prepare this ahead and store it for up to 24 hours, which is perfect for meal prep.
These tips build on the recipe’s core, helping you create variations that suit any occasion. Remember, as shared in the blog, cooking should spark joy and creativity in your kitchen.
How to Store Stabilized Whipped Cream: Best Practices
Storing your whipped cream properly keeps it fresh and ready for use. Keep it in an airtight container in the fridge for up to 24 hours to hold its shape. For longer storage, freeze it in portions and thaw gently in the fridge when needed.
If it softens a bit, just give it a quick whip to fluff it up again. This method makes it easy for busy parents or working pros to plan ahead without stress.
FAQs: Frequently Asked Questions About Stabilized Whipped Cream
What is stabilized whipped cream and how is it different from regular whipped cream?
Stabilized whipped cream is regular whipped cream that has been mixed with an ingredient such as gelatin, powdered sugar, or cream of tartar to help it hold its shape longer. Unlike regular whipped cream, which can quickly soften and lose volume, stabilized whipped cream maintains its texture and firmness for several hours, making it ideal for frosting cakes, decorating desserts, or piping designs that need to last without melting.
Can I use stabilized whipped cream to frost a cake?
Yes, stabilized whipped cream can be used to frost cakes. It holds up better than regular whipped cream, allowing you to create smooth or piped decorations that stay firm. However, stabilized whipped cream isn’t suitable as a base for fondant since it still contains moisture and won’t support the fondant’s weight. For cakes topped with mirror glaze, freezing the stabilized whipped cream first can prevent melting.
How do I make stabilized whipped cream at home?
To make stabilized whipped cream, start by whipping cold heavy cream until it begins to thicken. Then add powdered sugar for sweetness and a stabilizer like dissolved gelatin or instant pudding mix. Continue whipping until stiff peaks form. This method helps the whipped cream keep its shape for 8 to 12 hours at room temperature or longer when refrigerated, making it perfect for decorating.
Is stabilized whipped cream safe to make ahead for events or parties?
Yes, stabilized whipped cream is great for making ahead. Because it holds its shape longer than regular whipped cream, you can prepare it several hours in advance or even the day before an event. Store it covered in the refrigerator until ready to use, and avoid letting it sit at room temperature for too long to maintain freshness and texture.
Can I freeze cakes frosted with stabilized whipped cream?
You can freeze cakes frosted with stabilized whipped cream, but take care when thawing. Freeze the cake uncovered until the whipped cream is firm, then wrap it well to prevent freezer burn. Thaw the cake slowly in the refrigerator to avoid condensation that could cause the cream to become watery. While stabilized whipped cream freezes better than regular whipped cream, some slight texture changes may occur upon thawing.

Stabilized Whipped Cream
- Total Time: 6 minutes
- Yield: 4 cups
- Diet: Vegetarian
Description
❄️ Achieve perfectly stable whipped cream that holds its texture and freshness much longer than regular whipped cream.
🥄 This method ensures your whipped cream stays smooth and firm, great for decorating or topping desserts with confidence.
Ingredients
– 12 oz (340 g) Cold heavy whipping cream Base for creaminess
– 2 oz (57 g) Powdered sugar Sweetness and stability
– 1 teaspoon Gelatin Helps maintain shape
– 1 ½ tablespoons Cold water For blooming gelatin
– 1 teaspoon Vanilla extract Flavor enhancement
– 1 teaspoon Heavy whipping cream (additional) To cool gelatin mixture
Instructions
1-Melt the gelatin in the microwave for 5-8 seconds until it’s clear, then mix in 1 teaspoon of heavy whipping cream to cool it down quickly.
2-Pour 12 oz of cold heavy whipping cream into a chilled bowl and whip on medium speed until it turns foamy.
3-Add 2 oz of powdered sugar and 1 teaspoon of vanilla extract, then keep whipping until soft peaks form.
4-Drizzle in the cooled gelatin mixture on low speed and continue whipping until firm peaks appear, being careful not to over-mix.
5-Once done, your stabilized whipped cream is ready it holds its shape well for up to 3 days in the fridge.
Notes
❄️ Use a cold bowl and cold cream for best whipping results.
⏳ Avoid over-whipping to prevent the cream from curdling.
🥶 Stabilized whipped cream can be refrigerated for up to 3 days and holds shape for 2 hours at room temperature.
- Prep Time: 5 minutes
- Gelatin Bloom Time: 5 minutes
- Cook Time: 1 minute
- Category: Dessert Topping
- Method: Whipping
- Cuisine: Universal
Nutrition
- Serving Size: 2 tablespoons
- Calories: 50 kcal
- Sugar: 2 g
- Sodium: 5 mg
- Fat: 5 g
- Saturated Fat: 3 g
- Unsaturated Fat: 1 g
- Trans Fat: 0 g
- Carbohydrates: 1 g
- Fiber: 0 g
- Protein: 0.3 g
- Cholesterol: 20 mg
Keywords: stabilized whipped cream,lasting whipped cream,whipped cream tips,cream texture