
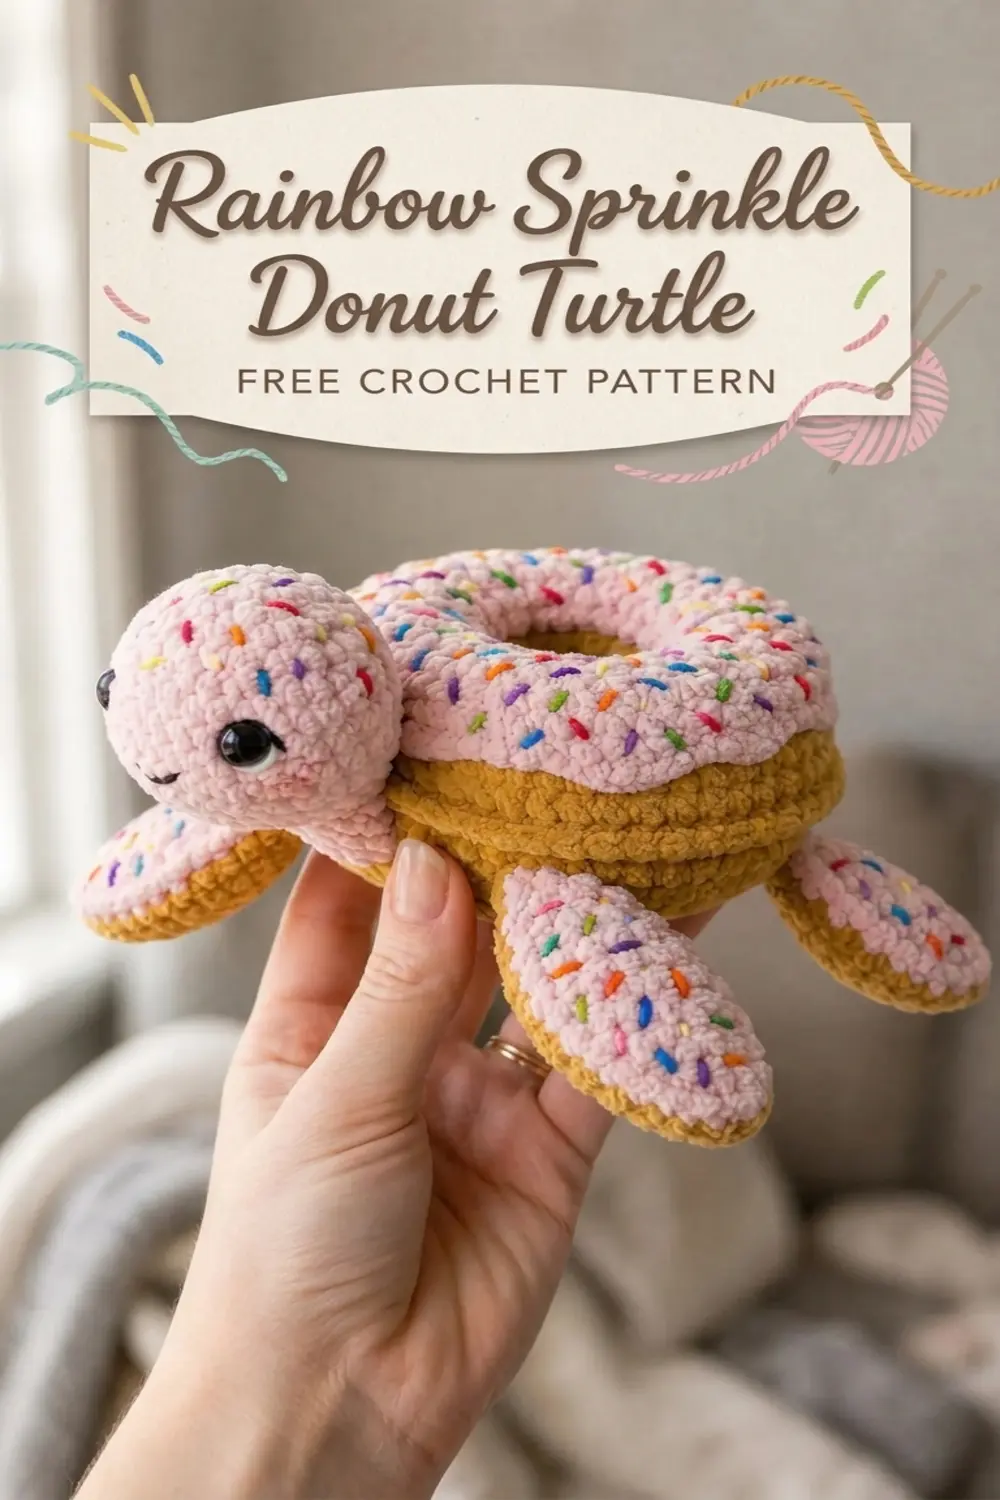
Rainbow Sprinkle Donut Turtle Free Crochet Pattern
Sprinkles is a sea turtle with a shell that looks good enough to eat, and the idea behind her is exactly that simple. What if a sea turtle traded her shell for a frosted donut?
The question came up during a late night craft session, the answer went into a notebook as a quick sketch, and that sketch sat unused for nearly a year before it finally became yarn.

Turning the drawing into a real pattern took several attempts. The shell needed to read as a genuine donut with a true hole in the middle, while still staying friendly enough for a confident intermediate crocheter to finish. The result is a free pattern published on Crochr, written in US crochet terms with checkpoints after the trickiest sections.
Jump To
- 1. Rainbow Sprinkle Donut Turtle Free Crochet Pattern
- 2. About This Crochet Pattern
- 3. Skill Level
- 4. Time Estimate
- 5. Materials You Will Need
- 6. Gauge
- 7. Abbreviations (US Terms)
- 8. Pattern Notes
- 9. Donut Shell Top (Color B)
- 10. Donut Shell Bottom (Color A)
- 11. Joining the Shell Top and Bottom
- 12. Head (Color B)
- 13. Neck (Color B, Continuing From Head)
- 14. Front Flippers (Make 2)
- 15. Back Flippers (Make 2)
- 16. Tail (Color B)
- 17. Assembly Instructions
- 18. Size Customization Tips
- 19. Care Instructions
- 20. FAQs
- 21. Final Thoughts on This Donut Turtle Crochet Pattern
About This Crochet Pattern
This amigurumi pattern builds a sea turtle whose shell is shaped like a frosted rainbow sprinkle donut. The shell is a true torus, which means it has a real hole through the center instead of a flat disc stitched onto a round body. The top is worked in a pink frosting shade, and the underside is a golden dough color.
The turtle body, head, and four flippers are crocheted separately and then assembled. The colorful sprinkles are embroidered at the very end using simple straight stitches. Finished dimensions are about 8 inches wide from flipper to flipper, 5 inches long from nose to tail, and 3.5 inches tall when sitting.
Skill Level
The pattern is rated intermediate. You should be comfortable working in the round, making invisible decreases, joining separate pieces, and doing basic embroidery before you begin.
The donut shell needs the most care because it is built from two flat rings joined together around the edge. If you have finished at least two amigurumi projects, you will probably manage this comfortably.
The shell construction is the trickiest part of the whole pattern, and it is broken down step by step with checkpoints so you can confirm the shape before moving on.
If you would like to warm up with something smaller first, these free amigurumi animal patterns are a friendly way to practice working in the round and invisible decreases.
Time Estimate
An experienced crocheter should plan for 6 to 10 hours of work, and that estimate covers the crocheting only. Add extra time for embroidering the sprinkles and for final assembly.
The sprinkles alone can take an hour or more, depending on how densely you cover the turtle. If you like heavy sprinkle coverage, budget closer to the top of that range.
Materials You Will Need
Gather everything before you start the shell so you are not hunting for a hook in the middle of round ten.
Yarn
Color A is the donut dough, worked in golden yellow. You will need approximately 80 yards (73 m) of bulky chenille or velvet yarn.
Color B is the strawberry frosting, worked in light pink. Plan on roughly 100 yards (91 m) of the same bulky chenille or velvet yarn.
Colors C through H are the sprinkles. These need only small scraps of worsted or bulky weight yarn in red, orange, yellow, green, blue, and purple, about 1 yard of each.
Recommended Yarn Brands
Three yarn options are suggested, and each one changes the finished size.
| Option | Yarn | Color A and Color B | Weight | Hook | Finished width |
|---|---|---|---|---|---|
| 1 | Bernat Blanket Yarn | Peaches N Cream and Baby Pink | Super bulky | US size M (9 mm) | About 10 to 11 inches |
| 2 | Lion Brand Pound of Love | Mustard and Pastel Pink | Worsted | US size J (6 mm) | About 6 to 7 inches |
| 3 | Paintbox Yarns Simply Chunky | Mustard Yellow and Blush Pink | Chunky | US size K (6.5 mm) as written | Matches the stated gauge and finished size |
Option 3 closely matches the texture and drape shown in the reference photos, and it uses the K hook as written to reach the stated gauge and finished size.
The finished texture has a dense, velvety pile typical of chenille or velvet yarn. Smooth yarn works perfectly well, but it will not give the same soft, fuzzy look. Whichever yarn you choose, crochet tightly enough that the stuffing does not show through the stitches.
Hook
Use a US size K (6.5 mm) hook for the main pieces. A US size I (5.5 mm) hook is optional if you want tighter tension on the small pieces.
Other Supplies
- Two 12 mm black safety eyes
- Polyester fiberfill stuffing
- A tapestry needle for assembly and embroidery
- Stitch markers
- Scissors
Gauge
Gauge is 10 single crochet by 10 rows equaling 4 inches (10 cm), worked in continuous rounds with Color B on a US K (6.5 mm) hook.
Gauge decides the finished size, so adjust your hook up or down until your swatch matches. Swatch before you begin the shell pieces rather than after.
Abbreviations (US Terms)
The pattern uses US crochet terms.
- ch is chain. Yarn over and pull through the loop on the hook.
- sl st is slip stitch. Insert the hook, yarn over, and pull through the stitch and the loop on the hook in one motion.
- sc is single crochet. Insert the hook into the stitch, yarn over and pull up a loop so there are 2 loops on the hook, then yarn over and pull through both loops.
- inc is a single crochet increase. Work 2 sc into the same stitch.
- dec is an invisible single crochet decrease. Insert the hook through the front loop only of the next stitch, then through the front loop only of the following stitch, giving 3 loops on the hook. Yarn over and pull through the first 2 loops, then yarn over and pull through the remaining 2 loops for a nearly invisible decrease.
- BLO means back loop only, working into just the back loop instead of both. FLO means front loop only.
- MR is a magic ring, an adjustable starting ring for working in the round.
- st(s) means stitch or stitches, pm means place marker, rep means repeat, rnd means round, RS means right side facing, and WS means wrong side facing.
Pattern Notes
Unless a section says otherwise, every piece is worked in continuous rounds. Do not join rounds with a slip stitch unless you are told to, and place a stitch marker in the first stitch of each round so you can move it up as you go.
The donut shell is made from two flat rings, a top frosted ring in Color B and a bottom dough ring in Color A, which are joined and stuffed into a torus shape. The head and neck are worked as one continuous piece, and the four flippers are worked flat and shaped into rounded paddles.
For assembly, attach the flippers to the body base before closing, and attach the head at the front opening of the shell. Insert the safety eyes before the head is closed and stuffed.
The center hole of the donut shell is intentional. It is not sewn closed, and it is the detail that makes the shell read as a donut rather than a ball.
For a child under three years old, replace the safety eyes with embroidered eyes worked in black yarn.
Donut Shell Top (Color B)
This section makes the frosted upper ring of the donut shell as a flat circle with a hole in the center. Rounds 1 through 6 form the flat inner disc, and rounds 7 through 9 build the inner wall of the donut hole.
| Round | What you do | Stitch count |
|---|---|---|
| 1 | Magic ring, ch 1, work 6 sc into the ring, then pull it closed | 6 sc |
| 2 | Increase in every stitch | 12 sc |
| 3 | (sc 1, inc) 6 times | 18 sc |
| 4 | (sc 2, inc) 6 times | 24 sc |
| 5 | (sc 3, inc) 6 times | 30 sc |
| 6 | (sc 4, inc) 6 times | 36 sc |
| 7 | Work in BLO only, 1 sc in each stitch, creating the ridge that becomes the inner wall of the donut hole | 36 sc |
| 8 | 1 sc in each stitch | 36 sc |
| 9 | 1 sc in each stitch, completing the inner wall so the piece looks like a shallow cup | 36 sc |
| 10 | Fold the inner wall from rounds 7 to 9 down toward the wrong side so the front loops of round 6 are exposed on the outside. Join Color B into those front loops and work 1 sc into each of the 36 front loops | 36 sc |
| 11 | (sc 5, inc) 6 times | 42 sc |
| 12 | (sc 6, inc) 6 times | 48 sc |
| 13 | (sc 7, inc) 6 times | 54 sc |
| 14 | (sc 8, inc) 6 times | 60 sc |
| 15 | (sc 9, inc) 6 times | 66 sc |
| 16 | (sc 10, inc) 6 times | 72 sc |
Fasten off, leaving a tail about 18 inches long for seaming.
Checkpoint: the top should be a flat ring with an open center hole about 1.5 inches in diameter and an outer diameter of about 6 inches.
Donut Shell Bottom (Color A)
This section forms the dough colored underside and the outer rim of the donut shell.
| Round | What you do | Stitch count |
|---|---|---|
| 1 | Magic ring, ch 1, work 6 sc into the ring, then pull it closed | 6 sc |
| 2 | Increase in every stitch | 12 sc |
| 3 | (sc 1, inc) 6 times | 18 sc |
| 4 | (sc 2, inc) 6 times | 24 sc |
| 5 | (sc 3, inc) 6 times | 30 sc |
| 6 | (sc 4, inc) 6 times | 36 sc |
| 7 | Work in BLO only, 1 sc in each stitch | 36 sc |
| 8 | 1 sc in each stitch | 36 sc |
| 9 | 1 sc in each stitch | 36 sc |
| 10 | Join Color A into the front loops of round 6 and work 1 sc into each of the 36 front loops | 36 sc |
| 11 | (sc 5, inc) 6 times | 42 sc |
| 12 | (sc 6, inc) 6 times | 48 sc |
| 13 | (sc 7, inc) 6 times | 54 sc |
| 14 | (sc 8, inc) 6 times | 60 sc |
| 15 | (sc 9, inc) 6 times | 66 sc |
| 16 | (sc 10, inc) 6 times | 72 sc |
| 17 | Work in BLO only, 1 sc in each stitch, beginning the outer rim | 72 sc |
| 18 | 1 sc in each stitch | 72 sc |
| 19 | 1 sc in each stitch | 72 sc |
Do not fasten off, because the shell pieces are joined next.
Joining the Shell Top and Bottom
Place the Color B shell top and the Color A shell bottom together with wrong sides facing, so the inner walls point inward and the flat surfaces face outward. Both outer edges have 72 stitches.
Before you close the ring, stuff the donut generously with fiberfill. Press the stuffing firmly and evenly into the torus tube while keeping the center hole clear.
For the joining round, insert the hook through a stitch on the top piece and the matching stitch on the bottom piece at the same time, then single crochet through both layers. Repeat around each paired stitch for 72 sc, then fasten off and weave in the ends.
Checkpoint: the joined shell should look like a stuffed donut ring about 7 inches in outer diameter, with an inner hole of about 1.5 inches and roughly 2 inches of thickness.
Head (Color B)
Work the head in Color B in continuous rounds.
| Round | What you do | Stitch count |
|---|---|---|
| 1 | Magic ring, ch 1, 6 sc into the ring | 6 sc |
| 2 | Increase in every stitch around | 12 sc |
| 3 | (sc 1, inc) 6 times | 18 sc |
| 4 | (sc 2, inc) 6 times | 24 sc |
| 5 to 7 | 1 sc in each stitch around | 24 sc |
| 8 | (sc 2, dec) 6 times | 18 sc |
| 9 | (sc 1, dec) 6 times | 12 sc |
| 10 | dec 6 times | 6 sc |
Insert the safety eyes between rounds 3 and 4, about 8 stitches apart, and secure the backings firmly. Begin stuffing the head firmly. Do not close it completely, because the neck continues from here.
Neck (Color B, Continuing From Head)
Keep working in Color B from the head to form the neck.
| Round | What you do | Stitch count |
|---|---|---|
| 11 | 1 sc in each stitch around | 6 sc |
| 12 | (sc 1, inc) 3 times | 9 sc |
| 13 | 1 sc in each stitch around | 9 sc |
| 14 | (sc 2, inc) 3 times | 12 sc |
| 15 | 1 sc in each stitch around | 12 sc |
Fasten off, leaving a long tail for attaching the neck to the shell.
Checkpoint: the head should measure about 1.75 inches wide, and the neck about 1 inch wide at its base.
Front Flippers (Make 2)
Make 2 front flippers. They are worked flat in rows, then the top and bottom are joined around the perimeter.
Flipper Top (Color B)
Using Color B, work the flipper top in turned rows.
| Row | What you do | Stitch count |
|---|---|---|
| 1 | Ch 4, then 1 sc in the second chain from the hook and 1 sc in each of the next 2 chains, turn | 3 sc |
| 2 | Ch 1, inc in the first stitch, 1 sc, inc in the last stitch, turn | 5 sc |
| 3 | Ch 1, inc in the first stitch, 3 sc, inc in the last stitch, turn | 7 sc |
| 4 | Ch 1, inc in the first stitch, 5 sc, inc in the last stitch, turn | 9 sc |
| 5 to 6 | Ch 1, 1 sc in every stitch across, turn | 9 sc |
| 7 | Ch 1, dec, 5 sc, dec, turn | 7 sc |
| 8 | Ch 1, dec, 3 sc, dec, turn | 5 sc |
| 9 | Ch 1, dec, 1 sc, dec, turn | 3 sc |
| 10 | Ch 1, 3 sc | 3 sc |
Fasten off after row 10.
Flipper Bottom (Color A)
Work the flipper bottom in Color A by repeating every row exactly as given for the flipper top.
Flipper Assembly
Place one Color B top and one Color A bottom with wrong sides together. With Color A and a tapestry needle or a crochet hook, slip stitch around the perimeter through both layers.
Add a thin layer of fiberfill for light padding only, not full stuffing. Fasten off and weave in the ends, then make a second front flipper the same way.
Checkpoint: each finished front flipper should measure about 2.5 inches long and 1.5 inches wide at the widest point.
Back Flippers (Make 2)
The back flippers are smaller and more rounded than the front ones. Make 2.
Flipper Top (Color B)
Work in Color B in turned rows.
| Row | What you do | Stitch count |
|---|---|---|
| 1 | Ch 3, then 1 sc in the second chain from the hook and 1 sc in the next chain, turn | 2 sc |
| 2 | Ch 1, inc in each stitch across, turn | 4 sc |
| 3 | Ch 1, inc in the first stitch, 2 sc, inc in the last stitch, turn | 6 sc |
| 4 | Ch 1, 1 sc in each stitch across, turn | 6 sc |
| 5 | Ch 1, dec, 2 sc, dec, turn | 4 sc |
| 6 | Ch 1, dec, dec | 2 sc |
Fasten off after row 6.
Flipper Bottom (Color A)
Work the flipper bottom in Color A by repeating every row exactly as given for the back flipper top.
Flipper Assembly
Assemble the back flippers the same way as the front flippers, with a thin layer of fiberfill and a slip stitch around the perimeter. Make 2 in total.
Tail (Color B)
Make the tail in Color B in continuous rounds.
| Round | What you do | Stitch count |
|---|---|---|
| 1 | Magic ring, ch 1, 4 sc into the ring | 4 sc |
| 2 | Increase in every stitch around | 8 sc |
| 3 | 1 sc in each stitch around | 8 sc |
| 4 | (sc 1, dec) 2 times, then 2 sc | 6 sc |
| 5 | 1 sc in each stitch around | 6 sc |
Stuff the tail lightly, fasten off, and leave a tail for attachment.
Assembly Instructions
Assembly starts by finding the front of the donut shell, the spot where the head will emerge.
- With the long tail from the neck, sew the neck base securely to the underside at the front of the shell, angling the head up and forward so the turtle appears to peek out from beneath the shell.
- Attach the front flippers to the left and right sides of the shell underside, angled slightly forward, at roughly the 10 o’clock and 2 o’clock positions relative to the head.
- Attach the back flippers to the lower left and right underside at about 7 o’clock and 5 o’clock, angled slightly backward and outward.
- Sew the tail at the 6 o’clock position on the underside, centered at the back.
- Embroider a small curved smile below the safety eyes using light or dark pink yarn and three or four small stitches in a gentle upward curve.
- Embroider the sprinkles. Thread a tapestry needle with 1 inch lengths of red, orange, yellow, green, blue, and purple yarn and place them randomly over the shell top, the head top, and the tops of all four flippers. Each sprinkle is one short diagonal straight stitch about 3 to 4 mm long. Aim for 30 to 40 sprinkles on the shell and 3 to 5 on each flipper and the head.
Size Customization Tips
To make a smaller turtle, switch to worsted weight yarn with a US size G (4 mm) or H (5 mm) hook. That brings the finished width down to about 5 to 6 inches.
For a larger turtle, use super bulky weight yarn with a US size N (9 mm) or P (10 mm) hook, which produces a finished width of roughly 12 to 14 inches.
If you would rather keep your hook and yarn and simply change the proportions, add extra increase rounds to the shell top and bottom before the joining round. That enlarges the outer diameter while leaving the hole size unchanged.
Care Instructions
Hand wash the piece in cool water with a small amount of mild soap. Gently squeeze out the excess water instead of wringing it, then reshape the turtle and let it air dry flat, away from direct sunlight and heat sources.
Do not machine wash or tumble dry chenille or velvet yarn pieces, because agitation causes pilling and distortion.
Because of the safety eye embellishments, the finished toy is intended for ages three and up.
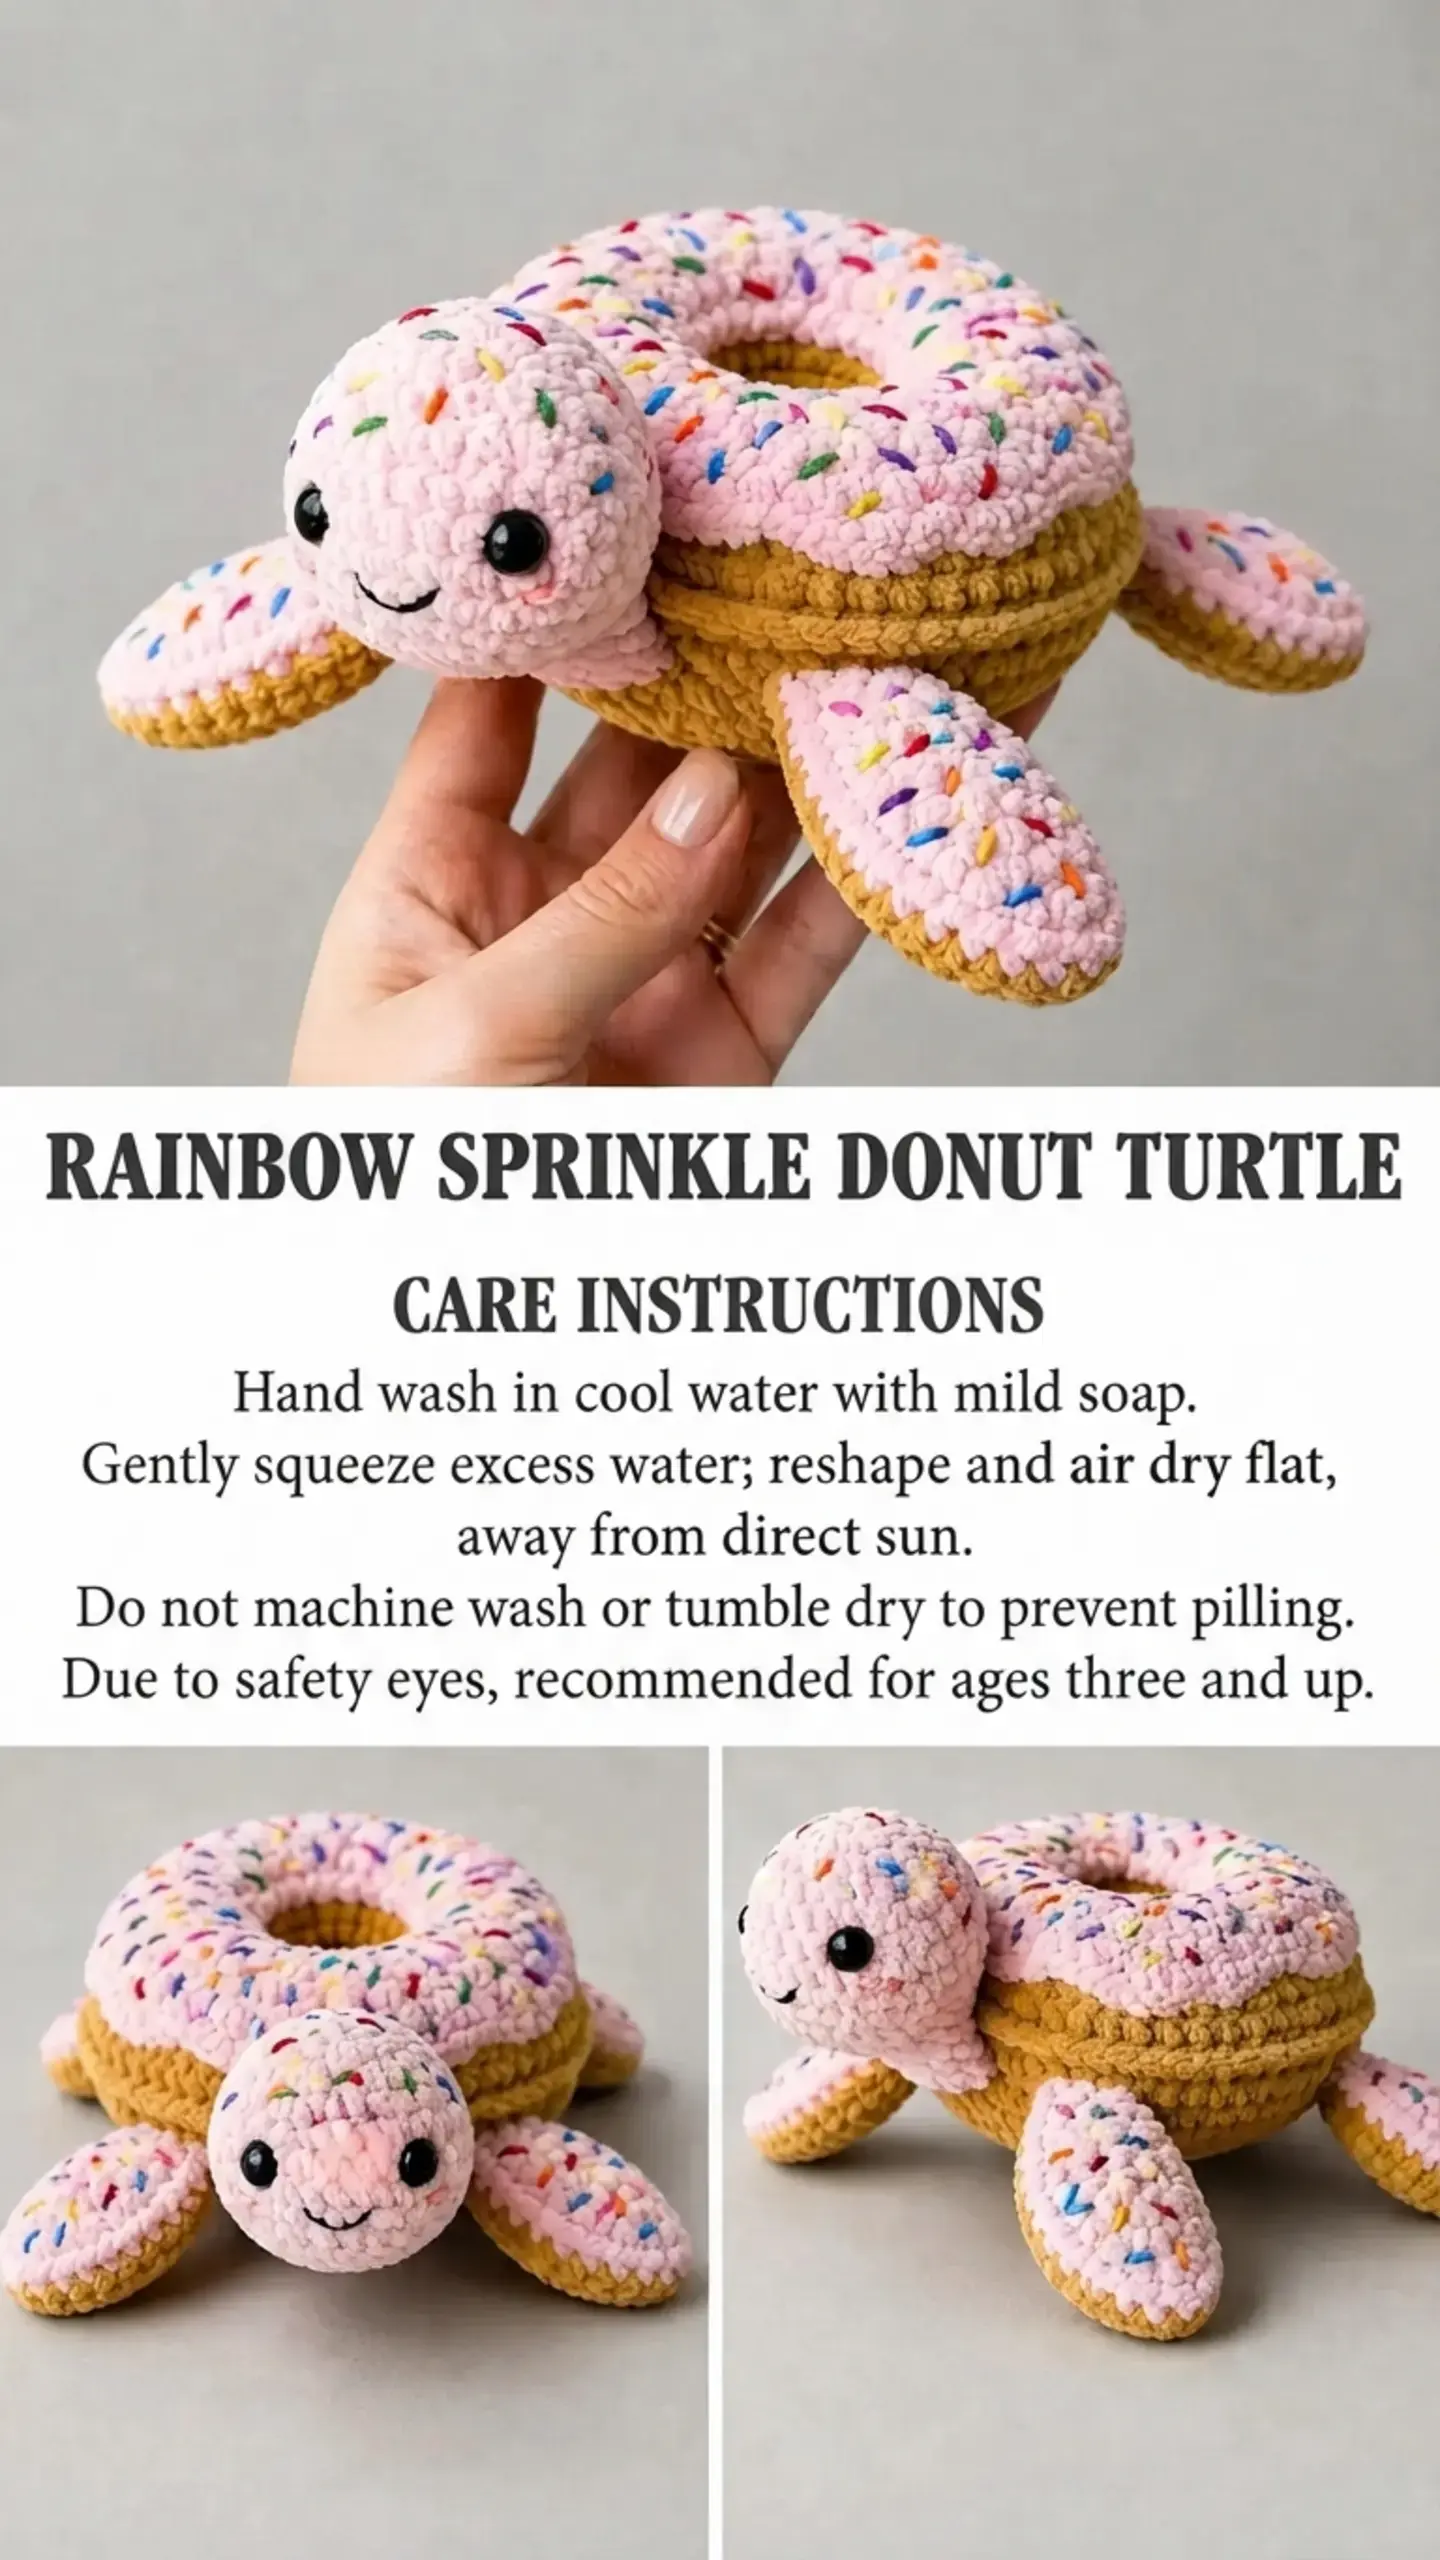
See the additional source.
FAQs
What is a Rainbow Sprinkle Donut Turtle?
A Rainbow Sprinkle Donut Turtle is a whimsical amigurumi crochet pattern that creates a sea turtle named Sprinkles with a shell designed to look like a frosted rainbow sprinkle donut. The shell is constructed as a true torus shape with a pink frosted top and a golden dough-colored underside. The finished turtle measures approximately 8 inches wide from flipper to flipper, making it a charming handmade plushie.
What skill level is needed to crochet the donut turtle pattern?
The pattern is rated at an intermediate skill level. You should be comfortable working in the round, making invisible decreases, joining separate pieces, and doing basic embroidery. The trickiest part is the shell construction, but the pattern breaks this down step by step. An experienced crocheter can expect to spend 6 to 10 hours on the project.
What yarn and hook size are recommended for this amigurumi turtle?
The pattern calls for bulky weight chenille or velvet yarn, with approximately 80 yards of a golden yellow for the dough and 100 yards of light pink for the frosting. You will need a US size K (6.5 mm) crochet hook for the main pieces. Small scraps of worsted or bulky weight yarn in six colors are used for the embroidered sprinkles.
How are the sprinkles added to the Rainbow Sprinkle Donut Turtle?
The sprinkles are embroidered onto the shell, head, and flippers using simple straight stitches. Each sprinkle is a short diagonal stitch about 3 to 4 mm long, made with roughly 1 yard of yarn in each of six colors. The pattern recommends aiming for 30 to 40 sprinkles on the shell and 3 to 5 on each flipper and the head.
Final Thoughts on This Donut Turtle Crochet Pattern
This is a joyful project from start to finish, from shaping the donut shell to adding the last colorful sprinkles. The finished turtle makes a memorable gift for donut lovers, turtle fans, or anyone who appreciates a good plush pun.
The designer thanks makers for choosing the pattern and hopes their version of Sprinkles brings them as much happiness as designing her brought. Makers are invited to share their completed turtles, and if you enjoy crocheting animals with a little personality, these cute crochet cow patterns are worth a look next.
You can find the full written pattern at the original Rainbow Sprinkle Donut Turtle pattern.