Why You’ll Love This Oreo Balls
Oreo Balls are a fun and simple treat that brings joy to any kitchen. These no-bake delights use just a few items you likely have on hand, making them ideal for busy days or spontaneous gatherings. If you’re craving something sweet without the fuss, this recipe fits the bill perfectly.
The ease of preparation shines through as you mix and roll these balls in under 30 minutes. Plus, you can adapt them for various diets, like swapping in vegan options to keep everyone happy. This makes Oreo Balls a go-to choice for home cooks and families alike.
Beyond the simple steps, these treats boast a rich, creamy texture from the cream cheese and a satisfying crunch from the cookies. You’ll find them versatile for parties or snacks, and they store well for up to two weeks. Overall, Oreo Balls deliver deliciousness with minimal effort, perfect for baking enthusiasts of all levels.
Jump To
- 1. Why You’ll Love This Oreo Balls
- 2. Essential Ingredients for Oreo Balls
- 3. How to Prepare the Perfect Oreo Balls: Step-by-Step Guide
- 4. Dietary Substitutions to Customize Your Oreo Balls
- 5. Mastering Oreo Balls: Advanced Tips and Variations
- 6. How to Store Oreo Balls: Best Practices
- 7. FAQs: Frequently Asked Questions About Oreo Balls
- 8. Oreo Balls
Essential Ingredients for Oreo Balls
Gathering the right ingredients is key to making perfect Oreo Balls. This section lists everything you need based on the recipe details. I’ll break it down into a clear, structured format to help you shop and prepare without any confusion.
- 38 chocolate sandwich cookies – Provides the base flavor and crunchy texture.
- 226 grams (8 ounces) of cream cheese at room temperature – Acts as a binder, giving the balls a creamy consistency.
- 180 grams (1 cup) of semi-sweet chocolate wafers, chips, or chopped bars – Used to coat the balls, adding a smooth, chocolaty finish.
- A small amount of oil (as needed) – Helps thin the melted chocolate for easier dipping.
- Optional decorations such as cookie crumbs, sprinkles, or melted chocolate drizzle – Adds visual appeal and extra flavor while the coating is wet.
For dietary tweaks, consider these: use vegan cream cheese for a plant-based version, or gluten-free chocolate sandwich cookies to accommodate gluten intolerance. These substitutions keep the recipe flexible and delicious for everyone.
How to Prepare the Perfect Oreo Balls: Step-by-Step Guide
Creating Oreo Balls is straightforward and fun, even if you’re new to the kitchen. Start by crushing 38 chocolate sandwich cookies into fine crumbs using a food processor or a rolling pin. This sets the base for a smooth mixture that blends easily with other ingredients. Once crushed, combine the crumbs with 226 grams (8 ounces) of cream cheese at room temperature by beating on medium-low until fully incorporated, forming a dough-like consistency.
Next, shape the mixture into 1-tablespoon-sized balls and place them on a parchment-lined baking sheet. Chill these balls for at least 1 hour or up to 2 days to firm them up. For the coating, melt 180 grams (1 cup) of semi-sweet chocolate in the microwave, heating in 15-30 second intervals and stirring between each to avoid burning. If the chocolate is too thick, thin it with a small amount of oil for smoother dipping.
Dip each chilled ball into the melted chocolate using a skewer or fork, then tap off any excess. Place the coated balls back on the parchment and add decorations like cookie crumbs or sprinkles while the chocolate is still wet. Finally, chill the treats again for 1 hour or until set, making them ready for storage or serving. If you love no-bake recipes, check out our no-bake chocolate eclair cake for another easy dessert idea.
Preparation Time and Nutritional Info
Preparing these Oreo Balls takes about 30 minutes of active time, plus 2 hours for chilling, for a total of around 2 hours and 30 minutes. Each ball packs about 166 calories, with 17 grams of carbohydrates, 10 grams of fat, 2 grams of protein, 10 milligrams of cholesterol, and 105 milligrams of sodium. Here’s a quick table to compare the nutritional breakdown:
| Nutrient | Amount per Ball |
|---|---|
| Calories | 166 |
| Carbohydrates (g) | 17 |
| Fat (g) | 10 |
| Protein (g) | 2 |
| Cholesterol (mg) | 10 |
| Sodium (mg) | 105 |

Dietary Substitutions to Customize Your Oreo Balls
Everyone has different needs, so tweaking Oreo Balls is simple and effective. For protein alternatives, try vegan cream cheese or nut-based options to keep things creamy without dairy. You can replace chocolate sandwich cookies with gluten-free versions to make the recipe safe for those with sensitivities. These changes let you enjoy the treats while fitting your lifestyle.
When it comes to vegetable and seasoning mods, switch up the coating with white chocolate or peanut butter for a fresh twist. Add flavors like vanilla extract or a pinch of cinnamon to enhance the taste. For example, using almond extract can make your Oreo Balls feel extra special and personalized.
This flexibility means Oreo Balls can adapt to seasonal preferences, like adding crushed nuts for a holiday vibe.
Visit our cookies and cream Oreo cake recipe for more ideas on customizing desserts with similar ingredients.
Mastering Oreo Balls: Advanced Tips and Variations
Taking your Oreo Balls to the next level involves a few smart techniques. Always chill the mixture before rolling to get that perfect texture, making coating easier and preventing messes. You can experiment with flavors by mixing in crushed nuts or dried fruit bits for a unique spin on the classic. These additions keep things exciting and tailored to your taste.
Presentation matters too; try serving on colorful trays or drizzling with different chocolate for a wow factor. If you’re planning ahead, prepare the balls and freeze them before coating, so you have treats ready anytime. Remember, subtle changes like using Oreo Balls variations can inspire your baking adventures.
- Chill thoroughly for easy handling.
- Add extracts for extra flavor.
- Use decorations to enhance appeal.
For more inspiration, check out external resources like this Oreo dessert guide that shares similar layering ideas.
How to Store Oreo Balls: Best Practices
Proper storage keeps your Oreo Balls fresh and tasty. Keep them in an airtight container in the refrigerator for up to two weeks, as mentioned in the recipe details. Freezing is great for longer storage; freeze uncoated balls on a baking sheet first, then move them to a sealed bag. This way, you can thaw and coat them later without losing quality.
When it’s time to serve, avoid reheating in the microwave to maintain the perfect texture. Instead, let them sit at room temperature for the best flavor. Meal prep pros will love making big batches and storing portions for quick snacks. For calorie-conscious options, pair with nutritional tracking tools to monitor your treats.

FAQs: Frequently Asked Questions About Oreo Balls
Can I use Double Stuf Oreos to make Oreo Balls?
Regular Oreos are best for making Oreo Balls because they blend into fine crumbs that mix smoothly with cream cheese. Double Stuf Oreos contain more cream filling, which can make the mixture greasy and harder to work with. If you want a richer filling, consider adding a small amount of extra cream cheese instead of using Double Stuf cookies.
What’s the easiest way to coat Oreo Balls with chocolate?
Fully melt your candy melts or chocolate until smooth but avoid overheating. Use a skewer to dip each Oreo Ball into the chocolate, rotating it to coat evenly. Gently tap the skewer on the edge of the bowl to remove excess chocolate. Place the coated ball onto parchment paper with the skewer hole side down. Decorate immediately while the chocolate is still soft for the best results.
Why do my Oreo Balls crack after chilling?
Cracking often happens when the chocolate coating undergoes sudden temperature changes, especially going straight into the fridge. To prevent this, let the dipped Oreo Balls sit at room temperature for about 30 minutes before refrigerating them. This gradual cooling helps the chocolate set smoothly without cracking.
How long can I store homemade Oreo Balls, and what’s the best way to keep them fresh?
Oreo Balls can be stored in an airtight container in the refrigerator for up to one week. For longer storage, freeze them in a single layer on a baking sheet, then transfer to a freezer-safe container for up to two months. Thaw in the refrigerator before serving to maintain their texture and flavor.
Can I add flavors or toppings to Oreo Balls to change up the classic recipe?
Absolutely! You can mix in extracts like vanilla, peppermint, or almond with the cream cheese for added flavor. Toppings such as crushed nuts, sprinkles, or drizzle of white or dark chocolate are great for decoration and taste. Just apply toppings while the coating is still wet to ensure they stick well.

Oreo Balls
- Total Time: 2 hours 30 minutes
- Yield: About 30 Oreo balls
Description
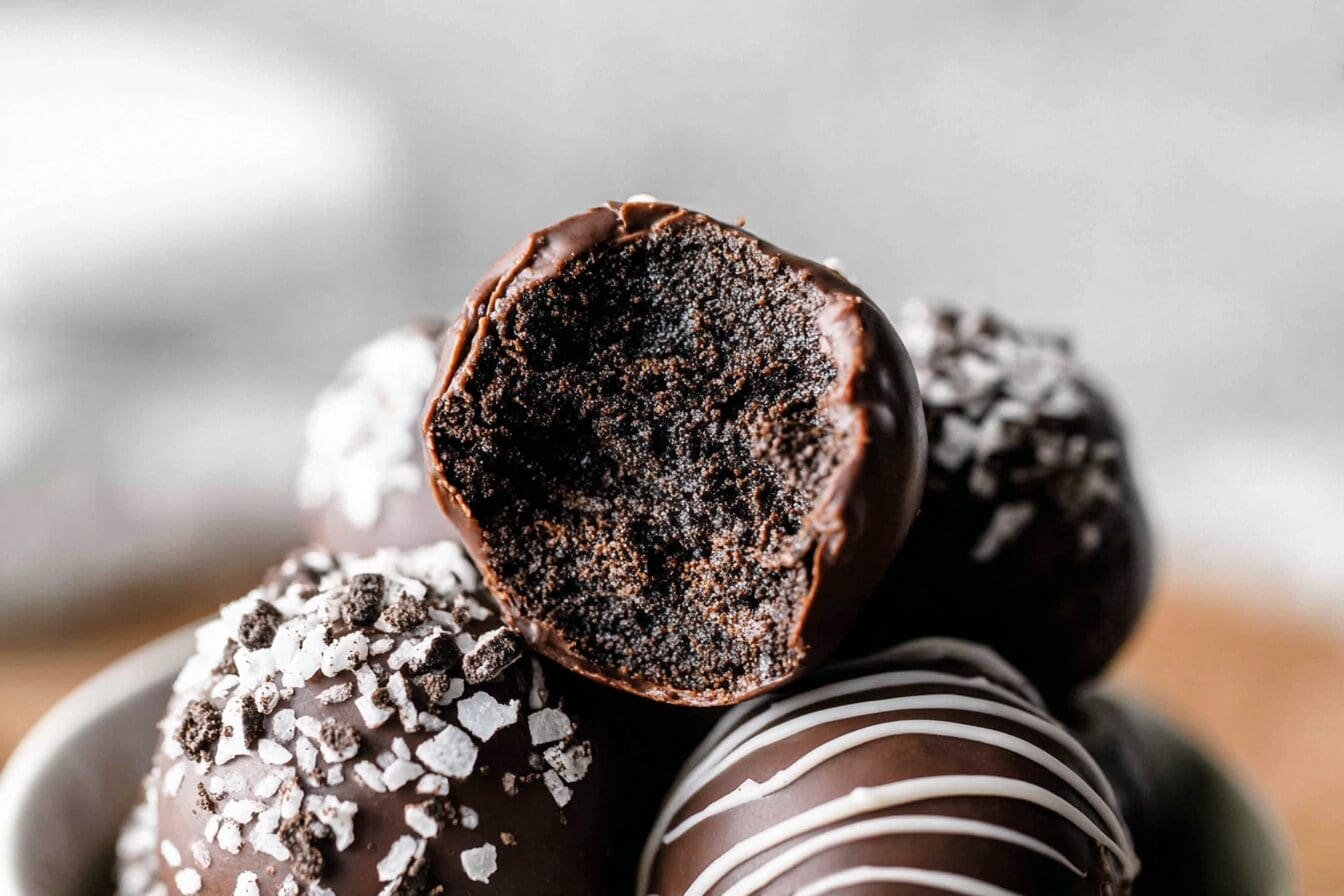
🍪 Delight in the rich, creamy texture of Oreo Balls, an easy no-bake recipe perfect for any occasion.
🍫 These chocolate-covered treats combine crisp cookie crumbs with smooth cream cheese for a sweet and indulgent snack.
Ingredients
– 38 chocolate sandwich cookies for base flavor and crunchy texture
– 226 grams (8 ounces) cream cheese at room temperature as a binder, giving creamy consistency
– 180 grams (1 cup) semi-sweet chocolate wafers, chips, or chopped bars to coat the balls, adding chocolaty finish
– A small amount of oil as needed to thin the melted chocolate for easier dipping
– Optional decorations such as cookie crumbs, sprinkles, or melted chocolate drizzle for visual appeal and extra flavor
Instructions
1-How to Prepare the Perfect Oreo Balls: Creating Oreo Balls is straightforward and fun, even if you’re new to the kitchen. Start by crushing 38 chocolate sandwich cookies into fine crumbs using a food processor or a rolling pin. This sets the base for a smooth mixture that blends easily with other ingredients. Once crushed, combine the crumbs with 226 grams (8 ounces) of cream cheese at room temperature by beating on medium-low until fully incorporated, forming a dough-like consistency.
2-Shaping and Chilling: Next, shape the mixture into 1-tablespoon-sized balls and place them on a parchment-lined baking sheet. Chill these balls for at least 1 hour or up to 2 days to firm them up.
3-Melting the Chocolate: For the coating, melt 180 grams (1 cup) of semi-sweet chocolate in the microwave, heating in 15-30 second intervals and stirring between each to avoid burning. If the chocolate is too thick, thin it with a small amount of oil for smoother dipping.
4-Dipping and Decorating: Dip each chilled ball into the melted chocolate using a skewer or fork, then tap off any excess. Place the coated balls back on the parchment and add decorations like cookie crumbs or sprinkles while the chocolate is still wet.
5-Final Chilling: Finally, chill the treats again for 1 hour or until set, making them ready for storage or serving. If you love no-bake recipes, check out our no-bake chocolate eclair cake for another easy dessert idea.
Notes
❄️ Chill the balls thoroughly before coating to ensure the chocolate sets smoothly.
🍫 Use high-quality chocolate for dipping to get a glossy finish and rich taste.
🎨 Customize with decorations like crushed Oreos, sprinkles, or drizzled chocolate for a festive touch.
- Prep Time: 30 minutes
- Chilling time: 2 hours
- Cook Time: 0 minutes
- Category: Dessert
- Method: No-bake, chilling
- Cuisine: American
Nutrition
- Serving Size: 1 ball
- Calories: 166
- Sugar: 17g
- Sodium: 105mg
- Fat: 10g
- Carbohydrates: 17g
- Protein: 2g
- Cholesterol: 10mg
Keywords: Oreo Balls, No-Bake Treats, Chocolate Covered Snacks, Easy Desserts