
Why You’ll Love This Vanilla Pudding
Imagine whipping up a dessert that’s creamy, simple, and hits the spot after a long day. This vanilla pudding recipe is one of those go-to treats that feels like a hug in a bowl especially when you’re short on time but want something special. Let’s dive into why this recipe has become a favorite in my kitchen and might just become one in yours too.
First off, it’s super easy to make, which is perfect for busy parents or students juggling life. You’ll only need a handful of items and about 35 minutes total, with just 10 minutes of actual cooking. Plus, it packs in nutrients like vitamin A and calcium from the milk, making it a wholesome choice that supports your daily wellness without skimping on fun.
What really sets this vanilla pudding apart is its versatility for different diets, whether you’re going vegan or watching calories. You can tweak it with simple swaps and still end up with that rich, memorable taste from high-quality vanilla. I’ve made it for family gatherings and always get compliments on how it pairs wonderfully with fresh berries or cookies, turning a basic recipe into something memorable.
Key Benefits That Make It Stand Out
- It’s quick and simple, ideal for anyone from working pros to seniors who want a treat without much fuss.
- The nutrient mix offers protein, carbs, and fat, with about 232 calories per serving, so it feels balanced and not too indulgent.
- From baking enthusiasts to food lovers, this pudding adapts easily, letting you customize it for any occasion or dietary need.
This simple vanilla pudding formula brings everything together for a delicious experience that enhances your everyday meals. Whether you’re a newbie in the kitchen or a pro, it’s that reliable recipe you can always count on.
Jump To
- 1. Why You’ll Love This Vanilla Pudding
- 2. Essential Ingredients for Vanilla Pudding
- 3. How to Prepare the Perfect Vanilla Pudding: Step-by-Step Guide
- 4. Dietary Substitutions to Customize Your Vanilla Pudding
- 5. Mastering Vanilla Pudding: Advanced Tips and Variations
- 6. How to Store Vanilla Pudding: Best Practices
- 7. FAQs: Frequently Asked Questions About Vanilla Pudding
- 8. Vanilla Pudding
Essential Ingredients for Vanilla Pudding
Getting the ingredients right is key to making vanilla pudding that’s smooth and full of flavor. This recipe uses everyday items you might already have, keeping things accessible for home cooks of all levels. Let me walk you through the list so you can see how straightforward it is to gather what you need.
I’ll share the exact ingredients from this homemade version, which I’ve tested myself. It’s fun to experiment, but sticking to these measurements ensures the best results every time. Remember, small tweaks like using half-and-half can make it even creamier if you’re in the mood for something extra special.
Main Ingredients List
- 1/3 cup granulated sugar – This sweetens the mix and balances the vanilla taste perfectly.
- 3 tablespoons cornstarch – Helps thicken the pudding to that ideal creamy consistency.
- 1/8 teaspoon salt – Brings out all the flavors without overpowering them.
- 2 1/4 cups whole milk – Forms the base for a rich texture; you can swap up to 1/2 cup with half-and-half for more creaminess.
- 2 large egg yolks – Add richness and help with thickening the mixture.
- 1 tablespoon unsalted butter – Gives a smooth finish and a bit of extra indulgence.
- 1 1/2 teaspoons pure vanilla extract – Provides that signature vanilla aroma and taste that makes this pudding shine.
For those exploring special options, like going vegan or gluten-free, it’s easy to adapt. Use plant-based milk for a dairy-free twist or check that your vanilla extract is certified gluten-free. I love how this lets everyone enjoy a bowl, no matter their preferences.
How to Prepare the Perfect Vanilla Pudding: Step-by-Step Guide
Making vanilla pudding at home is one of those kitchen wins that feels rewarding and straightforward. I remember my first try it turned out so well that it became a weekly staple. Follow these steps, and you’ll have a creamy dessert ready in no time.
Start by gathering your ingredients and tools to keep things smooth. In a medium saucepan, whisk together the sugar, cornstarch, salt, milk, and egg yolks until everything blends nicely. This sets the stage for that perfect texture we’re aiming for.
Detailed Cooking Steps
- Cook the mixture over medium-low heat, whisking now and then until it starts bubbling all over, which takes about 7 to 8 minutes.
- Keep going for another 1 to 2 minutes to let it thicken up just right don’t rush this part!
- Once it’s off the heat, stir in the butter and vanilla extract to add that final burst of flavor.
- For extra smoothness, strain it through a fine mesh strainer to get rid of any lumps.
- Pour it into bowls, let it cool until it’s lukewarm, then cover and pop it in the fridge until it’s fully chilled and ready to eat.
This yields about four generous half-cup servings, a little over 2 cups total, so it’s great for sharing. For a fun twist, try pairing it with banana pudding lush ideas from my site. It thickens as it cools, making it even better the next day.

Dietary Substitutions to Customize Your Vanilla Pudding
One thing I love about this vanilla pudding is how flexible it is for different needs. Whether you’re watching your diet or trying new flavors, small changes can make a big difference. I’ve experimented with these swaps myself, and they keep the pudding tasting great.
For instance, if you’re lactose-free, swap the whole milk with almond or coconut milk. It still gives that creamy base we all crave. And for thickening, arrowroot powder works just as well as cornstarch if that’s what you have on hand.
Easy Modification Ideas
- Add cinnamon or nutmeg for a seasonal vibe that spices things up.
- Top with fruit sauces like raspberry to make it feel fresh and exciting.
- Use agave or honey instead of sugar for a natural sweetness that fits dietary prefs.
These adjustments keep the essence of vanilla pudding while making it your own. It’s all about having fun in the kitchen, just like when I made it for a family potluck last summer.
Mastering Vanilla Pudding: Advanced Tips and Variations
Once you’re comfortable with the basics, let’s level up your vanilla pudding game. I’ve picked up a few tricks over the years that turn a simple recipe into something impressive. Slowly heating and whisking constantly really helps get that silky texture without any lumps.
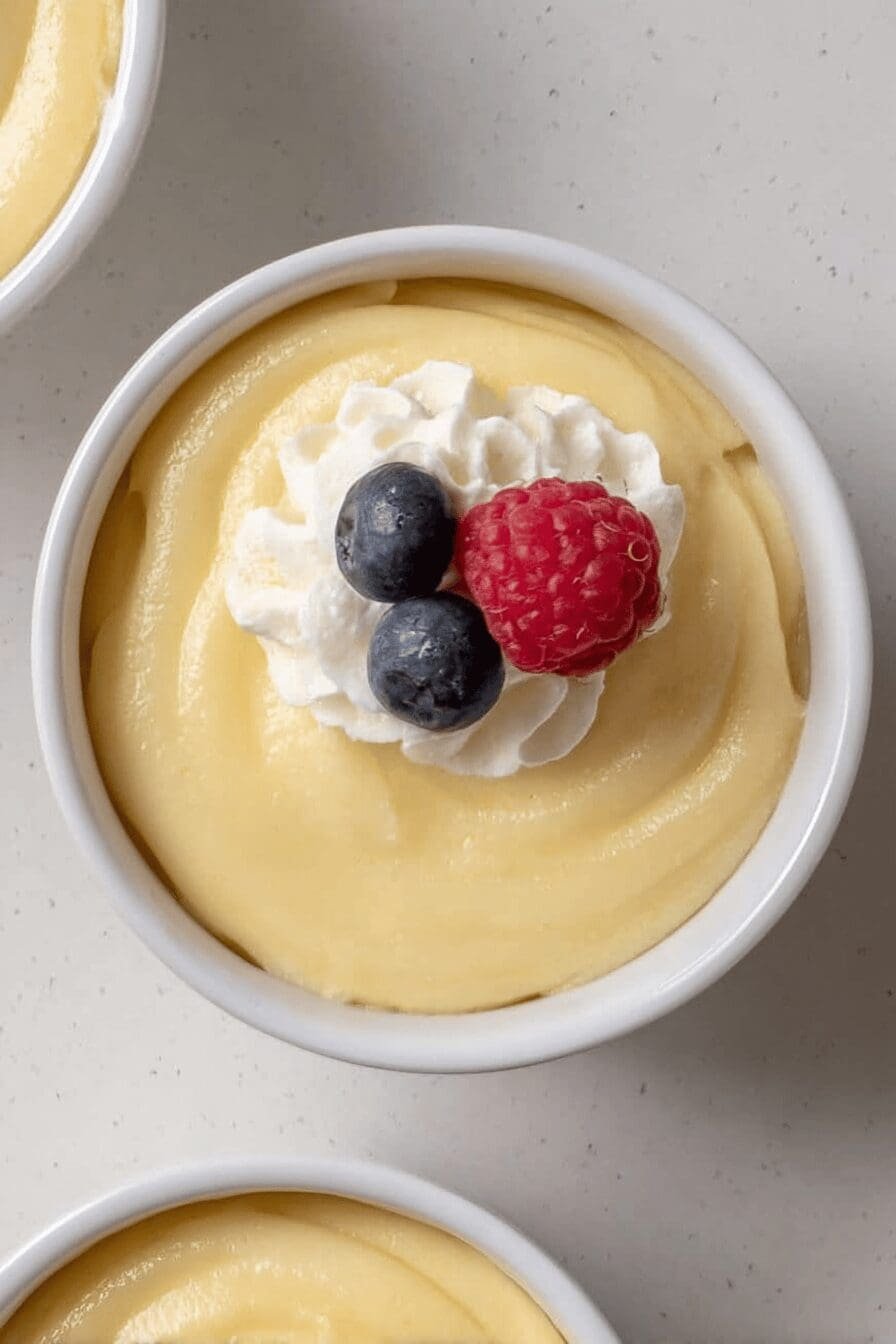
Try adding a dash of almond extract or lemon zest for a fresh twist that surprises your taste buds. For presentation, serve it in pretty glasses with berries on top it’s like a mini celebration. And if you’re prepping ahead, make a batch the night before; the flavors blend even better.
Pro Tips for Better Results
| Tips | Why It Helps |
|---|---|
| Whisk constantly while heating | Achieves a smoother texture and prevents lumps for a pro finish |
| Experiment with flavors like coconut flakes | Adds new dimensions to keep things exciting and customizable |
| Make ahead and chill | Saves time on busy days and lets tastes meld perfectly |
For more dessert inspiration, check out no-bake chocolate cream pie on my blog. These ideas can transform your pudding into a gourmet treat that wows everyone.
How to Store Vanilla Pudding: Best Practices
Storing your vanilla pudding properly keeps it fresh and tasty for later. I always make extra because it’s so versatile, and with the right method, it holds up well. Stick it in the fridge in an airtight container, and it’ll stay good for up to 3 days.
If you want to freeze it, use freezer-safe dishes and thaw it slowly in the fridge overnight. When reheating, go low and slow on the stove to keep that creamy feel. Meal prepping with this recipe means you have a quick dessert ready for those hectic weeks.
Quick Storage Reminders
- Refrigerate in sealed containers to keep it fresh.
- Freeze for longer storage, but thaw gently.
- Reheat with care to maintain the original texture.
FAQs: Frequently Asked Questions About Vanilla Pudding
How do you make homemade vanilla pudding from scratch?
To make vanilla pudding from scratch, combine 2 cups of milk, ½ cup sugar, 3 tablespoons cornstarch, and a pinch of salt in a saucepan. Whisk over medium heat until the mixture begins to thicken. In a separate bowl, beat 2 eggs, then slowly add a small amount of the hot mixture to temper the eggs. Pour the egg mixture back into the saucepan and continue cooking until thickened. Remove from heat and stir in 2 teaspoons of vanilla extract. Chill before serving for a smooth, creamy pudding without preservatives.
What is the best way to store homemade vanilla pudding?
Store homemade vanilla pudding in an airtight container in the refrigerator. It will keep fresh for up to 3-4 days. To prevent a skin from forming on top, place plastic wrap directly on the surface of the pudding before sealing. If separation occurs, gently whisk the pudding before serving to restore its texture. Avoid freezing, as freezing can negatively affect the pudding’s creamy consistency.
What are some common substitutes for cornstarch in vanilla pudding recipes?
If you don’t have cornstarch, you can use all-purpose flour, arrowroot powder, or tapioca starch as thickening agents. Replace cornstarch with twice the amount of flour or the same amount of arrowroot or tapioca. Each will slightly alter the pudding’s texture; for example, flour may make it a bit denser, while arrowroot gives a clearer, more glossy finish. Choose substitutes based on your preference and dietary needs.
Can vanilla pudding be made dairy-free, and how?
Yes, vanilla pudding can be made dairy-free by using plant-based milk alternatives like almond, coconut, soy, or oat milk instead of cow’s milk. Use the same quantity of the chosen milk and follow your usual recipe. For creaminess, full-fat coconut milk works well. Additionally, ensure that other ingredients, such as chocolate or flavorings, are also dairy-free. This version suits lactose-intolerant or vegan diets.
What are the nutritional benefits and downsides of eating vanilla pudding?
Vanilla pudding provides quick energy from carbohydrates and small amounts of protein from milk or eggs. It is low in fat when made with low-fat milk, but store-bought or cream-heavy versions can be high in sugar and calories. Homemade pudding allows control over ingredients, reducing added sugars. However, it is not a significant source of fiber, vitamins, or minerals, so it’s best consumed as an occasional treat rather than a dietary staple.

Vanilla Pudding
- Total Time: 35 minutes
- Yield: 4 servings (each about 1/2 cup)
- Diet: Vegetarian
Description
🍮 Enjoy a rich and creamy vanilla pudding that’s easy to make at home with simple ingredients.
🥄 This dessert offers a smooth, comforting texture perfect for satisfying sweet cravings anytime.
Ingredients
– 1/3 cup granulated sugar This sweetens the mix and balances the vanilla taste perfectly.
– 3 tablespoons cornstarch Helps thicken the pudding to that ideal creamy consistency.
– 1/8 teaspoon salt Brings out all the flavors without overpowering them.
– 2 1/4 cups whole milk Forms the base for a rich texture; you can swap up to 1/2 cup with half-and-half for more creaminess.
– 2 large egg yolks Add richness and help with thickening the mixture.
– 1 tablespoon unsalted butter Gives a smooth finish and a bit of extra indulgence.
– 1 1/2 teaspoons pure vanilla extract Provides that signature vanilla aroma and taste that makes this pudding shine.
Instructions
1-Cook the mixture: Cook the mixture over medium-low heat, whisking now and then until it starts bubbling all over, which takes about 7 to 8 minutes.
2-Keep going: Keep going for another 1 to 2 minutes to let it thicken up just right don’t rush this part!
3-Stir in flavors: Once it’s off the heat, stir in the butter and vanilla extract to add that final burst of flavor.
4-Strain: For extra smoothness, strain it through a fine mesh strainer to get rid of any lumps.
5-Chill: Pour it into bowls, let it cool until it’s lukewarm, then cover and pop it in the fridge until it’s fully chilled and ready to eat.
Notes
🥄 Use half-and-half for a richer, creamier pudding.
🍮 Strain the pudding for an ultra-smooth texture.
❄️ Chill the pudding thoroughly for best consistency and flavor.
- Prep Time: 15 minutes
- Cook Time: 10 minutes
- Category: Dessert
- Method: Stovetop Cooking
- Cuisine: American
Nutrition
- Serving Size: 1/2 cup
- Calories: 232
Keywords: Vanilla Pudding, Homemade Dessert, Creamy Pudding, Easy Pudding Recipe