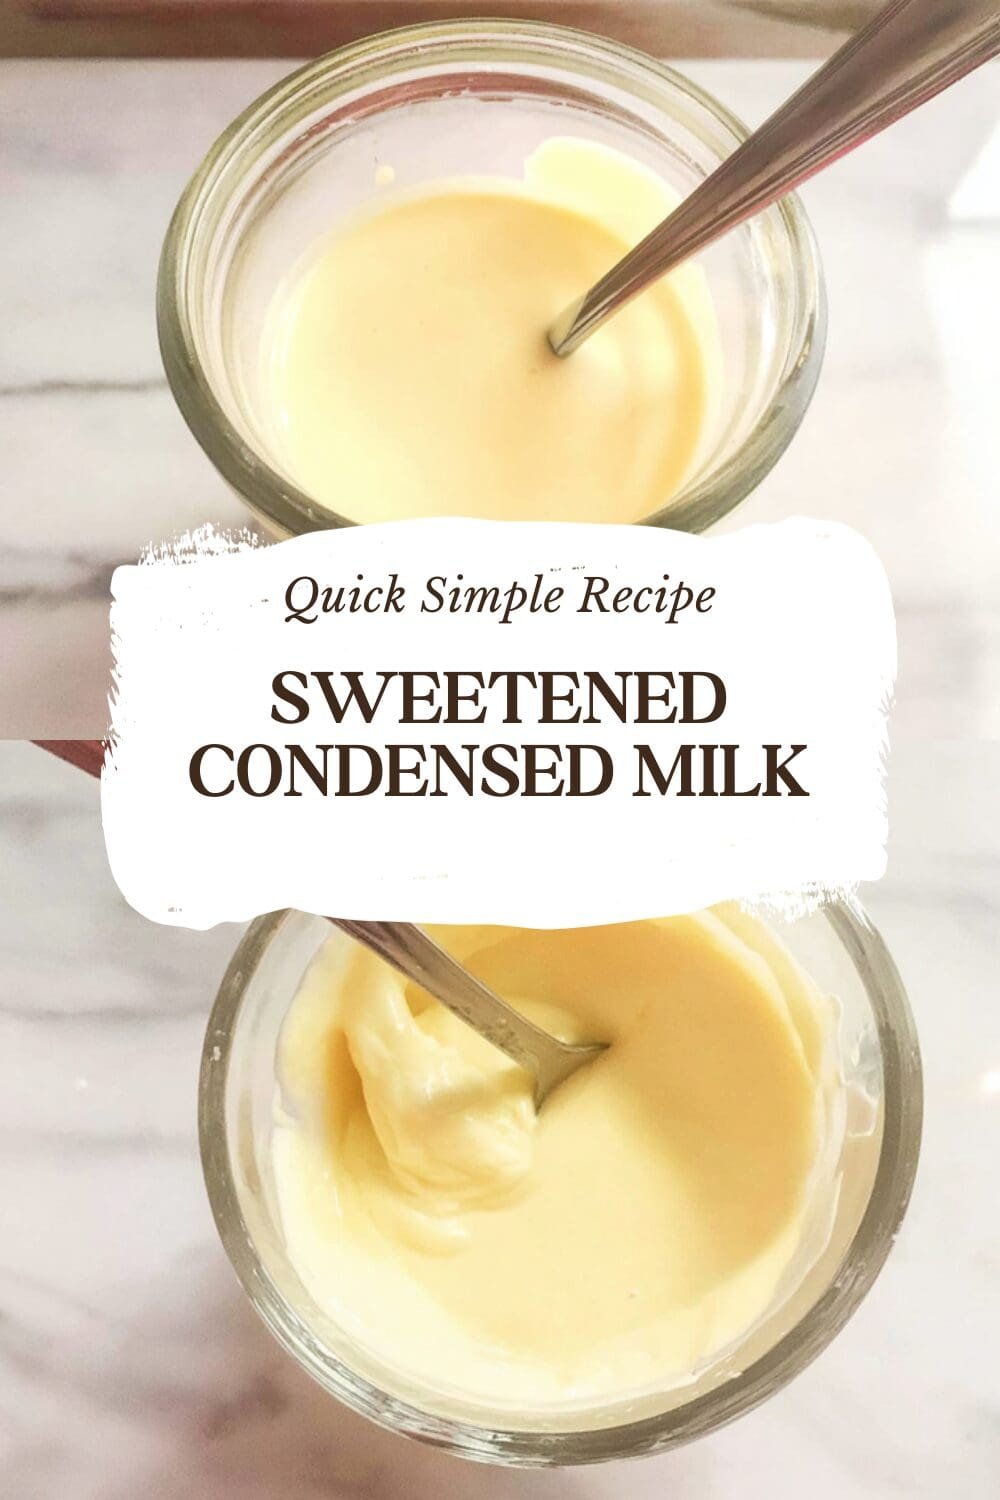
Why You’ll Love This Sweetened Condensed Milk
Making sweetened condensed milk at home gives you control over every ingredient. This homemade condensed milk recipe beats store-bought versions in freshness and taste. Busy parents and baking enthusiasts find it simple to whip up for their favorite treats.
Here are the main benefits that make this sweetened condensed milk recipe a game-changer:
- Ease of preparation: This recipe comes together with just a few pantry staples and about an hour on the stove. No fancy equipment needed, just a heavy pot and constant stirring. Perfect for students or working professionals who want quick results without hassle.
- Health benefits: Use whole milk for creaminess packed with calcium and protein. Skip preservatives found in cans for a cleaner option. Diet-conscious individuals appreciate adjusting sugar levels to fit their needs, supporting bone health and satiety.
- Versatility: Adapt it for vegan, gluten-free, or low-calorie diets with easy swaps. Pour it into cheesecakes, pies, or drinks. Food enthusiasts love pairing it with recipes like our pineapple coconut dream cake.
- Distinctive flavor: Slow simmering creates a rich, caramelized taste far superior to canned. The butter adds silkiness, and salt balances sweetness. Seniors and newlyweds enjoy this nostalgic flavor in no-bake desserts or coffee.
Travelers can make small batches for portable treats. This how to make sweetened condensed milk at home method inspires joy in the kitchen, just like my blog’s passion for simple cooking.
Jump To
- 1. Why You’ll Love This Sweetened Condensed Milk
- 2. Essential Ingredients for Sweetened Condensed Milk
- 3. How to Prepare the Perfect Sweetened Condensed Milk: Step-by-Step Guide
- 4. Dietary Substitutions to Customize Your Sweetened Condensed Milk
- 5. Mastering Sweetened Condensed Milk: Advanced Tips and Variations
- 6. How to Store Sweetened Condensed Milk: Best Practices
- 7. FAQs: Frequently Asked Questions About Sweetened Condensed Milk
- 8. Sweetened Condensed Milk
Essential Ingredients for Sweetened Condensed Milk
Gather these basics for your homemade sweetened condensed milk recipe. Each plays a key role in texture and flavor.
Main Ingredients:
- 2 cups whole milk – Provides the creamy base and natural sweetness as it reduces.
- 1 1/2 cups granulated sugar – Sweetens and thickens, acting as a preservative for longer shelf life.
- 2 tablespoons unsalted butter – Adds richness and smooth mouthfeel, preventing scorching.
- Pinch of salt – Balances flavors and enhances the caramel notes.
This simple lineup yields about 1 1/4 cups, matching one standard can. Check out this homemade sweetened condensed milk recipe for more inspiration.
Special Dietary Options:
- Vegan: Swap whole milk for full-fat coconut milk and use plant-based butter.
- Gluten-free: Naturally gluten-free; no changes needed.
- Low-calorie: Use low-fat milk or a sugar substitute like erythritol, reducing total calories by 30%.
How to Prepare the Perfect Sweetened Condensed Milk: Step-by-Step Guide
Prep Your Workspace
Start with a clean heavy-bottomed saucepan to avoid burning. Measure all ingredients ahead for smooth sailing. This easy sweetened condensed milk recipe takes 45-60 minutes total.
First Step: Combine the milk and sugar. Pour 2 cups whole milk into the saucepan. Add 1 1/2 cups granulated sugar. Stir over medium heat until sugar fully dissolves, about 5 minutes. This creates a smooth base.
Second Step: Bring to a gentle simmer. Lower heat to medium-low. Add 2 tablespoons unsalted butter and a pinch of salt. Stir constantly with a wooden spoon to prevent sticking. Bubbles should form slowly around the edges.
Main Cooking Phase
Third Step: Reduce patiently. Simmer for 40-50 minutes, stirring every 30 seconds. Milk thickens gradually, turning golden. Scrape sides and bottom regularly. Aim for 1 1/4 cups volume; it coats the spoon thickly.
Use this table for visual cues during cooking:
| Time Elapsed | Consistency | Color |
|---|---|---|
| 10 minutes | Thin, milky | White |
| 30 minutes | Syrupy | Pale yellow |
| 50 minutes | Thick, ribbon-like | Golden caramel |
Fourth Step: Test for doneness. Drop a bit into cold water; it forms a soft ball. Or use the spoon test: it holds shape briefly before dripping. Remove from heat immediately to stop cooking.
Finishing and Cooling
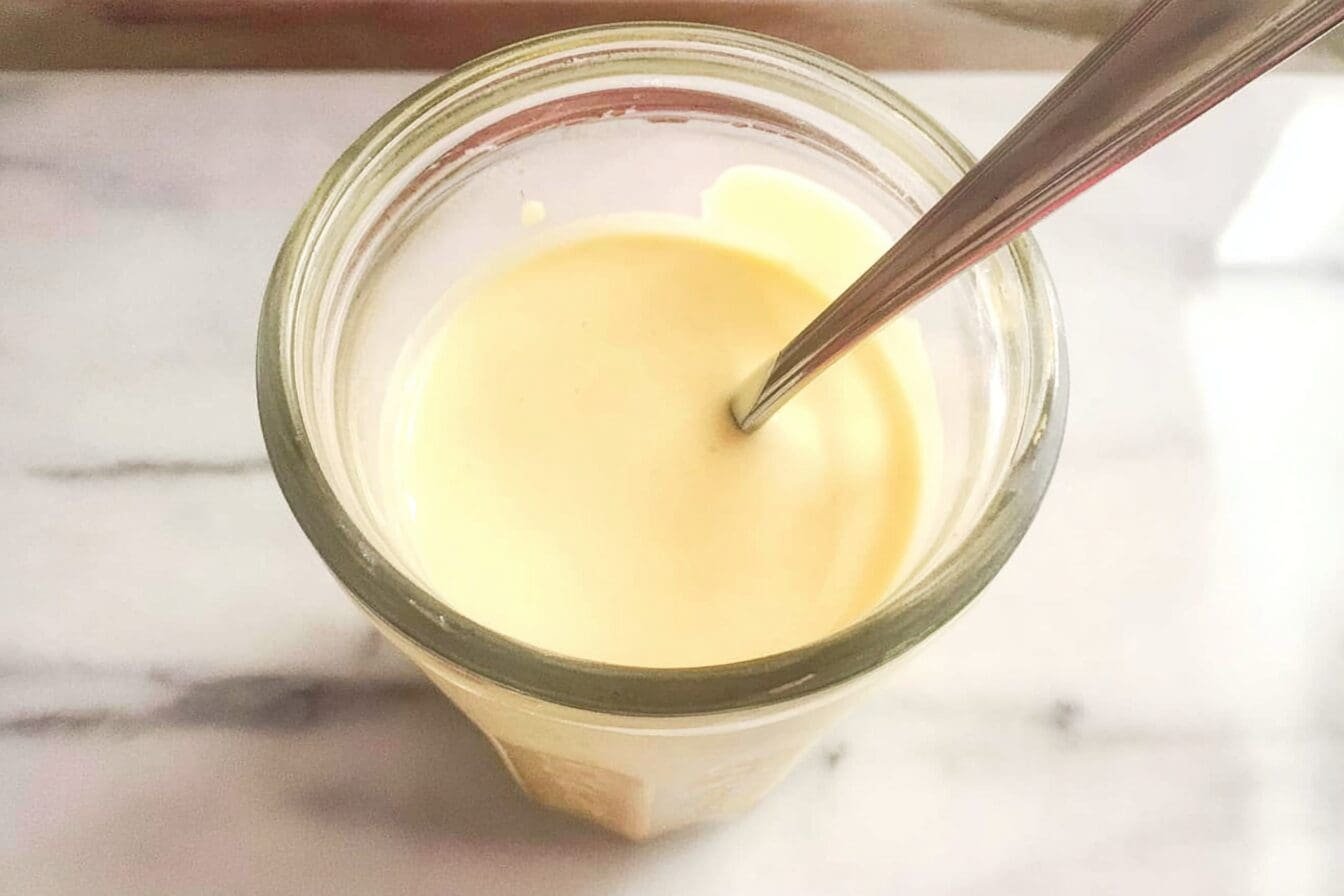
Fifth Step: Cool completely. Pour into a glass jar. Let sit at room temperature 30 minutes, then refrigerate. Stir before use as it may separate naturally.
Final Step: Store and use. Yields one can equivalent. Perfect for cinnamon roll honeybun cheesecake or fudge. Learn more about milk benefits here.
This make sweetened condensed milk from scratch process builds confidence in home cooks. Adjust heat if needed; low and slow is key.

Dietary Substitutions to Customize Your Sweetened Condensed Milk
Protein and Main Component Alternatives
Whole milk offers protein, but swap for 2% milk to cut fat. For higher protein, try enriched milk. Vegans use coconut or oat milk, simmering longer for thickness. These keep the diy sweetened condensed milk creamy.
Vegetable, Sauce, and Seasoning Modifications
No vegetables here, but add vanilla extract (1 tsp) for floral notes. Reduce sugar to 1 cup for less sweet sauce-like versions. Season with cinnamon for fall pies. Low-carb? Use allulose sweetener. These tweaks suit busy parents or seniors.
Test in small batches. Pair with gluten-free baking for travelers.
Mastering Sweetened Condensed Milk: Advanced Tips and Variations
Take your condensed milk recipe further with these ideas.
Pro cooking techniques: Use a candy thermometer; target 220°F for perfect thickness. Double boiler prevents scorching on electric stoves.
- Flavor variations: Infuse with coffee for mocha treats or lime zest for key lime pies.
- Presentation tips: Swirl into trifles or drizzle over fruit; jar in pretty bottles for gifts.
- Make-ahead options: Batch cook and freeze portions; thaw overnight for busy weeks.
Food enthusiasts experiment with browned butter for nutty depth.
How to Store Sweetened Condensed Milk: Best Practices
Proper storage keeps your homemade condensed milk fresh.
Refrigeration: Airtight jar in fridge lasts 2-4 weeks. Stir before use.
Freezing: Ice cube trays for 3-6 months; pop out portions.
Reheating: Warm gently in microwave, stir smooth. Avoid boiling.
Meal prep considerations: Make double batches for weekly desserts. Label dates for safety.
FAQs: Frequently Asked Questions About Sweetened Condensed Milk
What is sweetened condensed milk?
Sweetened condensed milk is a thick, sweet dairy product made by removing about 60% of the water from cow’s milk and adding sugar for preservation and flavor. It has a caramel-like consistency and high sugar content, around 45-55%, which acts as a natural preservative. Unlike regular milk, it doesn’t require refrigeration until opened. It’s a staple in baking and desserts worldwide, especially in tropical climates where fresh milk spoils quickly. One 14-ounce can typically equals 1 1/4 cups. Always check labels for fat content—full-fat versions yield creamier results in recipes. (72 words)
What’s the difference between sweetened condensed milk and evaporated milk?
Sweetened condensed milk and evaporated milk both have water removed (about 60%), but sweetened condensed milk includes 40-45% sugar, making it thick, sweet, and syrupy—ideal for desserts like fudge or tres leches cake. Evaporated milk has no added sugar, so it’s milder, less sweet, and used in savory dishes, coffee, or as a milk thickener. You can’t swap them directly in recipes; adding sugar to evaporated milk approximates condensed but won’t match the texture. Both are shelf-stable unopened. (89 words)
How long does opened sweetened condensed milk last in the fridge?
Once opened, store sweetened condensed milk in its can (or transfer to an airtight glass container) in the fridge, where it lasts 2-4 weeks. Cover the opening with plastic wrap if not using a container to prevent drying. Signs of spoilage include mold, off odors, or separation that doesn’t stir smooth. For longer storage, freeze in ice cube trays for up to 6 months—thaw portions as needed for recipes. Always stir well before use, as natural separation occurs. Avoid room temperature after opening to prevent bacterial growth. (92 words)
Can you make sweetened condensed milk at home?
Yes, make homemade sweetened condensed milk by simmering 2 cups whole milk with 1 1/2 cups sugar and 2 tablespoons butter over medium-low heat for 45-60 minutes, stirring constantly until reduced to 1 1/4 cups and thick/coated-spoon consistency. Add a pinch of salt for balance. Use a heavy-bottomed pot to avoid scorching. Cool completely before storing in a jar in the fridge (lasts 2 weeks) or freezer (3 months). It’s fresher without preservatives and perfect for customizing sweetness in pies or ice cream. Yields one standard can. (96 words)
What can I substitute for sweetened condensed milk?
For a quick substitute, mix 1 cup evaporated milk with 1/4-1/2 cup sugar and simmer 20 minutes until thickened (makes 1 cup). Or blend 1 cup dry milk powder, 1/2 cup hot water, 1 cup sugar, and 2 tablespoons butter, then heat until smooth. Coconut milk versions work for vegan recipes—reduce 2 cans full-fat coconut milk with 3/4 cup sugar. These mimic texture but adjust sweetness per recipe. In baking like no-bake cookies, heavy cream + powdered sugar can pinch-hit. Test small batches first. (94 words)

Sweetened Condensed Milk
- Total Time: 1 hour 55 minutes
- Yield: 2 cups 1x
- Diet: Vegetarian
Description
🥛 Create your own sweetened condensed milk at home with just two simple ingredients, saving money and avoiding store-bought versions with unwanted additives
🍯 Master this versatile pantry staple that’s perfect for desserts, coffee, baking, and countless recipes while controlling the sweetness and quality yourself
Ingredients
2 cups whole milk for creamy base and natural sweetness
1 1/2 cups granulated sugar for sweetening and preservation
2 tablespoons unsalted butter for richness and smoothness
Pinch of salt for flavor balance
Instructions
1-First Step: Combine the milk and sugar. Pour 2 cups whole milk into the saucepan. Add 1 1/2 cups granulated sugar. Stir over medium heat until sugar fully dissolves, about 5 minutes. This creates a smooth base.
2-Second Step: Bring to a gentle simmer. Lower heat to medium-low. Add 2 tablespoons unsalted butter and a pinch of salt. Stir constantly with a wooden spoon to prevent sticking. Bubbles should form slowly around the edges.
3-Third Step: Reduce patiently. Simmer for 40-50 minutes, stirring every 30 seconds. Milk thickens gradually, turning golden. Scrape sides and bottom regularly. Aim for 1 1/4 cups volume; it coats the spoon thickly.
4-Fourth Step: Test for doneness. Drop a bit into cold water; it forms a soft ball. Or use the spoon test: it holds shape briefly before dripping. Remove from heat immediately to stop cooking.
5-Fifth Step: Cool completely. Pour into a glass jar. Let sit at room temperature 30 minutes, then refrigerate. Stir before use as it may separate naturally.
6-Final Step: Store and use. Yields one can equivalent. Perfect for cinnamon roll honeybun cheesecake or fudge. Learn more about milk benefits here.
Notes
🥛 Use whole milk for the richest, creamiest results – low-fat milk won’t reduce properly and may result in a grainy texture
🍯 Stir frequently especially towards the end of cooking time – the sugar can burn easily and will ruin the entire batch
⏰ Be patient with the cooking time – rushing the process by increasing heat will cause scorching and create an off-flavor
- Prep Time: 5 minutes
- Cooling time: 1 hour
- Cook Time: 50 minutes
- Category: Pantry Staple
- Method: Stovetop Cooking
- Cuisine: Universal
Nutrition
- Serving Size: 2 tablespoons
- Calories: 90
- Sugar: 14g
- Sodium: 20mg
- Fat: 2.5g
- Saturated Fat: 1.5g
- Unsaturated Fat: 0.8g
- Trans Fat: 0g
- Carbohydrates: 15g
- Fiber: 0g
- Protein: 2g
- Cholesterol: 10mg
Keywords: undefined