Benefits and Advantages of sourdough crescent rolls
Sourdough crescent rolls combine simplicity and remarkable flavor with several health perks. Their natural fermentation process uses an active sourdough starter instead of commercial yeast or chemical leaveners, which improves digestibility and nutrient availability, attracting health-conscious bakers. The longer fermentation creates a tangy flavor and a tender crumb that regular crescent rolls don’t have.
These rolls are also versatile and accessible, requiring no special pastry skills, making them appealing for both beginners and seasoned bakers. The fermentation lowers the glycemic index, aiding blood sugar control, and adds depth of flavor that’s subtle yet distinct. Plus, sourdough’s natural enzymes and bacteria may support gut health, making these rolls a wholesome choice for everyday meals or special gatherings.
The sourdough crescent rolls’ soft, flaky texture and complex taste profile make them a delicious and nutritious alternative to traditional crescent rolls.
Adding sourdough crescent rolls to your baking rotation means enjoying authentic flavor with natural leavening, plus compatibility with various dietary modifications. For more bread ideas using natural fermentation, see the Quick Bread in 10 Minutes recipe on my site.
Jump To
- 1. Benefits and Advantages of sourdough crescent rolls
- 2. Essential Ingredients for sourdough crescent rolls
- 3. Dietary Substitutions to Customize Your sourdough crescent rolls
- 4. How to Prepare the Perfect sourdough crescent rolls: Step-by-Step Guide
- 5. Advanced Tips and Variations
- 6. How to Store Sourdough Crescent Rolls: Best Practices
- 7. Nutritional Value of Sourdough Crescent Rolls
- 8. FAQs: Frequently Asked Questions About Sourdough Crescent Rolls
- 9. sourdough crescent rolls
Essential Ingredients for sourdough crescent rolls
These sourdough crescent rolls use a short list of core ingredients that balance structure, flavor, and texture. Below is a detailed list with precise measurements as used in this recipe:
- 400 grams (2 1/2 cups) bread flour
- 200 grams (1 cup) active sourdough starter
- 7 grams (1 1/4 teaspoons) salt
- 53 grams (1/4 cup) water
- 57 grams (1/4 cup or 1/2 stick) unsalted butter, plus extra for brushing
- 48 grams (1/4 cup) sugar
- Optional: 1 egg (for egg wash)
| Ingredient | Measurement | Purpose |
|---|---|---|
| Bread flour | 400 grams (2 1/2 cups) | Provides structure and gluten development |
| Active sourdough starter | 200 grams (1 cup) | Natural leavening and flavor enhancement |
| Salt | 7 grams (1 1/4 teaspoons) | Flavor balancing and gluten strengthening |
| Water | 53 grams (1/4 cup) | Hydrates the dough for texture |
| Unsalted butter | 57 grams (1/4 cup or 1/2 stick), plus extra for brushing | Richness and flakiness |
| Sugar | 48 grams (1/4 cup) | Feeds starter and adds slight sweetness |
| Egg (optional) | 1 | For browning the crust when brushed on |
Using these simple, quality ingredients combined with natural fermentation yields a soft, flaky roll with a gentle sweetness and rich texture.

Dietary Substitutions to Customize Your sourdough crescent rolls
This sourdough crescent rolls recipe can be adapted to many dietary needs while maintaining its texture and flavor. Here are some common substitutions home bakers use:
For Vegan-Friendly Rolls
- Replace unsalted butter with coconut oil or vegan margarine for richness without dairy.
- Swap water for plant-based milk alternatives like almond or oat milk to add moisture and tenderness.
- Use aquafaba (chickpea water) or a flax egg to replace the optional egg wash.
For Gluten-Free Versions
- Substitute bread flour with a gluten-free flour blend suited for yeasted breads such as a mix of rice flour, tapioca starch, and xanthan gum.
- Hydration adjustments might be needed; start with slightly less liquid and add as required.
- Use a stand mixer to assist kneading and to properly incorporate gluten-free flours.
For Lower-Calorie or Health-Conscious Options
- Opt for reduced-fat plant-based butter or oil alternatives.
- Reduce sugar slightly or replace it with natural sweeteners like maple syrup in modest amounts.
- Consider adding whole wheat flour (up to half the bread flour) for extra fiber and nutrients, noting that fermentation time may be affected.
Other Substitutions and Tips
- Salt can be reduced to taste or replaced with Himalayan pink salt or sea salt.
- Experiment with water temperature to affect fermentation speed warm water speeds it up; cooler water slows it.
Thoughtful substitutions allow you to personalize sourdough crescent rolls to your dietary needs without sacrificing their signature soft, flaky texture.
Adjustments like these make these rolls accessible to more people while keeping them delicious and wholesome.
How to Prepare the Perfect sourdough crescent rolls: Step-by-Step Guide
Follow these steps carefully to bake soft, flaky sourdough crescent rolls that impress with their natural flavor and texture.
Step 1: Prepare Your Starter
Feed your sourdough starter 4 to 6 hours before mixing dough to ensure it’s bubbly and active. A well-fed starter provides strong natural leavening. Learn more about starter care at How to Make Sourdough Starter.
Step 2: Combine Liquids
In a microwave-safe bowl, gently heat 53 grams (1/4 cup) water with 57 grams (1/4 cup) butter and 48 grams (1/4 cup) sugar until the butter just melts (about 30 seconds to 1 minute).
Step 3: Mix Dough
Transfer this liquid mixture to a large mixing bowl. Stir in 200 grams (1 cup) active sourdough starter until incorporated. Add 400 grams (2 1/2 cups) bread flour and 7 grams (1 1/4 teaspoons) salt. Stir with a spoon until a rough dough forms.
Step 4: Knead the Dough
Knead the dough on a lightly floured surface for 5 to 8 minutes until smooth and stretchy. The dough will be slightly drier than typical bread dough. For a silkier texture, add up to 20 grams (about 1 1/2 tablespoons) extra water. Use the windowpane test to check gluten development (gently stretch a small piece until thin without tearing).
Step 5: Bulk Fermentation
Place the dough in an oiled bowl, cover, and let it rise at room temperature for 8 to 10 hours or overnight, until doubled in size. Warmer environments shorten this time, cooler ones extend it.
Step 6: Shaping the Rolls
After bulk fermentation, flatten the dough into a 1/4-inch thick circle with hands or a rolling pin. Cut into 12 equal triangular wedges.
Step 7: Roll into Crescents
Roll each wedge from the wide end to the tip, forming crescents. Flatten the tail of each roll to seal it properly and prevent unrolling during baking. Place on parchment-lined baking sheets.
Step 8: Proofing
Cover and proof the shaped rolls for another 8 to 10 hours until puffed and doubled. For flexibility, refrigerate after the first rise and proof later, bringing them back to room temperature before baking.
Step 9: Baking
Preheat the oven to 400°F (204°C) at least 30 minutes before baking. Optionally, brush rolls with a beaten egg for a shiny golden crust. Bake for 25 to 30 minutes until golden brown.
Step 10: Finishing Touches
Remove from oven, brush with melted butter, and cool on a wire rack for at least 30 minutes before serving to develop optimal texture and flavor.
Patience in fermentation and gentle handling of dough result in sourdough crescent rolls with tender, flaky layers and complex flavor.
For more detailed baking tips, visit Tips for Baking Perfect Crescent Rolls.
Advanced Tips and Variations
Making sourdough crescent rolls offers plenty of opportunities to customize and improve the final product. Here are some advanced tips and tasty variations that can help you master this homemade treat:
Adjusting Hydration and Fermentation
- Hydration: Adding an extra 20 grams (about 1 1/2 tablespoons) of water during kneading results in a softer, silkier dough. This slight tweak creates a delicate crumb.
- Fermentation Time: Extending bulk fermentation enhances the sour flavor; however, be mindful of ambient temperature to avoid overproofing that weakens dough structure.
- Proofing Flexibility: After shaping, refrigerate the dough to proof slowly overnight. This allows better flavor development and offers convenient timing options.
Flavor and Texture Variations
- Herbs and Spices: Mix in dried herbs like rosemary or thyme or add garlic powder for savory notes.
- Cheeses: Incorporate finely shredded cheddar, parmesan, or asiago within the dough for richness.
- Sweet Fillings: Roll dough around cinnamon and sugar or fruit preserves to transform rolls into a sweet treat.
- Additional Ingredients: Sun-dried tomatoes, olive tapenade, or caramelized onions create flavorful savory variations.
Improving Baking Results
- Bake in a Dutch oven or cover rolls with a bowl during early baking to sustain humidity for softer crusts.
- Brush with an egg wash or melted butter before baking (or after baking for an extra buttery finish) for a glossy, golden exterior.
These tips let you personalize sourdough crescent rolls to your taste while improving texture, flavor, and appearance.
If you enjoy experimenting with dough, check out my recipe for Sausage Cream Cheese Crescents for another versatile yeast dough option perfect for savory baking.
How to Store Sourdough Crescent Rolls: Best Practices
Proper storage is key to maintaining the delicate texture and rich flavors of sourdough crescent rolls. Here is how to keep your rolls fresh and enjoyable:
Short-Term Storage (Room Temperature)
- Let rolls cool completely on a wire rack to prevent condensation buildup.
- Store in an airtight container or resealable plastic bag at room temperature for up to 2 days.
- Avoid refrigeration immediately after baking as it can dry out the rolls.
Longer Storage (Refrigeration)
- If you need to keep rolls longer, wrap them tightly in plastic wrap or foil before refrigerating.
- They keep up to 1 week in the fridge but may lose some softness.
Freezing for Extended Freshness
- Flash freeze unbaked rolls on baking sheets for 1-2 hours before transferring to freezer bags for up to 3 months.
- Alternatively, freeze fully baked and cooled rolls, wrapped tightly to avoid freezer burn.
- To thaw, transfer rolls to the refrigerator overnight or at room temperature for a few hours.
- Reheat in a 350°F (175°C) oven for 5-10 minutes, wrapped in foil to keep them moist.
| Storage Method | Duration | Tips |
|---|---|---|
| Room Temperature | Up to 2 days | Use airtight container; cool rolls fully |
| Refrigeration | Up to 1 week | Wrap tightly; expect slight loss of softness |
| Freezing | Up to 3 months | Flash freeze unbaked or freeze baked rolls; reheat gently |
Following these storage techniques will keep your sourdough crescent rolls fresh and flavorful for whenever you want to enjoy them again.
Nutritional Value of Sourdough Crescent Rolls
Sourdough crescent rolls offer a wholesome alternative to commercial crescent rolls, featuring natural fermentation benefits and a balanced nutrient profile. Here’s an overview of their typical nutritional content per roll:
| Nutrient | Amount per Roll | Notes |
|---|---|---|
| Calories | 150 – 180 | Depends on butter amount and size of rolls |
| Total Fat | 6 – 8 grams | Primarily from butter or fat substitute |
| Protein | 3 – 5 grams | Enhanced by fermentation, which improves amino acid availability |
| Carbohydrates | 20 – 25 grams | Lower glycemic response due to natural fermentation |
| Dietary Fiber | 1 – 3 grams | Varies by flour choice; whole grain options provide more fiber |
| Sodium | 150 – 250 milligrams | From added salt and starter |
| Minerals | Iron, magnesium, zinc (trace amounts) | Improved bioavailability due to fermentation |
Natural fermentation also contributes to improved digestibility and potential gut health benefits. For further insights into these benefits, see the Health Benefits of Sourdough Bread.

FAQs: Frequently Asked Questions About Sourdough Crescent Rolls
What makes sourdough crescent rolls different from regular crescent rolls?
Sourdough crescent rolls use a fermented sourdough starter instead of commercial yeast, giving them a tangy flavor and a chewier texture. The natural fermentation also helps improve digestibility and shelf life. Unlike regular crescent rolls, sourdough versions require a longer fermentation time, which develops more complex flavors and a slightly denser crumb while maintaining a soft, tender roll.
Can I substitute all-purpose flour for bread flour in sourdough crescent rolls?
Yes, you can use all-purpose flour instead of bread flour in a 1:1 ratio. Bread flour has higher protein content, which helps gluten development and results in a chewier texture and better rise. Using all-purpose flour will produce a softer, more tender roll, but kneading the dough thoroughly is important to build enough gluten for structure.
How do I shape sourdough crescent rolls to look like mini croissants?
To shape mini sourdough croissants, divide the dough into smaller portions and roll each into a circle. Cut the circle into smaller wedges, then roll each wedge starting from the wider end to form a crescent shape. Lightly dust the surface with flour to prevent sticking. Bake them at the recommended temperature but check for doneness a few minutes earlier due to their smaller size.
What is the best way to schedule making sourdough crescent roll dough for an evening bake?
Mix the dough in the evening and let it bulk ferment overnight at room temperature or in the fridge for slower fermentation. The next morning, shape the rolls and allow them to proof until doubled in size before baking. If refrigerating after the first rise, take the dough out ahead of time to come to room temperature before shaping and proofing.
How do I keep my sourdough starter ready for making crescent rolls?
Feed your sourdough starter 4 to 6 hours before starting the dough to ensure it becomes bubbly and active, which helps the rolls rise properly. Use a “float test” to check readiness: drop a spoonful of starter in water—if it floats, it’s ready to bake with. Keeping your starter at consistent temperature and feeding schedule supports a strong rise and better flavor.

sourdough crescent rolls
- Total Time: 18 hours 35 minutes
- Yield: 12 crescent rolls 1x
- Diet: Vegetarian
Description
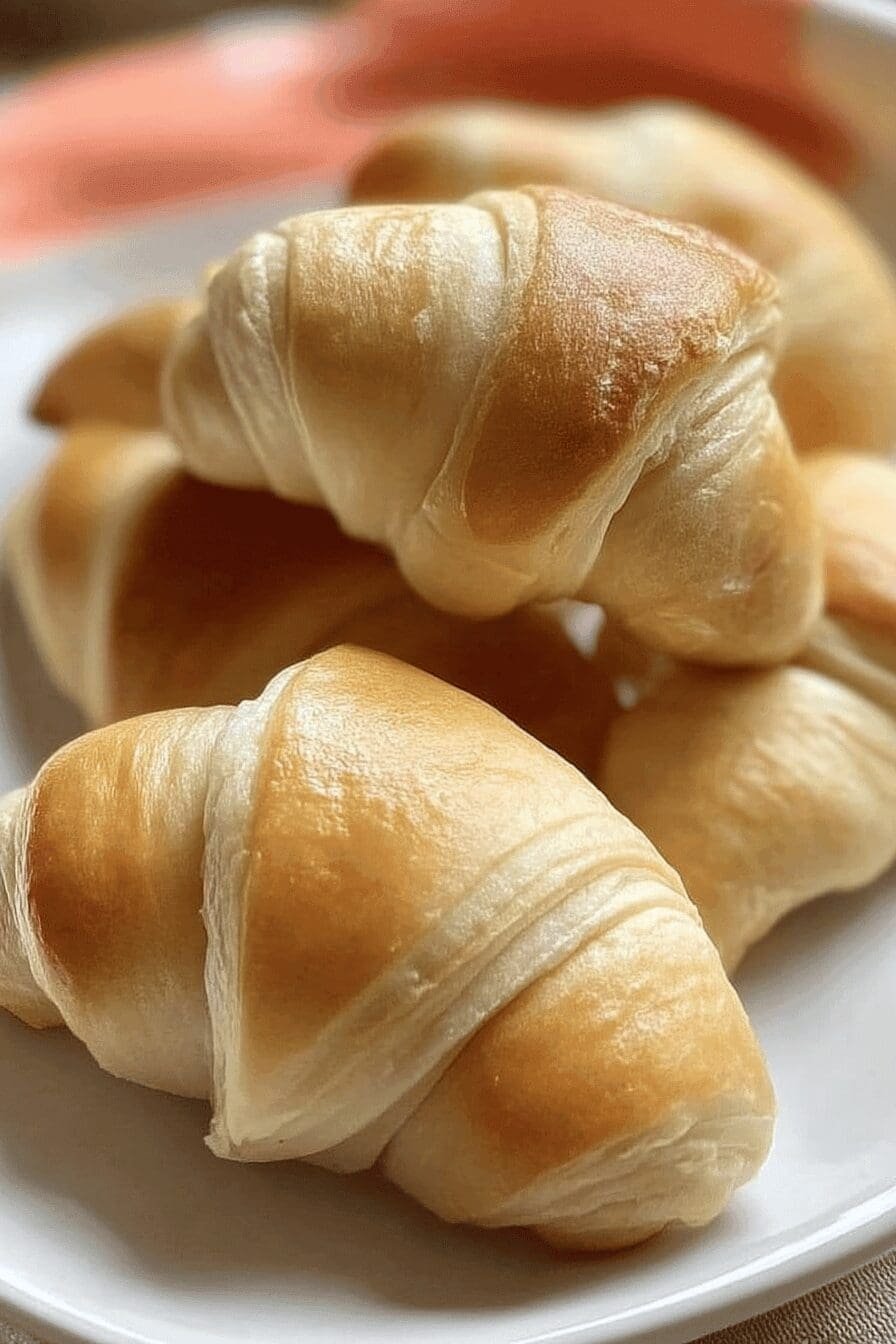
🥐 These Sourdough Crescent Rolls rely on natural fermentation, delivering a soft, fluffy, and flavorful roll without commercial yeast.
🍞 Perfect for those who enjoy homemade baked goods with a rich, tender texture and a subtle tang from the sourdough starter.
Ingredients
400 grams (2 1/2 cups) bread flour
200 grams (1 cup) active sourdough starter
7 grams (1 1/4 teaspoons) salt
53 grams (1/4 cup) water
57 grams (1/4 cup or 1/2 stick) unsalted butter, plus extra for brushing
48 grams (1/4 cup) sugar
Optional: 1 egg (for egg wash)
Instructions
Step 1: Prepare Your Starter
Feed your sourdough starter 4 to 6 hours before mixing dough to ensure it’s bubbly and active. A well-fed starter provides strong natural leavening. Learn more about starter care at How to Make Sourdough Starter.
Step 2: Combine Liquids
In a microwave-safe bowl, gently heat 53 grams (1/4 cup) water with 57 grams (1/4 cup) butter and 48 grams (1/4 cup) sugar until the butter just melts (about 30 seconds to 1 minute).
Step 3: Mix Dough
Transfer this liquid mixture to a large mixing bowl. Stir in 200 grams (1 cup) active sourdough starter until incorporated. Add 400 grams (2 1/2 cups) bread flour and 7 grams (1 1/4 teaspoons) salt. Stir with a spoon until a rough dough forms.
Step 4: Knead the Dough
Knead the dough on a lightly floured surface for 5 to 8 minutes until smooth and stretchy. The dough will be slightly drier than typical bread dough. For a silkier texture, add up to 20 grams (about 1 1/2 tablespoons) extra water. Use the windowpane test to check gluten development (gently stretch a small piece until thin without tearing).
Step 5: Bulk Fermentation
Place the dough in an oiled bowl, cover, and let it rise at room temperature for 8 to 10 hours or overnight, until doubled in size. Warmer environments shorten this time, cooler ones extend it.
Step 6: Shaping the Rolls
After bulk fermentation, flatten the dough into a 1/4-inch thick circle with hands or a rolling pin. Cut into 12 equal triangular wedges.
Step 7: Roll into Crescents
Roll each wedge from the wide end to the tip, forming crescents. Flatten the tail of each roll to seal it properly and prevent unrolling during baking. Place on parchment-lined baking sheets.
Step 8: Proofing
Cover and proof the shaped rolls for another 8 to 10 hours until puffed and doubled. For flexibility, refrigerate after the first rise and proof later, bringing them back to room temperature before baking.
Step 9: Baking
Preheat the oven to 400°F (204°C) at least 30 minutes before baking. Optionally, brush rolls with a beaten egg for a shiny golden crust. Bake for 25 to 30 minutes until golden brown.
Step 10: Finishing Touches
Remove from oven, brush with melted butter, and cool on a wire rack for at least 30 minutes before serving to develop optimal texture and flavor.
Notes
🕒 Feed your sourdough starter 4 to 6 hours before starting for best rise.
⚖️ Use a digital kitchen scale for accurate ingredient measurement.
🧪 Perform the windowpane test after kneading to ensure good gluten development.
- Prep Time: 10 minutes
- Fermentation and Proofing Time: 16-20 hours
- Cook Time: 25-30 minutes
- Category: Bread
- Method: Baking
- Cuisine: American
Nutrition
- Serving Size: 1 crescent roll
- Calories: 160-190 kcal
- Sugar: 4-5 g
- Sodium: 250-300 mg
- Fat: 6-8 g
- Saturated Fat: 3-4 g
- Unsaturated Fat: 2-3 g
- Trans Fat: 0 g
- Carbohydrates: 22-25 g
- Fiber: 1-2 g
- Protein: 4-5 g
- Cholesterol: 20-30 mg
Keywords: Sourdough Crescent Rolls, Sourdough Discard Recipe, Homemade Crescent Rolls, Soft Flaky Rolls
These sourdough crescent rolls are such a delightful twist on the classic! 🥐 I substituted half of the all-purpose flour with whole wheat flour, and they still turned out fluffy and flavorful. Will definitely make them again!
★★★★★