Benefits and Advantages of raspberry lemonade bars
- Ease of preparation: Raspberry lemonade bars are incredibly simple to make, requiring minimal ingredients and quick steps. Their straightforward preparation makes them the perfect choice for a delightful treat that doesn’t require hours in the kitchen.
- Health benefits: Combining antioxidant-rich fresh raspberries with the vitamin C-packed lemon juice, these bars offer a refreshing dessert option with nutritional perks. The natural fruit and moderate sugar content make for a lighter, wellness-friendly sweet treat.
- Versatility: The recipe can be easily adapted for various dietary restrictions such as vegan, gluten-free, or low-calorie diets by swapping specific ingredients while preserving the core flavors.
- Distinctive flavor: The unique balance of tart raspberries with zesty, bright lemonade flavor delivers a refreshing twist unlike traditional dessert bars, making them memorable and perfect for warm weather or anytime you want a light but satisfying treat.
Jump To
- 1. Benefits and Advantages of raspberry lemonade bars
- 2. Essential Ingredients for raspberry lemonade bars
- 3. Dietary Substitutions to Customize Your raspberry lemonade bars
- 4. How to Prepare the Perfect raspberry lemonade bars: Step-by-Step Guide
- 5. Mastering raspberry lemonade bars: Advanced Tips and Variations
- 6. How to Store raspberry lemonade bars: Best Practices
- 7. FAQs: Frequently Asked Questions About raspberry lemonade bars
- 8. raspberry lemonade bars
Essential Ingredients for raspberry lemonade bars
- 1/2 cup softened butter – adds richness and moisture to the batter
- 3/4 cup granulated sugar – balances the tartness of lemon and raspberries
- 2 large eggs – bind the batter and provide structure
- 1 tablespoon fresh lemon juice – delivers bright, tangy flavor
- 1/4 teaspoon salt – enhances overall flavor balance
- Zest of 1/2 lemon – adds aromatic citrus notes
- 3/4 cup all-purpose flour – forms the base of the batter
- 3/4 to 1 cup fresh raspberries – provide natural sweetness and vibrant color
- For the glaze:
- 1 cup powdered sugar
- 1 tablespoon seedless raspberry jam
- 1 tablespoon lemon juice
- Zest of 1/2 lemon
Special Dietary Options:
- Vegan: Replace butter with coconut oil or vegan margarine and use a flax egg substitute.
- Gluten-free: Substitute all-purpose flour with a gluten-free baking blend.
- Low-calorie: Use a natural sweetener like stevia instead of sugar and a low-fat butter alternative.

Dietary Substitutions to Customize Your raspberry lemonade bars
Protein and Main Component Alternatives: For vegan or allergy-friendly versions, use plant-based baking proteins such as pea protein powder or ground flaxseeds as egg replacers. Pumpkin or chia seeds can add texture and nutrition without overwhelming the fresh fruity flavor.
Flavor and Seasonal Modifications: Fresh herbs like mint or basil can be added to the batter or glaze for a refreshing herbal twist. Switch raspberries for blueberries or strawberries based on seasonal availability. For a richer finish, drizzle with lemon glaze or raspberry coulis. These easy swaps keep the recipe flexible and suitable for personal preferences or dietary needs.
How to Prepare the Perfect raspberry lemonade bars: Step-by-Step Guide
- Preheat oven: Set oven temperature to 350°F (175°C). Prepare an 8×8-inch baking pan by greasing or lining it with parchment paper to prevent sticking.
- Mix dry ingredients: Combine the flour, baking powder, salt, and lemon zest thoroughly in a bowl to form the dry base.
- Combine wet ingredients: In a separate bowl, whisk together the softened butter, granulated sugar, fresh lemon juice, and fresh raspberries gently to incorporate the fruit without breaking it up too much.
- Fold batter: Gradually fold the dry mixture into the wet ingredients until just combined, taking care not to overmix to keep the bars tender.
- Spread batter: Pour the batter into the prepared pan and smooth the top evenly with a spatula.
- Bake: Bake for 25-30 minutes, until the edges are golden brown and a toothpick inserted in the center comes out clean but with a moist texture.
- Cool completely: Allow the bars to cool fully in the pan to maintain their shape and crumb texture before glazing.
- Prepare glaze: Whisk together powdered sugar, seedless raspberry jam, lemon juice, and lemon zest until smooth. Spread evenly over the cooled bars.
- Set glaze: Let the glaze set for at least 20 minutes before slicing into squares.
Optional toppings like powdered sugar dusting or a creamy cheesecake swirl can add extra indulgence. For a vegan twist, use dairy-free creams and butter substitutes for the glaze and base.
For more bright citrus desserts, visit Lemon Cheesecake Cake.
Get tips on baking with lemon zest at Tips for Baking with Lemon Zest and explore how to make these bars at How to Make Raspberry Lemonade Bars.
Discover nutrition insights about raspberries at Health Benefits of Raspberries.
Mastering raspberry lemonade bars: Advanced Tips and Variations
Pro cooking techniques: For a firmer texture, chill the batter before baking to help it set more evenly. Use a silicone spatula when folding in raspberries to gently incorporate them without crushing, preserving beautiful fruit chunks throughout the bars. Avoid overbaking; a toothpick inserted should come out with moist crumbs to keep that signature tender, moist texture reminiscent of brownies.
Flavor variations: Try adding a pinch of ginger or cardamom to introduce subtle warmth and complexity. Incorporate white chocolate chips for a touch of sweetness that balances the tartness of lemon and raspberries. For a creamier twist, add a layer of cream cheese swirl before baking, combining the best of cheesecake bars with lemonade bars.
Presentation tips: Serve the bars on decorative platters garnished with fresh raspberries, thin lemon slices, and a sprig of fresh mint to enhance visual appeal. For special occasions, dust lightly with powdered sugar or drizzle with additional lemon glaze for an elegant finish.
Make-ahead options: Prepare the batter a day in advance and refrigerate to develop deeper flavors. Baked bars can be individually wrapped and frozen for up to 3 months, making them convenient snacks or desserts ready to thaw and enjoy at any time.
How to Store raspberry lemonade bars: Best Practices
- Refrigeration: Store cooled raspberry lemonade bars in an airtight container in the refrigerator for up to 4-5 days. Make sure bars are completely cool before sealing to prevent moisture buildup that can soften the crust.
- Freezing: Individually wrap each bar tightly in plastic wrap, then place them in a freezer-safe bag. Freeze for up to 3 months without sacrificing quality or flavor. Thaw wrapped bars at room temperature or overnight in the fridge for best results.
- Reheating: If desired, warm bars gently in the microwave for 15-20 seconds to restore softness without melting the glaze. Avoid prolonged heating to maintain the texture and visual appeal.
- Meal prep considerations: These bars are perfect for batch baking to have on hand as grab-and-go snacks or light desserts. Portion and store to simplify weekday treats or party preparations.
FAQs: Frequently Asked Questions About raspberry lemonade bars
Can I use frozen raspberries when making raspberry lemonade bars?
Yes, frozen raspberries can be used in raspberry lemonade bars. To prevent the batter from turning pink and becoming too watery, chop the frozen raspberries slightly and fold them into the batter while still frozen. This helps maintain the texture and color of the bars.
What is the best way to make a lemon raspberry glaze for raspberry lemonade bars?
To make a lemon raspberry glaze, mix powdered sugar, fresh lemon juice, lemon zest, and seedless raspberry jam until smooth. Aim for a consistency that is thick enough to stay on top of the bars but spreadable. Pour the glaze over cooled bars and spread evenly, then allow it to set completely before cutting.
How should I store raspberry lemonade bars to keep them fresh?
Store raspberry lemonade bars in an airtight container in the refrigerator. They will stay fresh for up to 2 days. Keep in mind the crust may soften over time, so for best texture, consume them within this timeframe.
Can raspberry lemonade bars be frozen, and how do I thaw them?
Yes, you can freeze raspberry lemonade bars. Place them in an airtight container or wrap tightly with plastic wrap and foil to prevent freezer burn. Freeze for up to 2 months. To thaw, transfer the bars to the refrigerator and let them defrost overnight or leave them at room temperature for about an hour before serving.
What type of pan works best for baking raspberry lemonade bars?
Use a light-colored 8×8-inch metal baking pan lined with parchment paper or foil. Metal pans provide even heat distribution and help prevent overbaking. Avoid glass or ceramic pans unless you adjust the baking time, as they may require longer to bake the bars evenly.

raspberry lemonade bars
- Total Time: 30 minutes
- Yield: 16 bars 1x
- Diet: Vegetarian
Description
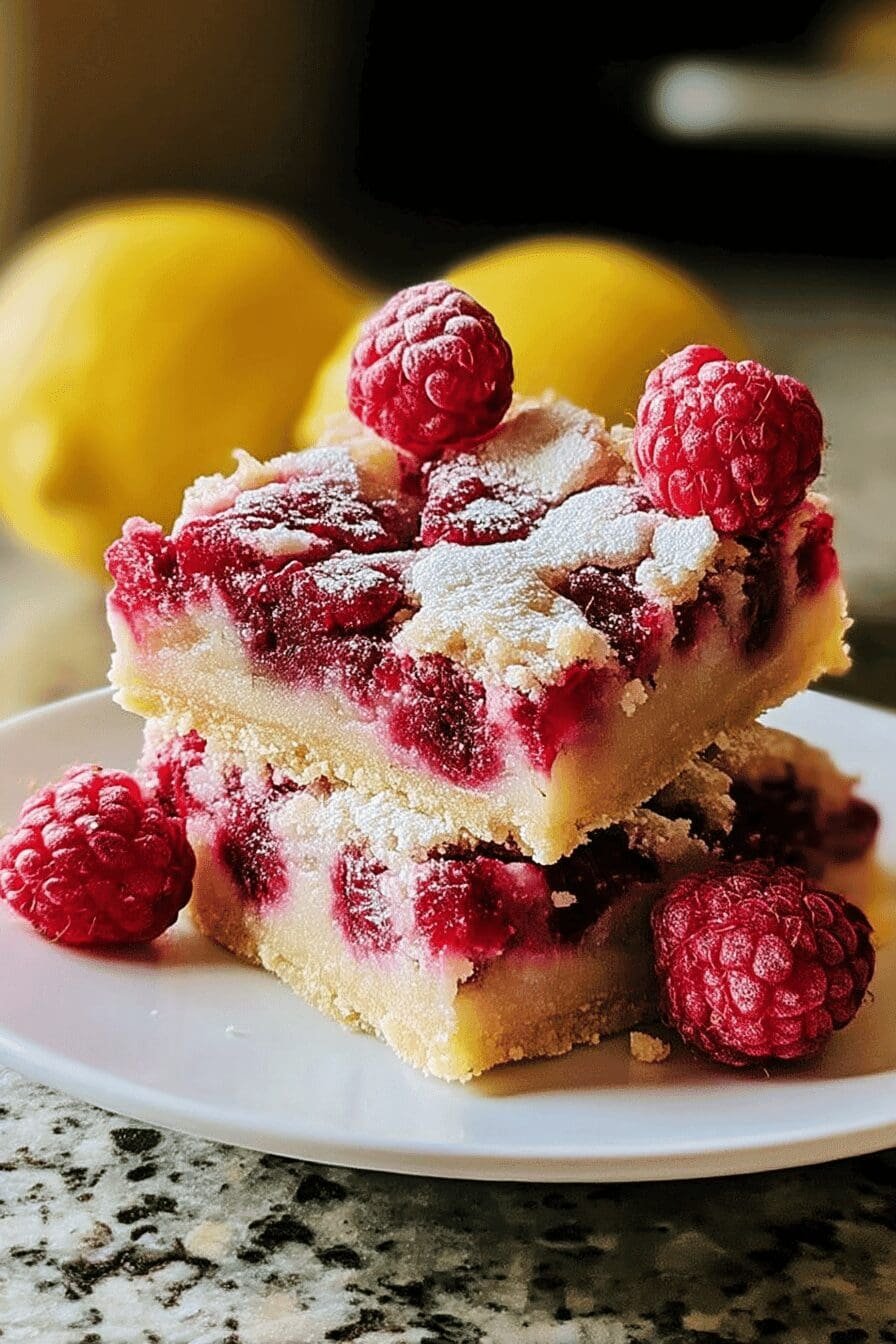
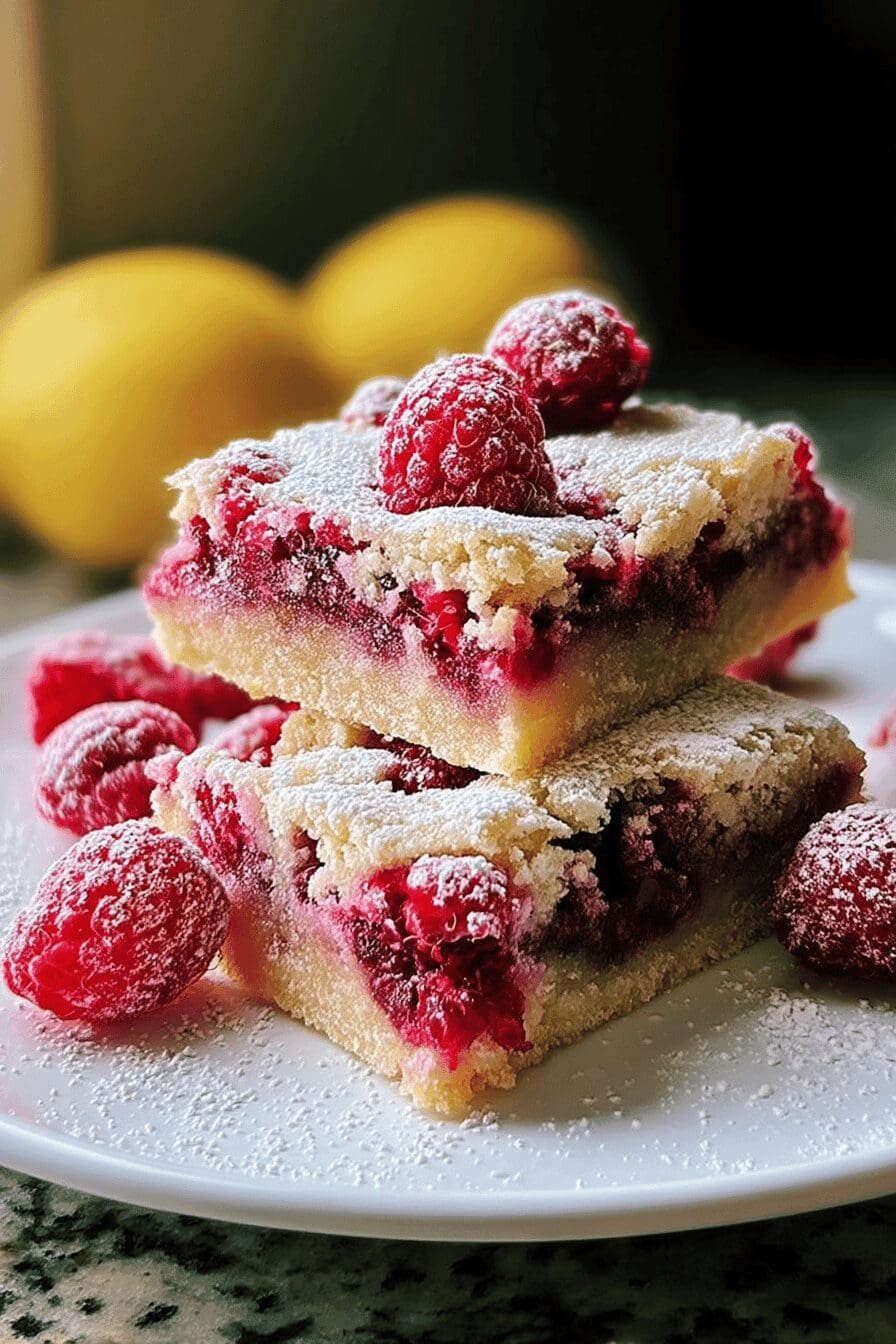
🍋 Raspberry Lemonade Bars offer a refreshing blend of tangy lemon and sweet raspberries, perfect for a bright and moist dessert treat.
🍰 The creamy cheesecake swirl adds a luscious texture that makes these bars a delightful indulgence for any occasion.
Ingredients
1/2 cup softened butter
3/4 cup granulated sugar
2 large eggs
1 tablespoon fresh lemon juice
1/4 teaspoon salt
Zest of 1/2 lemon
3/4 cup all-purpose flour
3/4 to 1 cup fresh raspberries
1 cup powdered sugar
1 tablespoon seedless raspberry jam
1 tablespoon lemon juice
Zest of 1/2 lemon
Instructions
1-Preheat oven: Set oven temperature to 350°F (175°C). Prepare an 8×8-inch baking pan by greasing or lining it with parchment paper to prevent sticking.
2-Mix dry ingredients: Combine the flour, baking powder, salt, and lemon zest thoroughly in a bowl to form the dry base.
3-Combine wet ingredients: In a separate bowl, whisk together the softened butter, granulated sugar, fresh lemon juice, and fresh raspberries gently to incorporate the fruit without breaking it up too much.
4-Fold batter: Gradually fold the dry mixture into the wet ingredients until just combined, taking care not to overmix to keep the bars tender.
5-Spread batter: Pour the batter into the prepared pan and smooth the top evenly with a spatula.
6-Bake: Bake for 25-30 minutes, until the edges are golden brown and a toothpick inserted in the center comes out clean but with a moist texture.
7-Cool completely: Allow the bars to cool fully in the pan to maintain their shape and crumb texture before glazing.
8-Prepare glaze: Whisk together powdered sugar, seedless raspberry jam, lemon juice, and lemon zest until smooth. Spread evenly over the cooled bars.
9-Set glaze: Let the glaze set for at least 20 minutes before slicing into squares.
Notes
🍋 Zest the lemon before juicing to maximize citrus flavor in the bars and glaze.
🍓 Fold in raspberries gently to preserve fruit chunks and prevent breaking them up.
⏳ Allow the glaze to set fully before cutting to achieve neat, clean slices.
- Prep Time: 5 minutes
- Baking Time: 25 minutes
- Cook Time: 25 minutes
- Category: Dessert
- Method: Baking
- Cuisine: American
Nutrition
- Serving Size: 1 bar
- Calories: 180 kcal
- Sugar: 20 g
- Sodium: 80 mg
- Fat: 8 g
- Saturated Fat: 5 g
- Unsaturated Fat: 3 g
- Trans Fat: 0 g
- Carbohydrates: 26 g
- Fiber: 1 g
- Protein: 2 g
- Cholesterol: 35 mg
Keywords: Raspberry Lemonade Bars, Cheesecake Swirl Bars, Tangy Dessert, Lemon Raspberry Treat
These turned out AMAZING! 🍋 I added a little more zest to mine, and everyone was raving about the fresh flavor. My family can’t get enough, and I think these will be my new go-to dessert for get-togethers. Thank you for such a lovely recipe!
★★★★★