Why You’ll Love This Quesarito
This Quesarito recipe is tailored for anyone craving a quick, delicious meal that brings the vibes of popular taco flavors right to your kitchen. With easy steps that minimize prep time, it’s ideal for busy days when you want something tasty without a fuss. Plus, it’s packed with nutritious ingredients, making it a balanced choice that supports healthy eating habits.
From its protein-rich fillings to the fresh veggies, this dish offers a great mix of flavors that promote overall wellness. You’ll appreciate how versatile it is, allowing customizations for different dietary needs. What sets it apart is that unique, savory taste that keeps you coming back for more.
- Ease of preparation: This Quesarito is designed for quick and simple cooking, ensuring minimal prep time and straightforward steps, perfect for busy days.
- Health benefits: Packed with nutritious ingredients, this dish offers a balanced meal rich in proteins and vitamins, supporting overall wellness and healthy eating habits.
- Versatility: Easily adaptable for various dietary preferences, the Quesarito can be customized with vegan, gluten-free, or low-calorie options to suit everyone.
- Distinctive flavor: The unique combination of melted cheese and seasoned fillings creates a savory and rich taste experience that stands out from typical wraps.
Jump To
- 1. Why You’ll Love This Quesarito
- 2. Essential Ingredients for Quesarito
- 3. How to Prepare the Perfect Quesarito: Step-by-Step Guide
- 4. Dietary Substitutions to Customize Your Quesarito
- 5. Mastering Quesarito: Advanced Tips and Variations
- 6. How to Store Quesarito: Best Practices
- 7. FAQs: Frequently Asked Questions About Quesarito
- 8. Quesarito
Essential Ingredients for Quesarito
When making a Quesarito, gathering the right ingredients is key to capturing those popular taco flavors at home. This section outlines everything you’ll need, organized clearly for easy shopping and prep. Start with the basics and consider special tweaks for your diet.
Cilantro Rice
- 1.5 cups medium-grain white rice
- 1.5 cups water
- Zest and juice of 1 lime
- 2 tablespoons unsalted butter
- 2 tablespoons finely chopped cilantro
Chipotle Sauce
- 1 can (7 oz) chilies in adobo
- 1 cup mayonnaise
- 3 cloves garlic
- 2 tablespoons hot sauce
Tortillas
- 2 cups all-purpose flour
- 1 teaspoon kosher salt
- 1.25 teaspoons baking powder
- 1/3 cup vegetable oil
- 3/4 cup warm water
Nacho Cheese Sauce
- 2.5 tablespoons unsalted butter
- 2.5 tablespoons all-purpose flour
- 1.25 cups whole milk
- 4 oz grated cheddar
- 3 oz grated American cheese
- 1/4 teaspoon cayenne powder
- Pinch of kosher salt
- Black pepper to taste
Assembly
- Prepared tortillas
- Prepared nacho cheese sauce
- Shredded cheddar cheese
- Braised beef (use as needed)
- Sour cream (use as needed)
- Prepared chipotle sauce
- Prepared cilantro rice
- Cilantro leaves for garnish (optional)
For special dietary options, you can swap items to fit your needs, like using plant-based cheese for vegan versions or gluten-free flour for the tortillas. This setup ensures your Quesarito turns out just right every time. If you’re looking for more Mexican-inspired recipes, check out our enchirito recipe on the site.
How to Prepare the Perfect Quesarito: Step-by-Step Guide
Preparing a Quesarito at home is straightforward and fun, with a total time of 1 hour and 30 minutes, including 1 hour for preparation and 30 minutes for cooking. It serves 5 people, making it great for family meals or gatherings. Follow these steps to get that crispy, cheesy goodness inspired by popular taco flavors.
- First Step: Gather all ingredients, including tortillas, cheese, protein, rice, sour cream, and salsa. Prepare any substitutions based on dietary preferences. Don’t forget to rinse your rice thoroughly for the best results, as this helps with even cooking.
- Second Step: Warm the tortillas briefly in a skillet to make them pliable. For homemade ones, combine the flour, baking powder, and salt, then mix in the water and oil to form dough. Knead for 5 minutes, let it rest for 30 minutes, divide into 5 balls, roll each into a 13-inch circle, and cook on a hot pan for 15 seconds per side.
- Third Step: Layer shredded cheese evenly on each tortilla to create a melty base when cooked. If you’re making the nacho cheese sauce, melt 2.5 tablespoons of unsalted butter, whisk in 2.5 tablespoons of flour for 45 seconds, add 1/4 teaspoon cayenne, then gradually whisk in 1.25 cups whole milk and melt in 4 oz grated cheddar and 3 oz grated American cheese.
- Fourth Step: Add cooked protein like braised beef and rice over the cheese. Prepare the cilantro rice by cooking 1.5 cups medium-grain white rice with 1.5 cups water, then stir in zest and juice of 1 lime, 2 tablespoons unsalted butter, and 2 tablespoons finely chopped cilantro.
- Fifth Step: Spoon sour cream and salsa on top, adjusting amounts for taste or dietary needs. Use the chipotle sauce made by blending 1 can (7 oz) chilies in adobo, 3 cloves garlic, and 2 tablespoons hot sauce, then mixing with 1 cup mayonnaise.
- Sixth Step: Fold the tortillas carefully to encase fillings fully. Lay one tortilla flat, spread a thin layer of shredded cheddar, drizzle with nacho cheese sauce, add another layer of cheddar, top with a second tortilla, and press firmly.
- Seventh Step: Heat the assembled Quesarito on medium heat in a non-stick pan, pressing gently to melt the cheese and crisp the outside, about 3-4 minutes per side. Place fillings like cilantro rice, nacho cheese sauce, braised beef, sour cream, chipotle sauce, and cilantro leaves, then roll tightly and toast for 2-3 minutes per side.
- Final Step: Remove from heat, cut in half if desired, and serve immediately with extra salsa or guacamole. For dietary adaptability, swap ingredients as needed during assembly for vegan, gluten-free, or low-calorie versions. Remember, toasting the tortillas briefly adds a slight crisp that enhances the texture.
This method ensures your Quesarito is flavorful and easy to handle. For more ideas on simple meals, visit our home page for additional recipes.

Dietary Substitutions to Customize Your Quesarito
Making a Quesarito work for your lifestyle is simple with a few smart swaps. Whether you’re aiming for vegan options or need to cut calories, these changes keep the dish delicious. Protein and main component alternatives include replacing chicken or beef with black beans, lentils, or tofu for plant-based protein, or using tempeh or seitan as hearty vegan options.
For vegetable, sauce, and seasoning modifications, swap traditional salsa for mango salsa or an avocado-based sauce to vary flavor. You can also incorporate seasonal vegetables like bell peppers or zucchini, and use low-sodium or homemade seasoning blends to control salt intake. These substitutions ensure the Quesarito remains tasty and tailored to specific dietary requirements or ingredient availability, making it a hit for everyone from busy parents to diet-conscious individuals.
Mastering Quesarito: Advanced Tips and Variations
Once you’re comfortable with the basics, take your Quesarito to the next level with these pro tips. Pro cooking techniques include toasting the tortillas over an open flame briefly for a smoky flavor before assembling; this adds depth that really shines through. Flavor variations let you experiment with different cheeses such as pepper jack or gouda for unique tastes that complement the popular taco flavors.
Presentation tips suggest garnishing with fresh herbs like cilantro and serving with lime wedges for a vibrant finish, which not only looks great but enhances the meal. For make-ahead options, prepare fillings in advance and store them separately; assemble and cook Quesaritos just before serving to maintain freshness. These expert tips enhance your Quesarito experience and allow creative expression with this versatile recipe, perfect for food enthusiasts and baking buffs alike. To explore more variations, check out our related recipe for a street corn chicken rice bowl.
How to Store Quesarito: Best Practices
Proper storage keeps your Quesarito fresh and ready to enjoy later. Start with refrigeration: Store cooled Quesaritos in an airtight container for up to 3 days to ensure freshness, which is handy for working professionals or students. Freezing is another option: Wrap each Quesarito tightly in foil and freeze for up to 2 months; thaw in the refrigerator before reheating to preserve that crispy texture.
For reheating, use a skillet over medium heat to retain crispiness and melt cheese thoroughly, or microwave covered for a softer texture that still hits the spot. Meal prep considerations include preparing multiple Quesaritos ahead and storing fillings separately for quick assembly and reheating during the week. Following these steps maintains quality and safety, making it easy to enjoy Quesarito anytime, even for seniors or newlyweds planning meals in advance. For more on healthy ingredients, learn about the health benefits of cilantro.
FAQs: Frequently Asked Questions About Quesarito
What is a Quesarito and how is it different from a regular burrito?
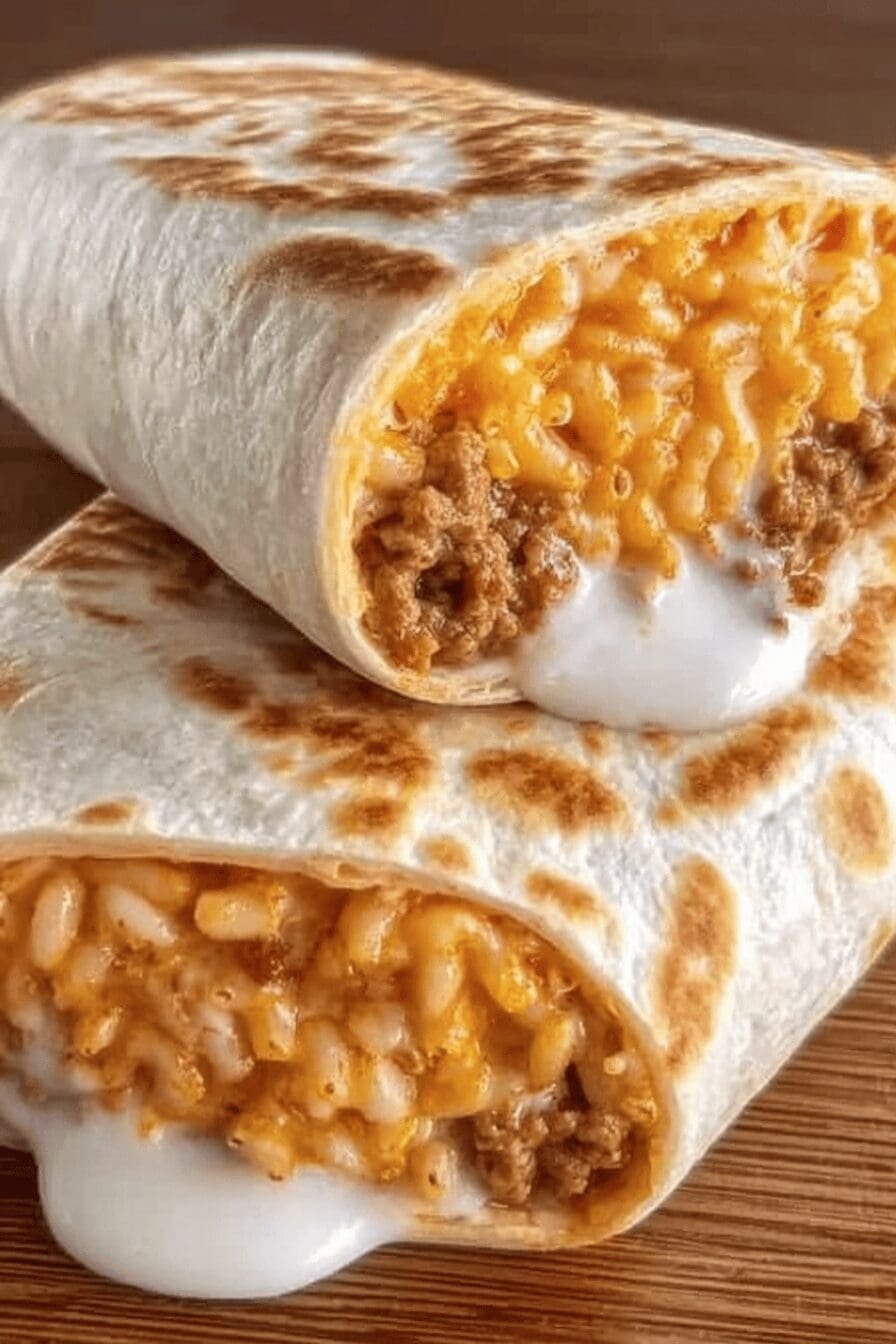
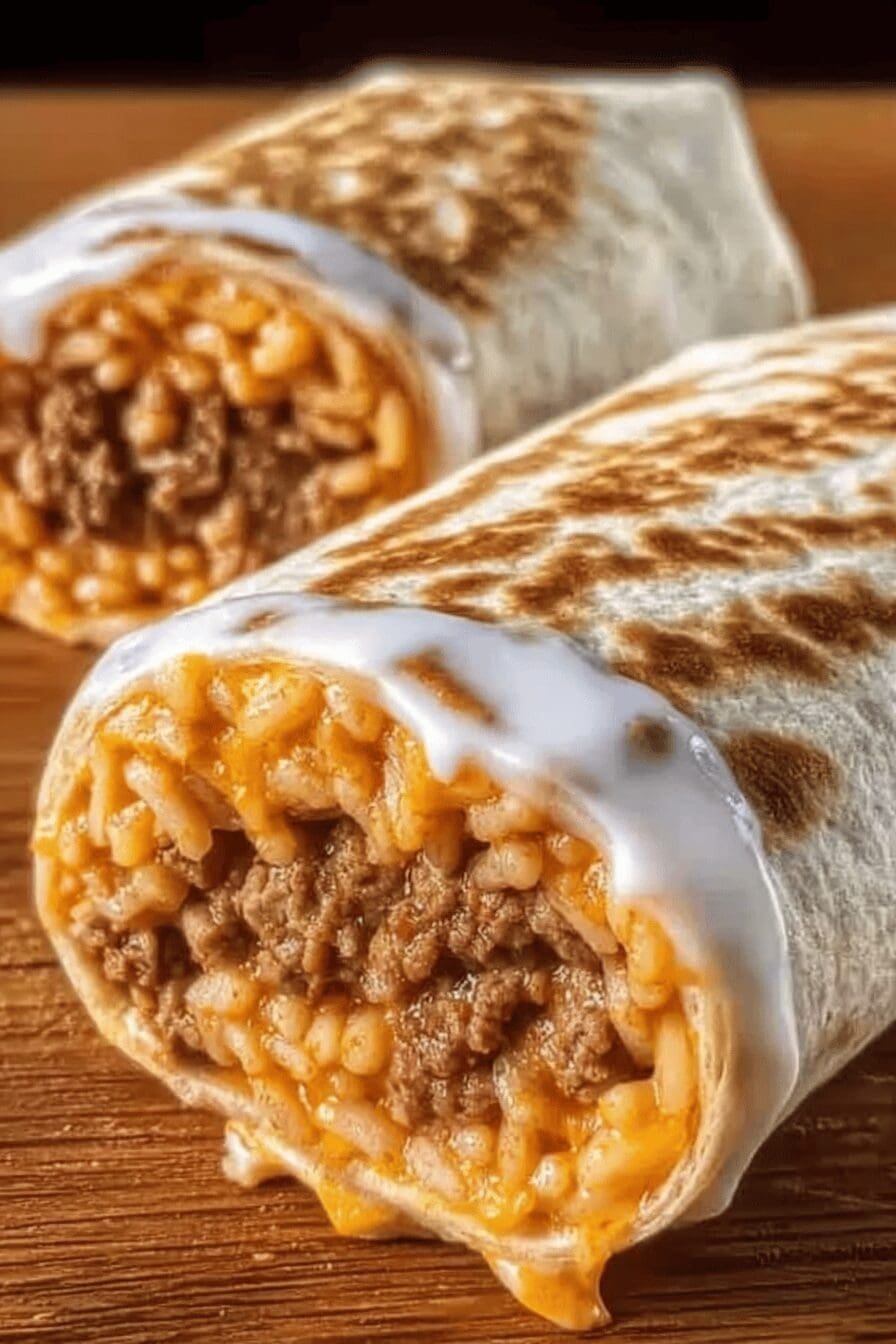
A Quesarito is a menu item that combines a quesadilla and a burrito into one. It starts with a grilled quesadilla shell, made from a flour tortilla filled with melted cheese, which is then wrapped around typical burrito fillings like seasoned beef, rice, beans, sour cream, and sauce. Unlike a traditional burrito, which uses a plain tortilla, the Quesarito’s cheesy quesadilla wrap adds extra flavor and a crispy texture, making it a popular choice for those who want a cheesier, more indulgent burrito experience.
How can I make a Quesarito at home?
To make a Quesarito at home, start by preparing your favorite burrito fillings such as seasoned ground beef, rice, beans, and any vegetables or sauces you prefer. Then, take a large flour tortilla, sprinkle shredded cheese evenly on one side, and heat it in a skillet over medium heat until the cheese melts and the tortilla is slightly crispy. Flip it carefully so the cheese side faces down. Remove from heat, add your fillings on top, and roll the tortilla into a burrito. Warm it in the skillet briefly to seal the edges if you like extra crispiness.
What are common ingredients found inside a Quesarito?
Common ingredients in a Quesarito include seasoned ground beef or chicken, Mexican rice, refried or black beans, shredded cheese, sour cream, and a spicy or tangy sauce like chipotle or salsa roja. Lettuce, onions, and tomatoes may also be included for freshness. The defining element is the melted cheese inside the outer tortilla that’s grilled to form a quesadilla wrap. These ingredients can be customized to suit dietary preferences, such as substituting meat with beans or using avocado for creaminess.
Is a Quesarito a good option for people watching their calories?
A Quesarito tends to be higher in calories compared to a standard burrito because of the extra cheese and the grilled quesadilla shell. While it is delicious and filling, those watching their calorie intake should consider smaller portion sizes or modifying it by reducing cheese, skipping sour cream, or choosing leaner proteins and more vegetables. Tracking the calories of each component or ordering from restaurants with nutritional information can help balance enjoyment and dietary goals.
Can Quesaritos be customized for dietary restrictions?
Yes, Quesaritos can be customized to fit various dietary restrictions. For vegetarian options, replace meat with beans, grilled vegetables, or plant-based protein. Gluten-free tortillas can substitute the regular flour tortilla, though the traditional crispy quesadilla effect may vary. For lactose intolerance, reduce or omit cheese and sour cream, or use dairy-free alternatives. Many restaurants and recipes allow swapping ingredients, so you can enjoy a Quesarito while adhering to specific allergies or diet plans.

Quesarito
- Total Time: 1 hour 30 minutes
- Yield: 5 servings
Description
🌯 Best Quesarito Recipe combines popular taco flavors into a delicious, homemade burrito with crispy, cheesy tortillas.
🔥 This copycat recipe offers rich, flavorful layers like chipotle sauce and nacho cheese that make it a showstopper for any meal.
Ingredients
– 1.5 cups medium-grain white rice
– 1.5 cups water
– Zest and juice of 1 lime
– 2 tablespoons unsalted butter
– 2 tablespoons finely chopped cilantro
– 1 can (7 oz) chilies in adobo
– 1 cup mayonnaise
– 3 cloves garlic
– 2 tablespoons hot sauce
– 2 cups all-purpose flour
– 1 teaspoon kosher salt
– 1.25 teaspoons baking powder
– 1/3 cup vegetable oil
– 3/4 cup warm water
– 2.5 tablespoons unsalted butter
– 2.5 tablespoons all-purpose flour
– 1.25 cups whole milk
– 4 oz grated cheddar
– 3 oz grated American cheese
– 1/4 teaspoon cayenne powder
– Pinch of kosher salt
– Black pepper to taste
– Prepared tortillas
– Prepared nacho cheese sauce
– Shredded cheddar cheese
– Braised beef for use as needed
– Sour cream for use as needed
– Prepared chipotle sauce
– Prepared cilantro rice
– Cilantro leaves for garnish (optional)
Instructions
1-First Step: Gather all ingredients, including tortillas, cheese, protein, rice, sour cream, and salsa. Prepare any substitutions based on dietary preferences. Don’t forget to rinse your rice thoroughly for the best results, as this helps with even cooking.
2-Second Step: Warm the tortillas briefly in a skillet to make them pliable. For homemade ones, combine the flour, baking powder, and salt, then mix in the water and oil to form dough. Knead for 5 minutes, let it rest for 30 minutes, divide into 5 balls, roll each into a 13-inch circle, and cook on a hot pan for 15 seconds per side.
3-Third Step: Layer shredded cheese evenly on each tortilla to create a melty base when cooked. If you’re making the nacho cheese sauce, melt 2.5 tablespoons of unsalted butter, whisk in 2.5 tablespoons of flour for 45 seconds, add 1/4 teaspoon cayenne, then gradually whisk in 1.25 cups whole milk and melt in 4 oz grated cheddar and 3 oz grated American cheese.
4-Fourth Step: Add cooked protein like braised beef and rice over the cheese. Prepare the cilantro rice by cooking 1.5 cups medium-grain white rice with 1.5 cups water, then stir in zest and juice of 1 lime, 2 tablespoons unsalted butter, and 2 tablespoons finely chopped cilantro.
5-Fifth Step: Spoon sour cream and salsa on top, adjusting amounts for taste or dietary needs. Use the chipotle sauce made by blending 1 can (7 oz) chilies in adobo, 3 cloves garlic, and 2 tablespoons hot sauce, then mixing with 1 cup mayonnaise.
6-Sixth Step: Fold the tortillas carefully to encase fillings fully. Lay one tortilla flat, spread a thin layer of shredded cheddar, drizzle with nacho cheese sauce, add another layer of cheddar, top with a second tortilla, and press firmly.
7-Seventh Step: Heat the assembled Quesarito on medium heat in a non-stick pan, pressing gently to melt the cheese and crisp the outside, about 3-4 minutes per side. Place fillings like cilantro rice, nacho cheese sauce, braised beef, sour cream, chipotle sauce, and cilantro leaves, then roll tightly and toast for 2-3 minutes per side.
8-Final Step: Remove from heat, cut in half if desired, and serve immediately with extra salsa or guacamole. For dietary adaptability, swap ingredients as needed during assembly for vegan, gluten-free, or low-calorie versions. Remember, toasting the tortillas briefly adds a slight crisp that enhances the texture.
Notes
🍚 Wash rice thoroughly for better cooking texture.
⏳ Allow tortilla dough to rest to improve softness.
🔥 Toast tortillas briefly before assembly for slight crispiness and better folding.
- Prep Time: 30 minutes
- Dough resting time: 30 minutes
- Cook Time: 30 minutes
- Category: Main Dish
- Method: Cooking and toasting
- Cuisine: Mexican-inspired
Nutrition
- Serving Size: 1 queserito
Keywords: Quesarito, Taco flavors, Copycat recipe, Mexican-inspired