Why You’ll Love This Popovers
Popovers are one of those delightful treats that bring a touch of magic to any meal. The recipe is incredibly simple to make, requiring only a few basic ingredients and minimal prep time. You’ll enjoy warm, freshly baked popovers in under 30 minutes, making it perfect for busy days when you want something special without much fuss.
They offer great health benefits too, as these light and airy rolls are made from eggs, milk, and flour, providing a good source of protein and essential nutrients. This makes them a smarter choice compared to heavier baked goods, all while being low in added sugars and fats. Plus, their versatility means you can adapt them for various dietary needs, like using gluten-free flour or vegan substitutes, and even pair them with sweet or savory toppings to suit your mood.
Key Benefits in Detail
- Ease of preparation: This popover recipe mixes quickly and bakes with little effort, ideal for home cooks and busy parents alike.
- Health benefits: Packed with protein from eggs and nutrients from milk, these rolls support a balanced diet without the heaviness of typical baked goods.
- Versatility: Easily tweak the recipe for gluten-free or vegan options, and use it as a base for endless customizations, from sweet cinnamon twists to savory herb fillings.
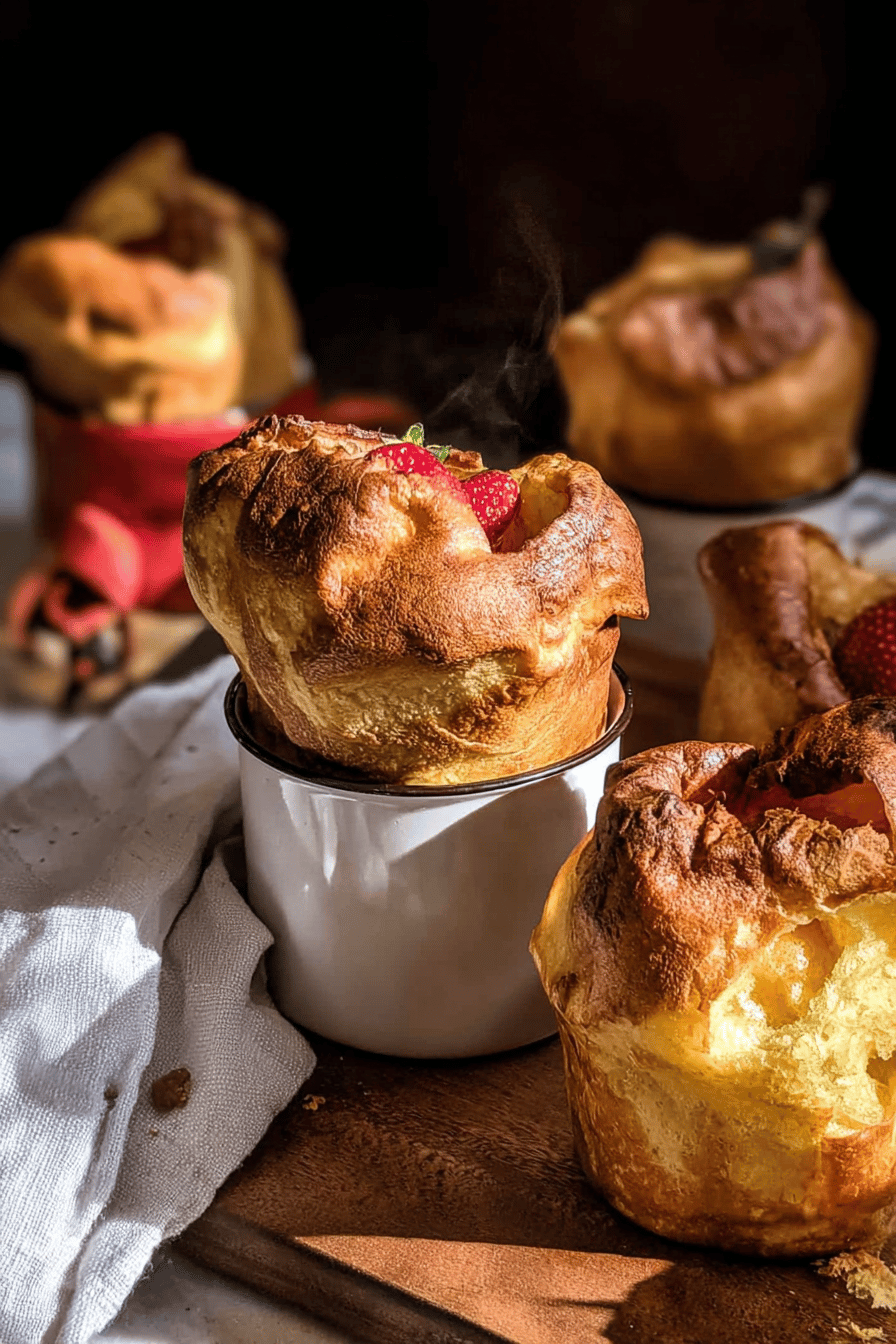
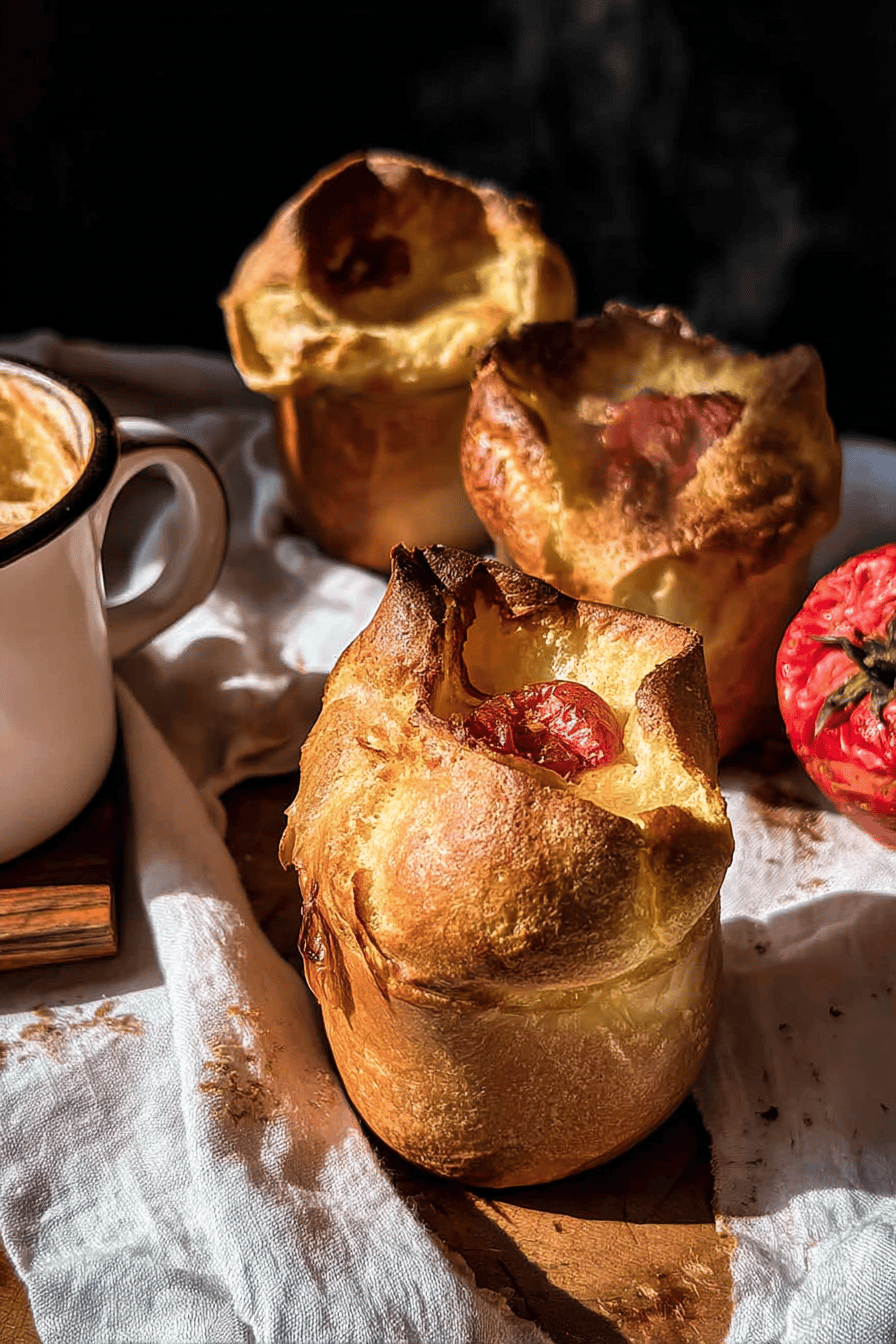
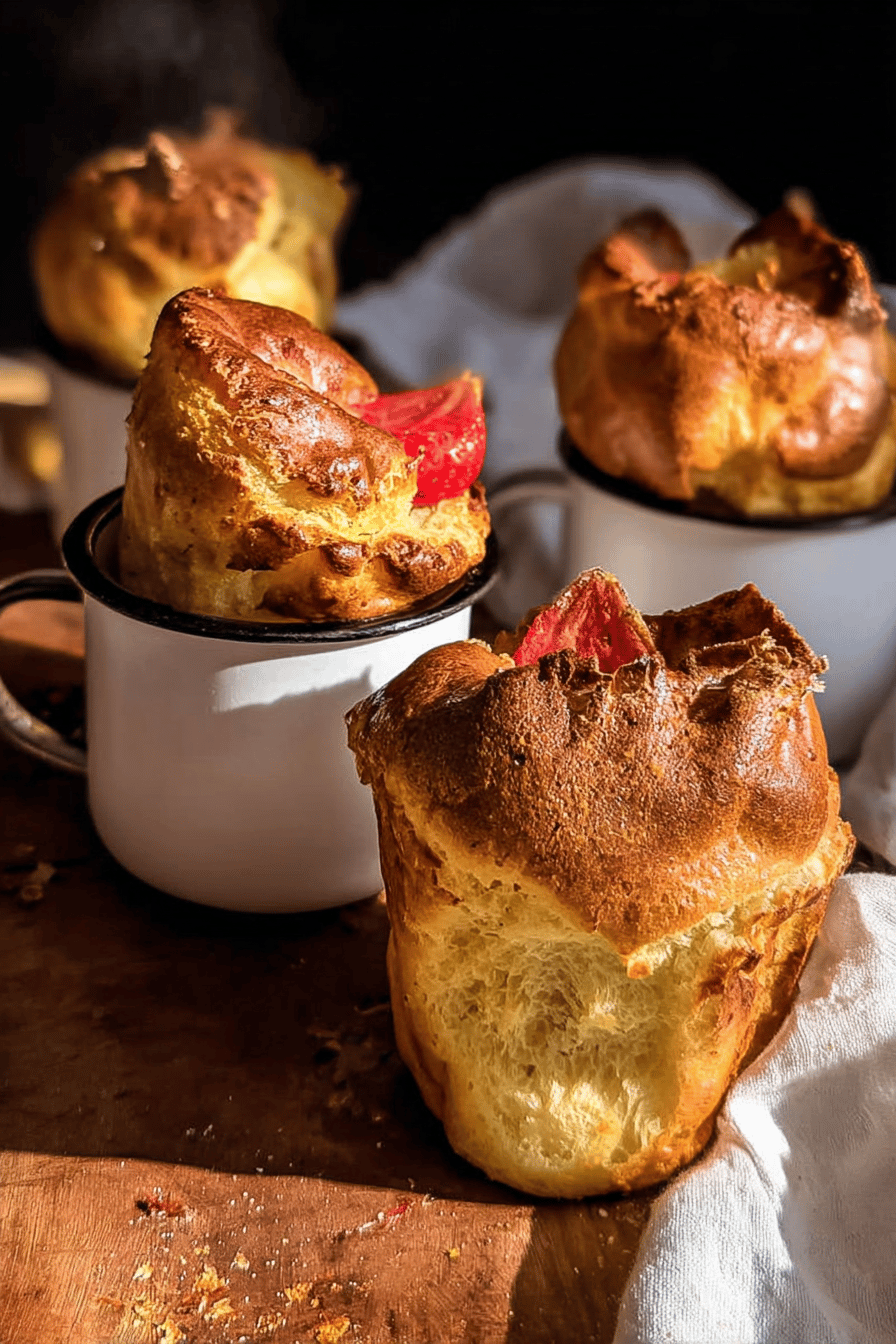
- Distinctive flavor: The crisp outer crust and soft, hollow center create a unique taste that pairs wonderfully with meals, delighting food enthusiasts and baking lovers.
As someone who loves sharing simple recipes, I can tell you that popovers always surprise first-timers with their dramatic rise and buttery goodness! They add a fun element to breakfast or dinner, helping you create those memorable moments around the table.
Jump To
- 1. Why You’ll Love This Popovers
- 2. Essential Ingredients for Popovers
- 3. How to Prepare the Perfect Popovers: Step-by-Step Guide
- 4. Dietary Substitutions to Customize Your Popovers
- 5. Mastering Popovers: Advanced Tips and Variations
- 6. How to Store Popovers: Best Practices
- 7. FAQs: Frequently Asked Questions About Popovers
- 8. Popovers
Essential Ingredients for Popovers
Every great popover starts with the right ingredients, and this recipe keeps things straightforward yet effective. You’ll need a few key items to achieve that light, airy texture we all love. Let me walk you through the list based on what works best in my kitchen. For a full rundown, here’s the complete set from this recipe.
Main Ingredients List
- 4 large eggs, at room temperature
- 1 ½ cups (360 ml) whole milk, at room temperature
- ¾ teaspoon salt
- 1 ½ cups (190 g) all-purpose flour, spooned and leveled
- 2 tablespoons (28 g) unsalted butter, melted, plus extra for greasing the pan
This structured list ensures you have exact measurements for each item, making it simple to gather everything needed. If you’re exploring special options, like vegan or gluten-free versions, I’ve got those covered too. These ingredients come together to create the perfect batter that rises beautifully in the oven.
Special Dietary Options
| Dietary Need | Substitutions |
|---|---|
| Vegan | Use 1 ½ cups plant-based milk and replace eggs with a flax egg (1 tablespoon ground flaxseed mixed with 3 tablespoons water) |
| Gluten-free | Swap all-purpose flour with a gluten-free flour blend of the same measurement |
| Low-calorie | Opt for low-fat milk and cut unsalted butter to 1 tablespoon or use a light oil alternative |
Once you try these swaps, you might find new favorites! For more ideas on adapting recipes, check out my rhubarb muffins recipe, which has similar tweaks for different diets.
How to Prepare the Perfect Popovers: Step-by-Step Guide
Getting popovers just right is all about following a few key steps, and I promise it’s easier than it sounds. Start by preheating your oven to 450°F (230°C) and place the popover pan inside to heat up. This step helps the batter rise well right from the start, giving you those tall, puffy results. Now, let’s dive into mixing and baking for the best outcome.
Mixing the Batter
- In a large bowl, whisk the eggs, milk, and salt together until the mixture is completely smooth with no streaks.
- Add the flour and whisk until just combined. Be careful not to overmix, as that keeps the batter light.
Baking Process
With the batter ready, it’s time to bake. Set the oven to 450°F (230°C) and place a popover pan or muffin tin on the lower third rack to heat for 2 minutes. Once hot, remove the pan and generously butter each well to prevent sticking. Divide the batter evenly, filling each cavity halfway about ¼ cup or 60 ml per well then return the pan to the oven.
Bake untouched for 20 minutes at 450°F, then reduce the temperature to 350°F (175°C) and continue for another 10 minutes until the tops are golden brown. Finally, prick the tops with a knife to let steam escape and serve right away for the best texture. Following these directions ensures popovers come out light and crispy every time.
For more baking inspiration, you can learn about the art and science of popovers from experts.
Dietary Substitutions to Customize Your Popovers
One of the best parts about popovers is how easy they are to tweak for different needs. If you’re vegan, try substituting eggs with aquafaba or a commercial egg replacer to keep that airy rise. For gluten-free options, use a specialty flour mix in the same amount as the all-purpose flour to maintain the texture. These changes let everyone enjoy this recipe without missing out.
Flavor and Add-In Ideas
- Swap traditional dairy butter with plant-based spreads for a vegan twist.
- Enhance flavor with fresh herbs like rosemary or thyme, or add spices such as paprika.
- Fold in seasonal vegetables like roasted bell peppers or spinach for extra nutrition and taste.
This flexibility makes popovers a go-to for busy parents or diet-conscious folks. As I often say in my kitchen, small adjustments can make a big difference!
Mastering Popovers: Advanced Tips and Variations
Once you’re comfortable with the basics, you can level up your popovers with some pro techniques. Make sure your oven is fully preheated and resist the urge to open the door during the first part of baking this keeps the heat steady for the best rise. Trying out flavor variations, like adding grated cheese or fresh herbs, can turn these into savory delights.
Creative Variations
- Experiment with add-ins: Grated cheese or caramelized onions for savory popovers, or cinnamon and nutmeg for sweet ones.
- Presentation tips: Dust with powdered sugar for a sweet version or top with fresh herbs for savory.
- Make-ahead options: Mix the batter the night before and store it in the fridge; just stir gently before baking.
I always find that serving popovers warm brings out their best flavor, like when they have tender, crumbly tops that make everyone smile.
If you’re into more bread-like recipes, check out my cheesy quick bread recipe for similar fun variations.
Additionally, to understand the role of eggs, read about how important eggs are in baking.
How to Store Popovers: Best Practices
Popovers taste amazing fresh from the oven, but storing them properly keeps them enjoyable later. Once cooled, pop them into an airtight container and refrigerate for up to 2 days. For longer storage, wrap them tightly and freeze for up to 1 month. Reheating in a 350°F oven for 5-7 minutes restores that crispness without making them soggy.
Meal Prep Tips
- Refrigeration: Keeps them fresh for quick meals during the week.
- Freezing: Great for batch cooking, so working professionals can grab and go.
- Reheating: Always use the oven to maintain texture, perfect for busy mornings.
This approach works well for students or seniors looking to plan ahead. Prep time is just 10 minutes, and cook time is 30 minutes, so you can have them ready in no time!

FAQs: Frequently Asked Questions About Popovers
What are popovers and how do they differ from other baked goods?
Popovers are light, hollow rolls made from a batter of eggs, milk, flour, butter, and salt. Baked in a hot oven, they rise dramatically, forming a crisp exterior and airy interior. Unlike regular muffins or biscuits, their unique texture is similar to Yorkshire pudding. Popovers can be served sweet or savory, making them a versatile addition to meals such as breakfast or dinner sides.
Can I bake popovers without a special popover pan?
Yes, you can use a standard muffin tin if you don’t have a popover pan. While popover pans have deep, narrow wells that help create taller, airier popovers, muffin tins still produce tasty results. Keep in mind, popovers baked in muffin tins may not rise as high but will maintain their flavor and texture.
Why should I use room temperature ingredients when making popovers?
Using room temperature eggs and milk helps the batter mix more evenly and promotes better rising during baking. Cold ingredients can slow the expansion of air bubbles, resulting in flatter popovers. Letting ingredients reach room temperature before mixing ensures a lighter and taller final product.
How much batter should I pour into each popover cup?
Fill each cup about 1/4 full with batter. Although this may seem like a small amount, it expands significantly while baking, forming the characteristic tall, hollow shape. Overfilling can cause spillover and uneven cooking, so sticking to 1/4 cup per well is ideal for best results.
What is the best way to serve and store popovers?
Popovers are best enjoyed immediately out of the oven when they are crisp and airy. They begin to deflate quickly as they cool. If you have leftovers, store them in an airtight container and reheat briefly in the oven to regain some crispness, though they won’t be as fluffy as freshly baked.

Popovers
- Total Time: 40 minutes
- Yield: 12 popovers 1x
- Diet: Vegetarian
Description
🥐 Light and airy popovers rise to a perfect puff, delivering a satisfying bite without excess calories.
🔥 The crisp golden edges and soft interior make them ideal for sweet or savory toppings.
Ingredients
4 large eggs at room temperature
¾ teaspoon salt
1 ½ cups (190 g) all-purpose flour spooned and leveled
2 tablespoons (28 g) unsalted butter melted plus extra for greasing the pan
Instructions
1-Mixing the Batter: In a large bowl, whisk the eggs, milk, and salt together until the mixture is completely smooth with no streaks.
2-Mixing the Batter: Add the flour and whisk until just combined. Be careful not to overmix, as that keeps the batter light.
3-Baking Process: Set the oven to 450°F (230°C) and place a popover pan or muffin tin on the lower third rack to heat for 2 minutes. Once hot, remove the pan and generously butter each well to prevent sticking. Divide the batter evenly, filling each cavity halfway about ⅛ cup or 60 ml per well then return the pan to the oven.
4-Baking Process: Bake untouched for 20 minutes at 450°F, then reduce the temperature to 350°F (175°C) and continue for another 10 minutes until the tops are golden brown. Finally, prick the tops with a knife to let steam escape and serve right away for the best texture. Following these directions ensures popovers come out light and crispy every time.
Notes
🧈 Keep the butter and milk at room temperature for a stronger rise.
🔥 Preheat the pan thoroughly before adding batter to achieve maximum puff.
⏱️ Serve immediately after baking; they lose crispness if left to sit.
- Prep Time: 10 minutes
- Cook Time: 30 minutes
- Category: Baked Goods
- Method: Baking
- Cuisine: American
Nutrition
- Serving Size: 1 popover
- Calories: 110 kcal
- Sugar: 1 g
- Sodium: 250 mg
- Fat: 4 g
- Saturated Fat: 2 g
- Unsaturated Fat: 2 g
- Trans Fat: 0 g
- Carbohydrates: 13 g
- Fiber: 0.5 g
- Protein: 4.5 g
- Cholesterol: 70 mg
Keywords: undefined


