Why You’ll Love This pita bread recipe
- Ease of preparation: This pita bread recipe is wonderfully straightforward, requiring just a few simple ingredients and minimal hands-on time. The dough comes together quickly, with gentle kneading and rising that fits well into busy schedules, delivering fresh, homemade pita bread in under two hours for delicious quick meals.
- Health benefits: Made primarily from wholesome all-purpose or whole wheat flour, with olive oil for healthy fats, this recipe offers balanced nutrition. Each pita contains fiber for digestion, moderate protein, and low fat, fitting well in a Mediterranean-style diet that supports overall wellness and heart health.
- Versatility: The recipe is highly adaptable, able to accommodate gluten-free flour blends or whole wheat flour for whole-grain options. Whether vegan or looking for low-calorie choices, you can adjust ingredients without sacrificing the comforting flavor and tender texture that make pita bread so popular.
- Distinctive flavor: Featuring a subtle, natural flavor enhanced by extra virgin olive oil and a slightly tangy yeast fermentation, this pita bread boasts a soft, tender interior with a lovely puffed pocket perfect for stuffing. The baking or stovetop methods yield characteristic light browning and satisfying chewiness that make it stand out among basic flatbreads.
Jump To
- 1. Why You’ll Love This pita bread recipe
- 2. Essential Ingredients for pita bread recipe
- 3. How to Prepare the Perfect pita bread recipe: Step-by-Step Guide
- 4. Dietary Substitutions to Customize Your pita bread recipe
- 5. Mastering pita bread recipe: Advanced Tips and Variations
- 6. How to Store pita bread recipe: Best Practices
- 7. FAQs: Frequently Asked Questions About pita bread recipe
- 8. pita bread recipe
Essential Ingredients for pita bread recipe
- 1 cup (237 ml) lukewarm/warm water – activates the yeast and hydrates the dough
- 2 to 2 1/4 teaspoons active dry yeast (about 1 packet) – leavens the dough creating lift and pocket formation
- 1/2 to 1 teaspoon sugar – feeds yeast and adds a hint of sweetness
- 3 cups (approximately 375 g) all-purpose flour, divided – provides the structure and texture of the pita; can substitute half with whole wheat flour for a whole wheat version
- 1 teaspoon kosher salt or regular salt – enhances flavor and strengthens dough gluten
- 1 to 2 tablespoons extra virgin olive oil – adds moisture, tenderness, and flavor
- Additional olive oil for coating the bowl and optional brushing
Special Dietary Options:
- Vegan: This recipe is naturally vegan, simply confirm the yeast and any added ingredients are vegan-friendly.
- Gluten-free: Substitute all-purpose flour with a certified gluten-free flour blend designed for bread making, adjusting consistency as needed.
- Low-calorie: Use whole wheat flour for higher fiber and reduce olive oil slightly to create a lighter bread.
How to Prepare the Perfect pita bread recipe: Step-by-Step Guide
First Step: Activate the yeast
In a large mixing bowl, combine lukewarm water, active dry yeast, and sugar. Stir well until dissolved. Place the bowl in a warm spot and allow the mixture to rest, uncovered, for 10 to 15 minutes until it becomes frothy and bubbling. This indicates active yeast ready to leaven the dough.
Second Step: Mix and form the dough
Add salt, olive oil, and most of the flour to the yeast sponge (reserve about half a cup for dusting later). Stir to form a rough, shaggy dough.
Third Step: Knead the dough
Transfer the dough to a lightly floured surface and knead gently for about 2 minutes until it becomes smooth and slightly moist but not sticky. Cover and allow the dough to rest for 10 minutes, then knead gently for another 2 minutes to develop elasticity.
Fourth Step: First rise
Lightly oil a clean bowl and place the dough inside, turning to coat in oil. Cover tightly with plastic wrap and a kitchen towel. Let it rise in a warm environment for approximately 1 hour, or until doubled in size.
Fifth Step: Divide and rest
Gently punch the dough down on a lightly floured surface. Divide it into 7 to 8 equal pieces, shaping each into a ball. Cover with a clean towel and let them rest for 10 minutes to relax gluten, which makes rolling easier.
Sixth Step: Shape the pitas
One at a time, roll each dough ball into a circle 8 to 9 inches (20-23 cm) in diameter and about 1/4 inch (6 mm) thick. Gently lift and turn the dough while rolling to prevent sticking, dusting lightly with flour as needed. If dough shrinks back, let it rest briefly before continuing.
Seventh Step: Cook the pitas
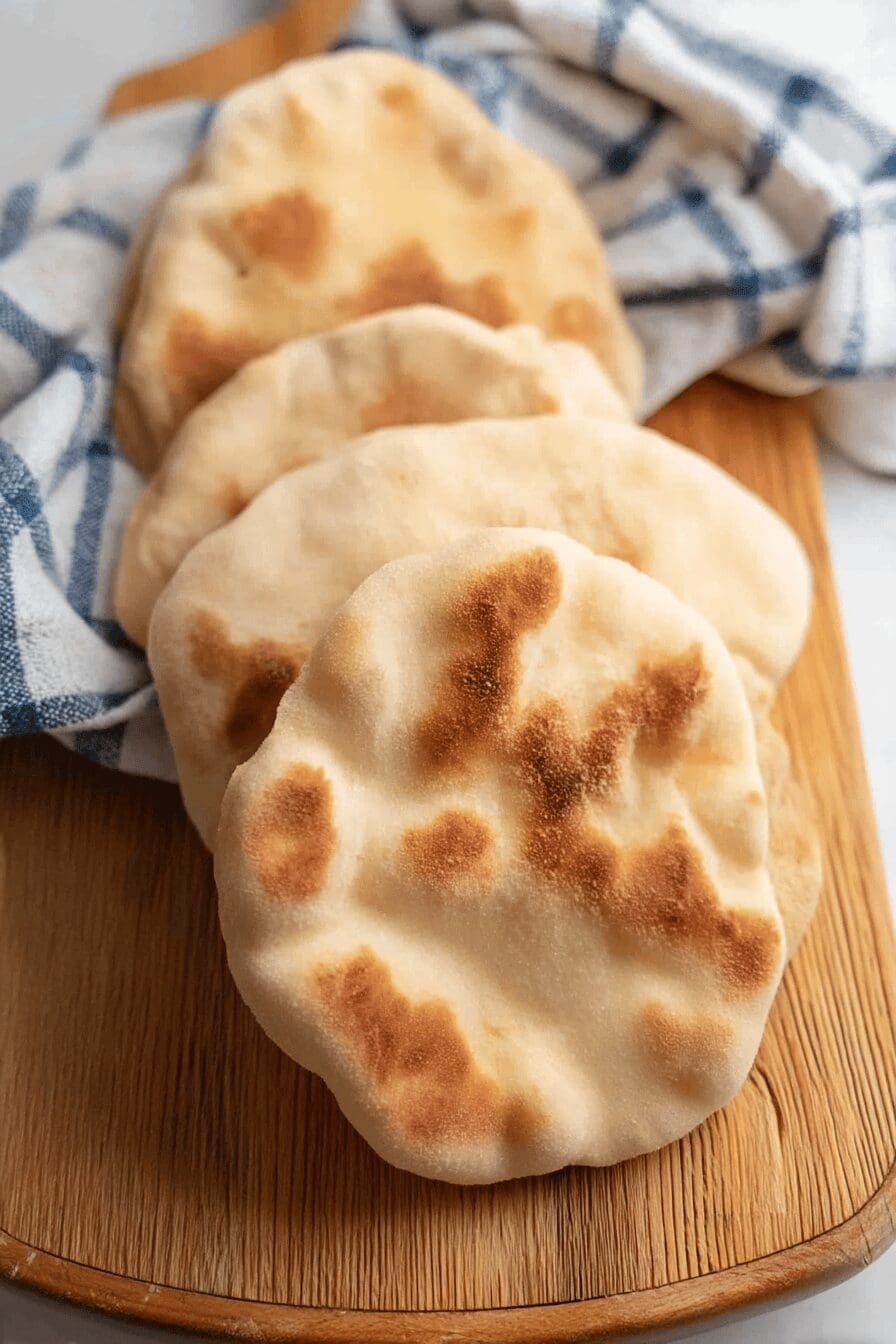
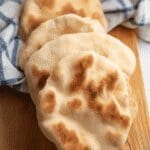
Oven method: Preheat the oven to 475°F (245°C) placing a baking stone, heavy pan, or cast iron skillet on the middle rack. Transfer 2 rolled pitas onto the hot surface and bake for 2 minutes per side until puffed and lightly browned. Remove and cover with a towel to keep warm.
Stovetop method: Heat a heavy skillet over medium-high heat until a water droplet sizzles. Lightly grease surface with olive oil if desired. Cook pitas one at a time for about 30 seconds until bubbles form, flip and cook 1 to 2 minutes per side, pressing gently to encourage puffing. Keep cooked pitas covered to retain moisture.
Final Step: Serve fresh
Serve pita bread warm for best flavor and texture. Enjoy stuffing with fillings, dipping in sauces, or alongside salads and stews. Leftover pita can be toasted or warmed before serving.
Tip: A thoroughly preheated cooking surface is key to achieving the classic pita puff with an airy pocket.

Dietary Substitutions to Customize Your pita bread recipe
Protein and Main Component Alternatives
- Use gluten-free flour blends such as rice flour or almond flour mixtures for gluten-free pita variants.
- Incorporate chickpea flour or other legume flours to boost protein content and add unique flavor.
- Replace olive oil with avocado oil or mild-flavored vegetable oils to suit dietary preferences.
Vegetable, Sauce, and Seasoning Modifications
- Add fresh or dried herbs like rosemary, thyme, or za’atar to the dough for aromatic flavor enhancement.
- Use garlic powder, onion powder, or cumin to introduce subtle spice variations.
- Serve pita with dips such as hummus, tzatziki, or baba ganoush to complement and customize meals.
Mastering pita bread recipe: Advanced Tips and Variations
- Pro cooking techniques: Use a pizza stone or cast iron skillet preheated thoroughly for exceptional puff and crust. Avoid over-kneading to maintain light crumb texture.
- Flavor variations: Incorporate herbs or spices directly into the dough, or brush finished pitas with olive oil and sprinkle sesame seeds or nigella seeds.
- Presentation tips: Serve pitas puffed and warm with garnishes of chopped parsley or drizzled olive oil. Stack layers to create visually appealing servings at gatherings.
- Make-ahead options: Prepare dough a day ahead and refrigerate to develop flavor. Portion dough balls and freeze for up to 3 months; thaw and cook as needed.
How to Store pita bread recipe: Best Practices
| Storage Method | Guidelines | Duration |
|---|---|---|
| Refrigeration | Store baked pita breads in airtight containers or ziplock bags to maintain freshness and softness. | Up to 3 days |
| Freezing | Wrap pitas individually in parchment or wax paper then in freezer bags to prevent sticking. Freeze up to 3 months. | Up to 3 months |
| Reheating | Warm pita breads from frozen in an oven, toaster oven, or over open flame to restore texture and flavor. | As needed |
| Meal Prep Considerations | Prepare dough in batches; portion and freeze raw dough for easy fresh-baked pita anytime. | Varies |

FAQs: Frequently Asked Questions About pita bread recipe
What ingredients do I need to make homemade pita bread?
To make pita bread at home, you will need warm water, active dry yeast, sugar, salt, olive oil, and all-purpose flour. These simple ingredients come together to create a soft and flexible dough that forms the base for traditional pita pockets.
How do I know if my pita dough is ready to bake?
Your pita dough is ready when it has risen and doubled in size, usually after resting for about 40 minutes at room temperature. The dough should be soft, slightly sticky, and elastic when touched. After shaping, the dough should be rolled into thin circles before cooking to achieve the characteristic pita pocket.
Why won’t my pita bread puff up in the oven or skillet?
Pita bread needs a very hot oven or skillet to puff properly. If it doesn’t puff, likely the cooking surface isn’t hot enough. Preheat your oven to at least 450°F (230°C) or ensure your skillet is hot before placing the dough. The steam created inside the dough causes it to puff, so timely baking is key.
Can I prepare pita dough ahead of time and how do I store it?
Yes, pita dough can be prepared in advance. After the first rise, store it in an airtight container in the refrigerator for up to 5 days. When ready to bake, bring it to room temperature and let it rest for about 30 minutes before shaping. You can also freeze the dough for up to 3 months for longer storage.
What is the best way to store leftover cooked pita bread?
Store leftover cooked pita bread in an airtight container at room temperature for 2-3 days, or in the refrigerator for up to 5 days. For longer storage, freeze the cooked pitas separated by parchment paper inside a sealed freezer bag; they will last up to 3 months. To reheat, warm them briefly in a toaster oven or skillet.
pita bread recipe
- Total Time: 1 hour 45-50 minutes
- Yield: 8 whole pitas
- Diet: Vegetarian
Description
🥙 Enjoy soft, tender pita bread perfect for stuffing, dipping, or pairing with your favorite meals.
🔥 This recipe yields flavorful, homemade pitas that are versatile and ideal for a Mediterranean-style diet.
Ingredients
– 1 cup lukewarm/warm water activates the yeast and hydrates the dough
– 2 to 2 1/4 teaspoons active dry yeast leavens the dough creating lift and pocket formation
– 1/2 to 1 teaspoon sugar feeds yeast and adds a hint of sweetness
– 3 cups all-purpose flour provides the structure and texture of the pita
– 1 teaspoon kosher salt or regular salt enhances flavor and strengthens dough gluten
– 1 to 2 tablespoons extra virgin olive oil adds moisture, tenderness, and flavor
– olive oil for coating the bowl and optional brushing
Instructions
First Step: Activate the yeast In a large mixing bowl, combine lukewarm water, active dry yeast, and sugar. Stir well until dissolved. Place the bowl in a warm spot and allow the mixture to rest, uncovered, for 10 to 15 minutes until it becomes frothy and bubbling. This indicates active yeast ready to leaven the dough.
Second Step: Mix and form the dough Add salt, olive oil, and most of the flour to the yeast sponge (reserve about half a cup for dusting later). Stir to form a rough, shaggy dough.
Third Step: Knead the dough Transfer the dough to a lightly floured surface and knead gently for about 2 minutes until it becomes smooth and slightly moist but not sticky. Cover and allow the dough to rest for 10 minutes, then knead gently for another 2 minutes to develop elasticity.
Fourth Step: First rise Lightly oil a clean bowl and place the dough inside, turning to coat in oil. Cover tightly with plastic wrap and a kitchen towel. Let it rise in a warm environment for approximately 1 hour, or until doubled in size.
Fifth Step: Divide and rest Gently punch the dough down on a lightly floured surface. Divide it into 7 to 8 equal pieces, shaping each into a ball. Cover with a clean towel and let them rest for 10 minutes to relax gluten, which makes rolling easier.
Sixth Step: Shape the pitas One at a time, roll each dough ball into a circle 8 to 9 inches (20-23 cm) in diameter and about 1/4 inch (6 mm) thick. Gently lift and turn the dough while rolling to prevent sticking, dusting lightly with flour as needed. If dough shrinks back, let it rest briefly before continuing.
Seventh Step: Cook the pitas Oven method: Preheat the oven to 475°F (245°C) placing a baking stone, heavy pan, or cast iron skillet on the middle rack. Transfer 2 rolled pitas onto the hot surface and bake for 2 minutes per side until puffed and lightly browned. Remove and cover with a towel to keep warm. Stovetop method: Heat a heavy skillet over medium-high heat until a water droplet sizzles. Lightly grease surface with olive oil if desired. Cook pitas one at a time for about 30 seconds until bubbles form, flip and cook 1 to 2 minutes per side, pressing gently to encourage puffing. Keep cooked pitas covered to retain moisture.
Final Step: Serve fresh Serve pita bread warm for best flavor and texture. Enjoy stuffing with fillings, dipping in sauces, or alongside salads and stews. Leftover pita can be toasted or warmed before serving.
Notes
🍞 Always ensure yeast is active; the sponge should bubble to confirm.
🤲 Knead gently by hand to avoid overworking the dough for a tender texture.
🔥 Preheat cooking surface thoroughly to help pitas puff perfectly during cooking.
- Prep Time: 15 minutes
- Rising and resting time: 1 hour 30-35 minutes
- Cook Time: 3-5 minutes per batch
- Category: Bread
- Method: Baking or stovetop cooking
- Cuisine: Mediterranean
Nutrition
- Serving Size: 1 pita (approx. 60g)
- Calories: 156 kcal
- Sodium: 295 mg
- Fat: 2 g
- Trans Fat: 0 g
- Carbohydrates: 29 g
- Fiber: 2 g
- Protein: 5 g
- Cholesterol: 0 mg
Keywords: pita bread, homemade bread, Mediterranean bread, flatbread
I tried this pita bread recipe last night, and it turned out so well! I added a bit of garlic powder to the dough for extra flavor, and it was a hit with the whole family. 😋 Thanks for the great instructions!
★★★★★