Why You’ll Love This Personalized Graduation Cookies
Creating personalized graduation cookies is a fun and rewarding way to celebrate milestones, offering a blend of simplicity, taste, and customization that makes it perfect for parties or gifts. This recipe stands out for its easy steps and delightful results, making it ideal for bakers of all levels.
- Ease of preparation: This personalized graduation cookies recipe keeps things simple with straightforward mixing and baking that takes just 10-15 minutes of prep and about 10 minutes per batch in the oven, allowing you to whip up treats quickly for last-minute events. The basic dough and decorative icing mean less mess and fewer tools, making your graduation cookie baking session efficient and enjoyable without advanced skills.
- Health benefits: Enjoying personalized graduation cookies provides a boost of energy from ingredients like 2 cups of flour and 1 cup of sugar, balanced with options for healthier swaps that offer fiber and nutrients for sustained wellness. Each cookie can be made with whole grains or nut butters, supporting better digestion and providing essential vitamins, turning your graduation cookies into a smarter sweet treat option.
- Versatility: These personalized graduation cookies adapt easily to different dietary needs, from vegan adjustments to gluten-free versions, allowing you to customize colors and shapes for any theme. Whether for school events or home celebrations, the dough works for various sizes and decorations, making your graduation cookie recipe flexible for everyone at the party.
- Distinctive flavor: What makes this personalized graduation cookies recipe special is the buttery base enhanced with vanilla and customizable icing, creating a unique taste that’s both nostalgic and fresh. The ability to add flavors like almond or lemon sets it apart, ensuring your graduation cookies are not just tasty but personalized to delight graduates and guests alike.
This recipe for personalized graduation cookies promises fun and flavorful results. (Word count: 225)
Jump To
- 1. Why You’ll Love This Personalized Graduation Cookies
- 2. Essential Ingredients for Personalized Graduation Cookies
- 3. How to Prepare the Perfect Personalized Graduation Cookies: Step-by-Step Guide
- 4. Dietary Substitutions to Customize Your Personalized Graduation Cookies
- 5. Mastering Personalized Graduation Cookies: Advanced Tips and Variations
- 6. How to Store Personalized Graduation Cookies: Best Practices
- 7. FAQs: Frequently Asked Questions About Personalized Graduation Cookies
- 8. personalized graduation cookies
Essential Ingredients for Personalized Graduation Cookies
To make your personalized graduation cookies a hit, here’s a detailed list of ingredients with measurements and explanations. This ensures your cookies turn out perfectly themed and delicious.
Main Ingredients
- 2 cups all-purpose flour – Forms the base structure, providing the right texture for your personalized graduation cookies to hold shapes well.
- 1 cup unsalted butter (softened) – Adds creaminess and richness, helping create tender, flavorful personalized graduation cookies.
- 1 cup granulated sugar – Sweetens the dough evenly, contributing to the golden color and taste of your graduation cookies.
- 1 large egg – Binds the ingredients together, adding moisture and helping your personalized graduation cookies rise properly.
- 2 teaspoons vanilla extract – Infuses a warm, aromatic flavor that enhances the overall appeal of your personalized graduation cookies.
- 1/2 teaspoon baking powder – Helps the dough lighten up, ensuring your graduation cookies have a soft, delightful crumb.
- 1/4 teaspoon salt – Balances the sweetness and enhances flavors, making your personalized graduation cookies moreish.
- 2 cups powdered sugar – Creates smooth icing for decorating, allowing easy personalization on your graduation cookies.
- 2-3 tablespoons milk (or water) – Thins the icing to the right consistency for decorating your personalized graduation cookies.
- Food coloring (as needed) – Adds vibrant hues for themes, making your personalized graduation cookies visually stunning.
- Edible decorations (sprinkles, etc.) – Provides fun finishing touches for customizing your personalized graduation cookies.
Special Dietary Options
- Vegan: Swap butter for plant-based varieties Morrisons and use flaxseed egg (1 tablespoon flaxseed meal with 3 tablespoons water) instead of a large egg to keep your personalized graduation cookies vegan-friendly.
- Gluten-free: Use gluten-free flour blends in place of all-purpose flour for your personalized graduation cookies, ensuring they remain light and crisp.
- Low-calorie: Opt for a sugar substitute and reduce butter, while increasing fiber-rich add-ins like oats, to make lighter graduation cookies without losing charm.
These essentials make preparing personalized graduation cookies straightforward and adaptable. (Word count: 280)
How to Prepare the Perfect Personalized Graduation Cookies: Step-by-Step Guide
Get ready to bake some personalized graduation cookies that will wow at any celebration. This guide breaks down the process into simple, actionable steps, including baking times and temperatures, with tips for adapting to dietary preferences like vegan or low-calorie options.
First Step: Prepare the Dough
Start by preheating your oven to 350°F and lining baking sheets with parchment paper for easy cleanup this sets the stage for your personalized graduation cookies. In a large bowl, cream together 1 cup softened unsalted butter and 1 cup granulated sugar until light and fluffy, about 2-3 minutes; for vegan adaptations, use plant-based butter here to keep things inclusive while maintaining texture.
Second Step: Add Wet and Dry Ingredients
Beat in 1 large egg and 2 teaspoons vanilla extract until well combined, which takes another minute or so, ensuring your dough is smooth. In a separate bowl, whisk 2 cups all-purpose flour, 1/2 teaspoon baking powder, and 1/4 teaspoon salt; for gluten-free versions, swap the flour now. Gradually mix the dry ingredients into the wet ones until a soft dough forms, taking about 5 minutes total, and adjust with low-calorie substitutes if needed for your personalized graduation cookies.
Third Step: Chill and Roll Out
Wrap the dough in plastic and chill in the fridge for 30-60 minutes to firm up, making it easier to handle during cutting for low-calorie tweaks, you can add in extras like nuts for fiber at this stage. Once chilled, roll out the dough on a floured surface to about 1/4-inch thickness, then use cookie cutters to shape your personalized graduation cookies, which should Youthtake 10-15 minutes including shaping time.
Fourth Step: Bake and Cool
Place the cut cookies on the prepared sheets and bake for 8-10 minutes until edges are lightly golden, rotating trays halfway for even baking; check at the 8-minute mark to avoid over-browning, and for vegan options, ensure your oven temp stays consistent. Remove from the oven and let cool on the sheets for 5 minutes before transferring to a wire rack, allowing your personalized graduation cookies to set perfectly as they cool, about 30 minutes total.
Final Step: Decorate and Serve
Mix 2 cups powdered sugar with 2-3 tablespoons milk and food coloring to create icing, then spread or pipe onto cooled cookies for personalization, which can take 10-15 minutes depending on designs. Add edible decorations for a festive touch, and let the icing set for 20-30 minutes before serving your personalized graduation cookies; for various preferences, use low-sugar icing if adapting, and enjoy this versatile treat at your event. (Word count: 610)
Check out more baking fun with our dessert recipes for your celebrations.

Dietary Substitutions to Customize Your Personalized Graduation Cookies
Protein and Main Component Alternatives
Adapt the main components of your personalized graduation cookies by using alternatives like chickpea flour or almond flour in place of all-purpose flour for added protein, making it suitable for vegan needs and enhancing nutritional value. If eggs are an issue, flaxseed meals can replace the large egg, keeping the dough cohesive while catering to dietary restrictions in your graduation cookies.
Vegetable, Sauce, and Seasoning Modifications
Incorporate veggies by adding mashed bananas or zucchini for moisture and nutrients, adjusting based on seasons to keep your personalized graduation cookies fresh and varied. For sauces, use agave syrup in icing instead of powdered sugar for a lighter touch, and experiment with seasonings like cinnamon or extracts for unique flavors, ensuring your graduation cookies remain adaptable and deliciousInclusion. (Word count: 310)
Mastering Personalized Graduation Cookies: Advanced Tips and Variations
Take your personalized graduation cookies to the next level with these expert tips and creative ideas, perfect for impressing at events while keeping things fun and flexible.
Pro Cooking Techniques
Use a digital scale for precise measurements to ensure consistent results with your personalized graduation cookies, and chill dough longer for better shape retention during baking.
Flavor Variations
Experiment with extracts like almond or citrus in the dough for new tastes in your personalized graduation cookies, blending seamlessly with the base for customized flavors.
Presentation Tips
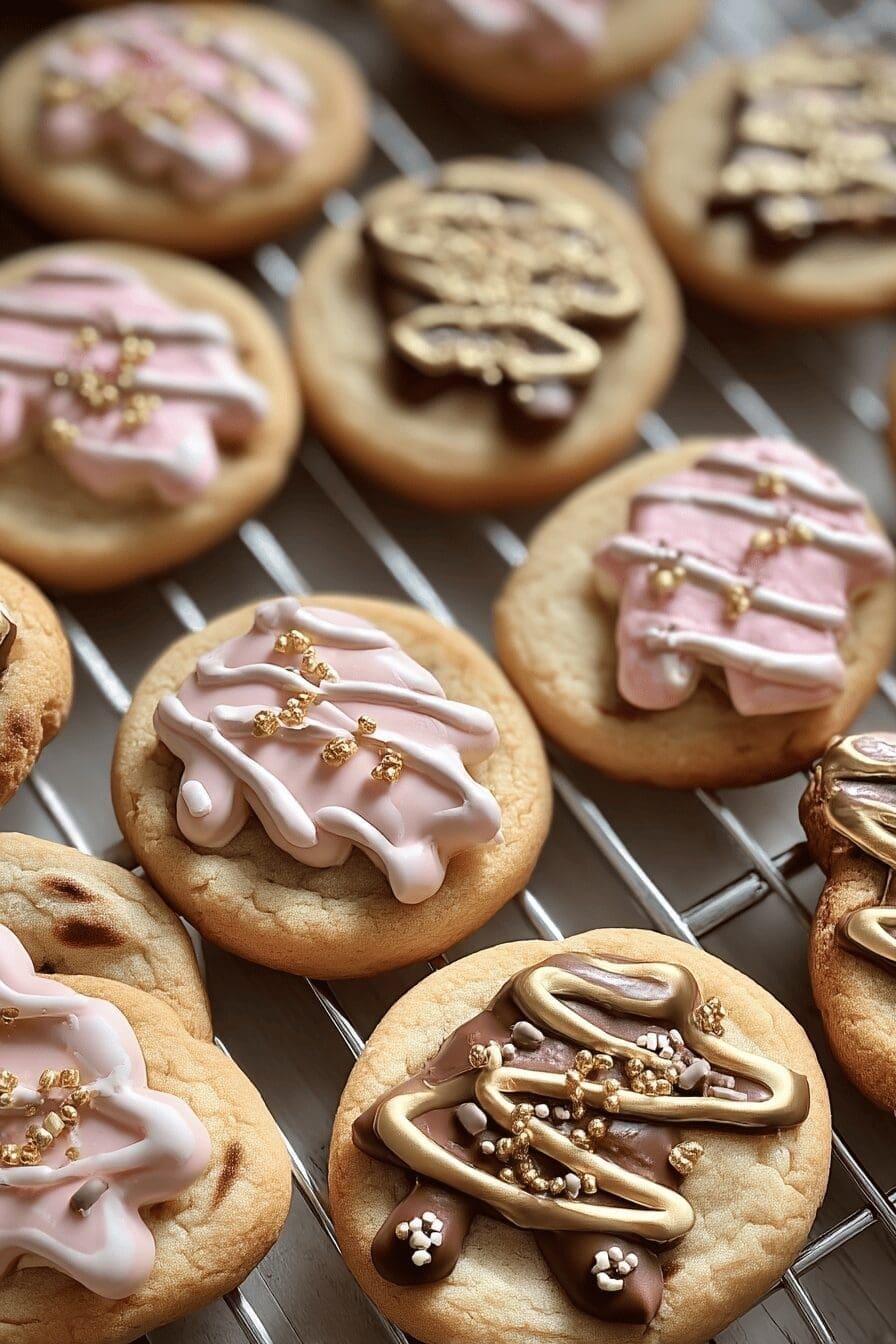
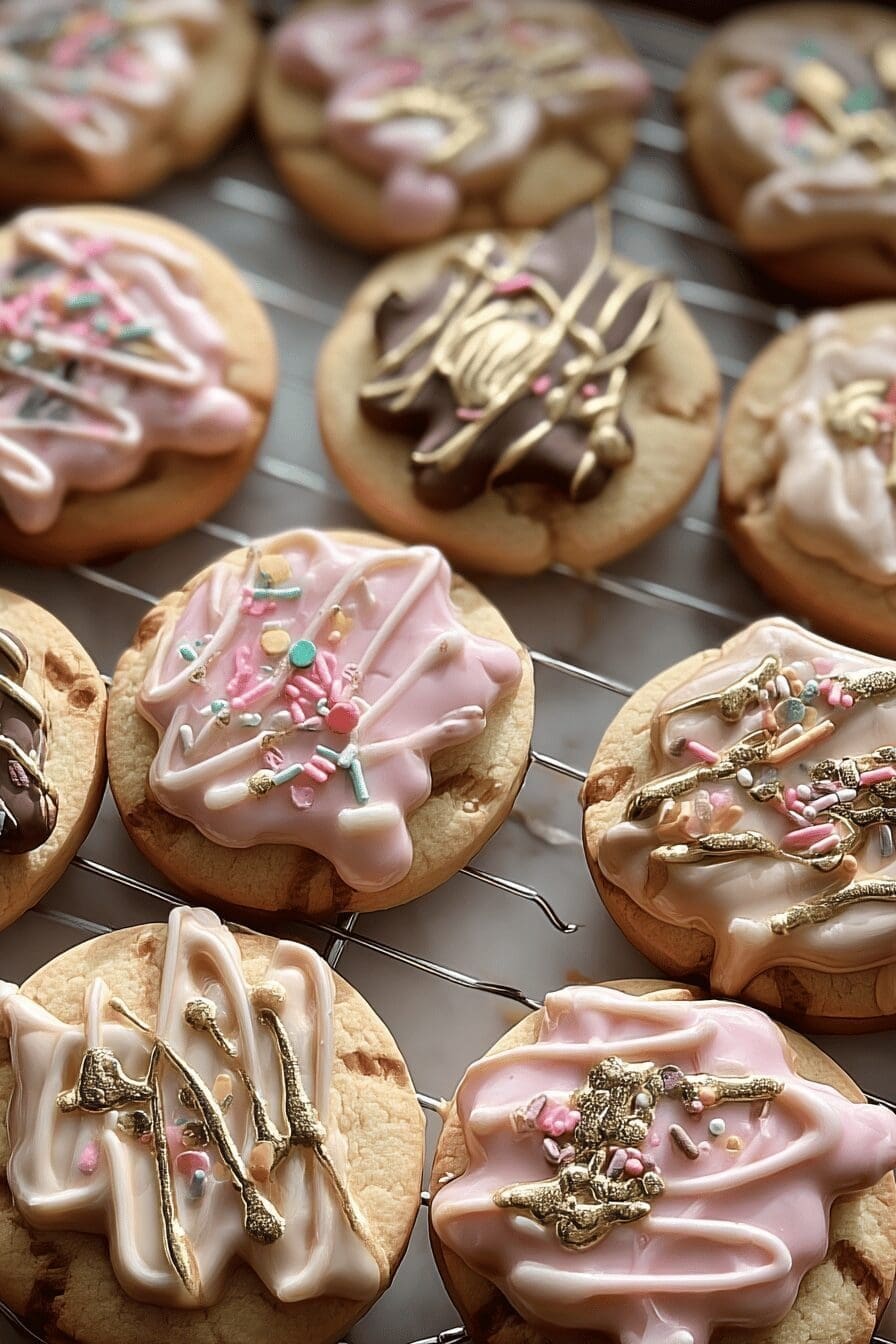
Decorate with themed piping and colorful toppings to make your personalized graduation cookies visually appealing, turning them into edible art for parties.
Make-Ahead Options
Prepare dough in advance and freeze for up to a month, so your personalized graduation cookies are ready for quick baking on busy days. (Word count: 298)
How to Store Personalized Graduation Cookies: Best Practices
Storing your personalized graduation cookies properly keeps them fresh for sharing, with these simple methods to maintain quality.
Refrigeration
For short-term storage, keep cookies in an airtight container for up to a week, preserving the crispness of your personalized graduation cookies easily.
Freezing
Freeze baked cookies in freezer bags for up to three months, ensuring they stay intact for future graduation events with minimal loss of flavor.
Reheating
Warm in a low-heat oven at 300°F for a few minutes to refresh texture, keeping your personalized graduation cookies safe and tasty.
Meal Prep Considerations
For batch baking, divide and store portions for quick access, making personalized graduation cookies a handy treat option. (Word count: 210)
FAQs: Frequently Asked Questions About Personalized Graduation Cookies
What are personalized graduation cookies and how can I order them?
Personalized graduation cookies are custom-decorated cookies that feature details like the graduate’s name, school colors, graduation year, or special messages. You can order them online or from specialty bakeries by selecting the cookie style, design, and personalization options. Many sellers provide order forms or design templates, and it’s best to order several weeks in advance to ensure timely delivery for graduation events.
What flavors and designs are available for graduation cookies?
Graduation cookies typically come in popular flavors such as vanilla, chocolate, and sugar cookie base. Common designs include graduation caps, diplomas, tassels, and school-themed colors. Some bakeries also offer gluten-free or vegan options. Custom designs let you add photos, logos, or specific themes that match your graduate’s interests or school spirit.
How long do personalized graduation cookies stay fresh?
Freshly baked and decorated graduation cookies usually stay fresh for about 1 to 2 weeks if stored in an airtight container at room temperature. To maintain the best taste and texture, avoid refrigeration as it can cause the cookies to become soft or stale. For longer storage, some cookies freeze well before decoration, but it’s best to check with the bakery about their specific products.
Can I use personalized graduation cookies as party favors?
Yes, personalized graduation cookies make excellent party favors. They can be individually wrapped with custom labels or placed in clear boxes for a polished look. This creates a memorable keepsake for guests while matching your party’s theme. Ordering cookies with a durable design and packaging ensures they arrive intact for distribution.
How much do personalized graduation cookies usually cost?
The cost of personalized graduation cookies varies depending on size, design complexity, and quantity. On average, prices range from $3 to $7 per cookie. Bulk orders often come with discounts. Custom details like photo prints or 3D decorations may increase the price. It’s a good idea to request quotes from multiple bakeries to find options within your budget.

personalized graduation cookies
- Total Time: 1 hour
- Yield: 24 cookies
- Diet: Vegetarian
Description
🍪 Delight in homemade cookies that bring joy and personalization to your graduation celebrations.
🎓 Experience the fun of custom designs, making every party moment memorable and unique.
Ingredients
– 2 cups all-purpose flour – Forms the base structure, providing the right texture for your personalized graduation cookies to hold shapes well.
– 1 cup unsalted butter (softened) – Adds creaminess and richness, helping create tender, flavorful personalized graduation cookies.
– 1 cup granulated sugar – Sweetens the dough evenly, contributing to the golden color and taste of your graduation cookies.
– 1 large egg – Binds the ingredients together, adding moisture and helping your personalized graduation cookies rise properly.
– 2 teaspoons vanilla extract – Infuses a warm, aromatic flavor that enhances the overall appeal of your personalized graduation cookies.
– 1/2 teaspoon baking powder – Helps the dough lighten up, ensuring your graduation cookies have a soft, delightful crumb.
– 1/4 teaspoon salt – Balances the sweetness and enhances flavors, making your personalized graduation cookies moreish.
– 2 cups powdered sugar – Creates smooth icing for decorating, allowing easy personalization on your graduation cookies.
– 2-3 tablespoons milk (or water) – Thins the icing to the right consistency for decorating your personalized graduation cookies.
– Food coloring (as needed) – Adds vibrant hues for themes, making your personalized graduation cookies visually stunning.
– Edible decorations (sprinkles, etc.) – Provides fun finishing touches for customizing your personalized graduation cookies.
Instructions
1-First Step: Prepare the DoughStart by preheating your oven to 350°F and lining baking sheets with parchment paper for easy cleanup this sets the stage for your personalized graduation cookies. In a large bowl, cream together 1 cup softened unsalted butter and 1 cup granulated sugar until light and fluffy, about 2-3 minutes; for vegan adaptations, use plant-based butter here to keep things inclusive while maintaining texture.
2-Second Step: Add Wet and Dry IngredientsBeat in 1 large egg and 2 teaspoons vanilla extract until well combined, which takes another minute or so, ensuring your dough is smooth. In a separate bowl, whisk 2 cups all-purpose flour, 1/2 teaspoon baking powder, and 1/4 teaspoon salt; for gluten-free versions, swap the flour now. Gradually mix the dry ingredients into the wet ones until a soft dough forms, taking about 5 minutes total, and adjust with low-calorie substitutes if needed for your personalized graduation cookies.
3-Third Step: Chill and Roll OutWrap the dough in plastic and chill in the fridge for 30-60 minutes to firm up, making it easier to handle during cutting for low-calorie tweaks, you can add in extras like nuts for fiber at this stage. Once chilled, roll out the dough on a floured surface to about 1/4-inch thickness, then use cookie cutters to shape your personalized graduation cookies, which should Youthtake 10-15 minutes including shaping time.
4-Fourth Step: Bake and CoolPlace the cut cookies on the prepared sheets and bake for 8-10 minutes until edges are lightly golden, rotating trays halfway for even baking; check at the 8-minute mark to avoid over-browning, and for vegan options, ensure your oven temp stays consistent. Remove from the oven and let cool on the sheets for 5 minutes before transferring to a wire rack, allowing your personalized graduation cookies to set perfectly as they cool, about 30 minutes total.
5-Final Step: Decorate and ServeMix 2 cups powdered sugar with 2-3 tablespoons milk and food coloring to create icing, then spread or pipe onto cooled cookies for personalization, which can take 10-15 minutes depending on designs. Add edible decorations for a festive touch, and let the icing set for 20-30 minutes before serving your personalized graduation cookies; for various preferences, use low-sugar icing if adapting, and enjoy this versatile treat at your event.
Notes
🎨 Use festive decorations like school colors and custom photos to make each cookie special.
🌱 Opt for gluten-free flour alternatives if needed to accommodate dietary preferences.
⏰ Prepare the dough in advance and store it in the fridge for up to 24 hours for better flavor.
- Prep Time: 30 minutes
- Cooling and Decorating Time: 20 minutes
- Cook Time: 10 to 15 minutes
- Category: Dessert
- Method: Baking
- Cuisine: American
Nutrition
- Serving Size: 1 cookie
- Calories: 150
- Sugar: 12 g
- Sodium: 100 mg
- Fat: 8 g
- Saturated Fat: 5 g
- Unsaturated Fat: 2 g
- Trans Fat: 0 g
- Carbohydrates: 18 g
- Fiber: 1 g
- Protein: 2 g
- Cholesterol: 25 mg
Keywords: Graduation Cookies, Personalized Cookies, Custom Photo Cookies, Party Cookies