
Why You’ll Love This Measure Flour
As a home baker who’s passionate about sharing simple recipes, I know how tricky measuring flour can be, but sticking to accurate methods with measure flour makes a big difference in your baking. You’ll appreciate how this technique streamlines your kitchen routine with steps that take just about 2 minutes, letting you whip up treats without hassle, especially on busy days. Plus, using precise measurements helps you avoid common pitfalls that lead to dense or flat baked goods, making it ideal for beginners like busy parents or students looking to nail their first recipes.
Beyond ease, this approach to measure flour supports healthier baking by ensuring you don’t accidentally add too much, which can make items heavier and less fluffy. It’s versatile enough to fit various dietary needs, such as gluten-free options, so food enthusiasts and diet-conscious folks can adapt it easily. What I love most is how it brings out the best flavors in your dishes, turning everyday baking into something truly enjoyable and memorable around the table.
In my experience, perfecting how to measure flour has transformed simple recipes into crowd-pleasers that everyone wants to try again. For instance, if your cookies spread too much, getting the flour right can help them hold shape, just like when I first tried it with family favorites. This method isn’t just about accuracy; it’s about building confidence in the kitchen for seniors, newlyweds, or working professionals who want reliable results every time.
Jump To
- 1. Why You’ll Love This Measure Flour
- 2. Essential Ingredients for Measure Flour
- 3. How to Prepare the Perfect Measure Flour: Step-by-Step Guide
- 4. Dietary Substitutions to Customize Your Measure Flour
- 5. Mastering Measure Flour: Advanced Tips and Variations
- 6. How to Store Measure Flour: Best Practices
- 7. FAQs: Frequently Asked Questions About Measure Flour
- 8. Measure Flour
Essential Ingredients for Measure Flour
Main Ingredients
- 2 cups all-purpose flour – Forms the base providing structure and texture.
- 1 tsp baking powder – Helps the flour rise and become fluffy.
- 1/2 tsp salt – Enhances flavor balance.
- 1 tbsp sugar – Adds a subtle sweetness.
- 1 cup milk – Moisturizes and binds ingredients.
- 2 large eggs – Adds protein and richness.
Special Dietary Options
- For vegan options: Substitute eggs with flaxseed meal or applesauce; use plant-based milk alternatives.
- For gluten-free options: Replace all-purpose flour with gluten-free flour blends.
- For low-calorie options: Use reduced-fat milk or plant-based low-calorie milks and reduce the sugar amount.
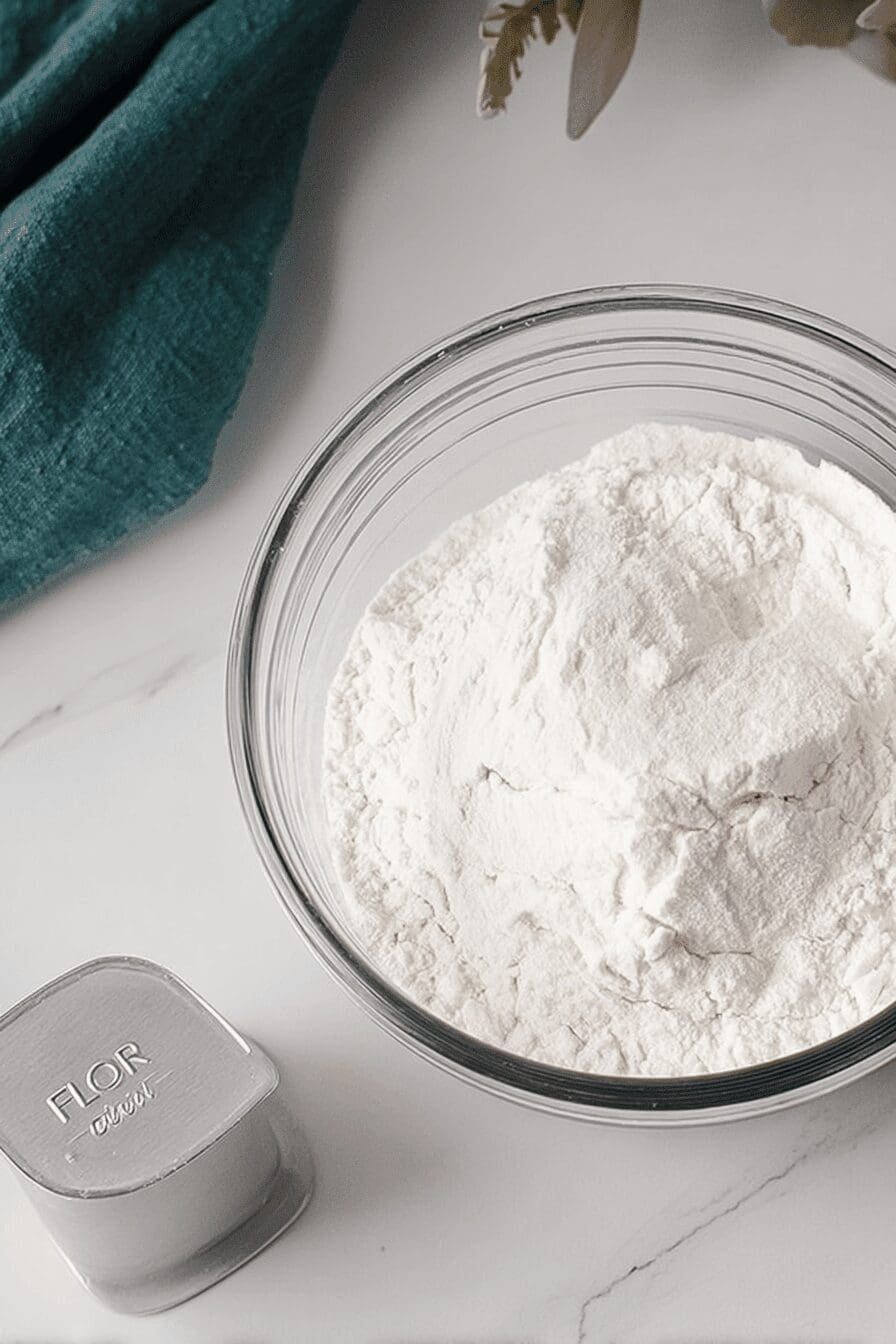
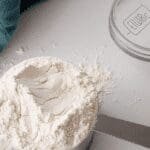
When I gather these ingredients, I always start by measuring the all-purpose flour accurately to fluff it first, then spoon it into the cup and level it off for the best results. This ensures every part of your recipe turns out just right, whether you’re tweaking for dietary needs or keeping it simple. Remember, precise measurements like weighing to 120-125 grams per cup make all the difference in your final bake.
How to Prepare the Perfect Measure Flour: Step-by-Step Guide
Getting Started with Accurate Measurement
First, let’s talk about preparing to measure flour accurately, as it’s the foundation of any great bake. To measure 1 cup of all-purpose flour, start by fluffing the flour in its container with a spoon or fork to loosen it and avoid compacting it. Then, gently spoon the flour into the measuring cup until it’s heaped slightly above the rim, without pressing it down for accuracy. Use the flat edge of a knife to level off the excess from the top, and remember, this whole process takes about 2 minutes and helps you get around 120-125 grams per cup for consistent results.
Once you have your flour measured right, move on to preheat your oven to 350°F (175°C) and get your baking equipment ready by greasing it or lining it with parchment paper. This sets the stage for even cooking and prevents sticking, which is key for busy parents or students juggling time. In a large bowl, sift together the all-purpose flour, baking powder, salt, and sugar to make sure everything mixes evenly and avoids lumps that could affect your bake’s texture.
Mixing and Baking Steps
Next, in a separate bowl, whisk the eggs and milk until they’re well combined, and if you’re adapting for dietary needs, swap in substitutes like flaxseed for eggs. Gradually stir the wet ingredients into the dry ones, mixing gently just until combined to keep the batter light and prevent toughness overmixing is a common issue I’ve seen lead to dense results. For more hands-on baking ideas, you might enjoy trying our peach cobbler recipe, which uses similar measuring techniques for fluffy outcomes.
Then, pour the batter into your prepared pan, smoothing the top for even baking so everything cooks uniformly. Bake it for 25-30 minutes, checking with a toothpick to see if it comes out clean, and adjust the time based on your oven or pan size to get that perfect golden finish. Let it cool before serving, and feel free to add garnishes or pair it with sides to make it your own, adapting for preferences like vegan tweaks along the way. In my kitchen, I’ve found that weighing flour on a scale gives the most reliable results, ensuring your treats turn out as intended every single time.
As an external resource, check out tips from experts on refining your flour measurement skills, which can elevate your baking game even further.

Dietary Substitutions to Customize Your Measure Flour
Making swaps for measure flour is straightforward and helps everyone enjoy baking, no matter their needs. For protein and main components, you can replace eggs with flaxseed meal mixed with water, which works great for vegan diets and keeps things moist without changing the texture much. Adding plant-based protein powders or legumes can boost nutrition while maintaining that light feel in your recipes.
When it comes to vegetables, sauces, and seasonings, try swapping in fresh options like spinach or zucchini to add a twist, making it adaptable for seasonal eating. For gluten-sensitive folks, go with gluten-free sauces and spice blends that keep flavors balanced and exciting. I always suggest adjusting seasonings to your taste, like adding herbs, to make each batch feel personal and suited to your family’s preferences.
| Original Ingredient | Substitution Option | Why It Works |
|---|---|---|
| Eggs | Flaxseed meal or applesauce | Provides binding without animal products |
| All-purpose flour | Gluten-free blends | Maintains structure for allergy needs |
| Milk | Plant-based alternatives | Keeps moisture for vegan or low-calorie versions |
This table shows how easy it is to customize, and remember to measure your flour carefully when making changes to keep everything consistent.
Mastering Measure Flour: Advanced Tips and Variations
Pro Techniques for Better Results
To really master measure flour, focus on precise temperature control and timing, which ensure your bakes have the ideal texture without any surprises. For flavor variations, try mixing in cinnamon or citrus zest to create exciting new tastes that stand out in simple recipes. When it comes to presentation, a light dusting of powdered sugar or fresh herbs can make your dish look inviting and professional, perfect for sharing with friends.
Make-ahead options are a game-changer for travelers or working professionals, like prepping batter ahead and chilling it for fresh bakes later. In my own baking, I’ve learned that weighing flour to exactly 120-125 grams per cup prevents errors and lets you experiment freely. For more inspiration, explore our lemon oatmeal cookies recipe, which incorporates these tips for a delightful twist.
When you get the hang of measuring flour just right, it opens up a world of creative baking that feels effortless and fun. As I always say, a little accuracy goes a long way in making your kitchen moments memorable.
How to Store Measure Flour: Best Practices
Proper storage keeps your measure flour fresh and ready for use, starting with putting baked goods in airtight containers in the fridge for up to 3 days. Freezing is another smart move, where you wrap portions tightly to avoid freezer burn and keep them good for about 3 months. When reheating, use a microwave or oven gently to bring back that just-baked feel without drying things out.
For meal prep, think about batch cooking and dividing portions to cut down on waste and make life easier. I find that storing flour itself in a cool, dry spot helps maintain its quality, so it’s always fluffed and measured accurately when you need it. This way, baking stays simple and reliable for everyone.
FAQs: Frequently Asked Questions About Measure Flour
How can I measure flour accurately without a kitchen scale?
If you don’t have a kitchen scale, the spoon-and-level method is a reliable alternative. First, fluff the flour in its container to break up clumps and prevent packing. Then, use a spoon to gently scoop the flour into your measuring cup, allowing it to heap slightly above the rim. Avoid packing the flour down or scooping directly from the bag as this adds extra weight. Finally, use a straight edge like the back of a knife to level off the excess flour. This technique helps you approximate 1 cup of flour weighing between 120 and 125 grams, which is much closer to weight measurements than scooping directly.
Why is weighing flour better than using measuring cups?
Weighing flour offers consistent, precise measurements because flour can settle and pack differently depending on storage and scooping methods. Measuring cups rely on volume, which varies depending on how much the flour is packed, leading to inconsistent results. For instance, a scooped and packed cup of all-purpose flour can weigh up to 155 grams, whereas the correct weight is typically around 120-125 grams. Accurate flour weight ensures better texture, rise, and overall success in baking recipes.
What happens if I use too much or too little flour in a recipe?
Using too much flour makes baked goods dense, dry, and tough because excess flour absorbs more moisture and affects gluten development. Using too little can result in a batter or dough that’s too wet, leading to flat or crumbly results that don’t hold shape. To avoid this, aim for precise measurements by weighing flour or using the spoon-and-level method when measuring by volume.
Can I convert cups of flour to grams for all-purpose and other flour types?
Yes, but the weight per cup varies by flour type due to density differences. For example, 1 cup of all-purpose flour typically weighs 120-125 grams, while 1 cup of whole wheat flour weighs about 120-130 grams because it’s denser. Cake flour is lighter, usually around 110 grams per cup. When possible, use a weight conversion chart specific to the flour type your recipe calls for to improve accuracy.
How should I store flour to maintain its quality and measurement accuracy?
Store flour in an airtight container in a cool, dry place away from direct sunlight. Proper storage prevents moisture absorption and clumping, which can affect how flour packs and measures. For longer storage, especially whole grain flours, refrigeration or freezing is recommended to maintain freshness. Always fluff flour before measuring to achieve consistent results.
Measure Flour
- Total Time: 2 minutes
Description
🥄 Learning how to measure flour accurately ensures consistent baking results with perfect texture and rise.
⚖️ Using proper techniques or a kitchen scale helps avoid common pitfalls like dense or dry baked goods.
Ingredients
– 2 cups all-purpose flour Forms the base providing structure and texture
– 1 tsp baking powder Helps the flour rise and become fluffy
– 1/2 tsp salt Enhances flavor balance
– 1 tbsp sugar Adds a subtle sweetness
– 1 cup milk Moisturizes and binds ingredients
– 2 large eggs Adds protein and richness
Instructions
1-First, let’s talk about preparing to measure flour accurately, as it’s the foundation of any great bake. To measure 1 cup of all-purpose flour, start by fluffing the flour in its container with a spoon or fork to loosen it and avoid compacting it. Then, gently spoon the flour into the measuring cup until it’s heaped slightly above the rim, without pressing it down for accuracy. Use the flat edge of a knife to level off the excess from the top, and remember, this whole process takes about 2 minutes and helps you get around 120-125 grams per cup for consistent results.
2-Once you have your flour measured right, move on to preheat your oven to 350°F (175°C) and get your baking equipment ready by greasing it or lining it with parchment paper. This sets the stage for even cooking and prevents sticking, which is key for busy parents or students juggling time. In a large bowl, sift together the all-purpose flour, baking powder, salt, and sugar to make sure everything mixes evenly and avoids lumps that could affect your bake’s texture.
3-Next, in a separate bowl, whisk the eggs and milk until they’re well combined, and if you’re adapting for dietary needs, swap in substitutes like flaxseed for eggs. Gradually stir the wet ingredients into the dry ones, mixing gently just until combined to keep the batter light and prevent toughness overmixing is a common issue I’ve seen lead to dense results.
4-Then, pour the batter into your prepared pan, smoothing the top for even baking so everything cooks uniformly. Bake it for 25-30 minutes, checking with a toothpick to see if it comes out clean, and adjust the time based on your oven or pan size to get that perfect golden finish. Let it cool before serving, and feel free to add garnishes or pair it with sides to make it your own, adapting for preferences like vegan tweaks along the way. In my kitchen, I’ve found that weighing flour on a scale gives the most reliable results, ensuring your treats turn out as intended every single time.
Notes
⚖️ Using a kitchen scale is the most accurate method, especially for recipes requiring precision.
🥄 Fluff and spoon flour rather than scooping to prevent compacting and over-measuring.
🔪 Always level off excess flour with a straight edge for consistent measurements.
- Prep Time: 2 minutes
- Category: Baking Basics
- Method: Measuring
- Cuisine: Universal
Keywords: Flour, Measuring, Baking, Accuracy