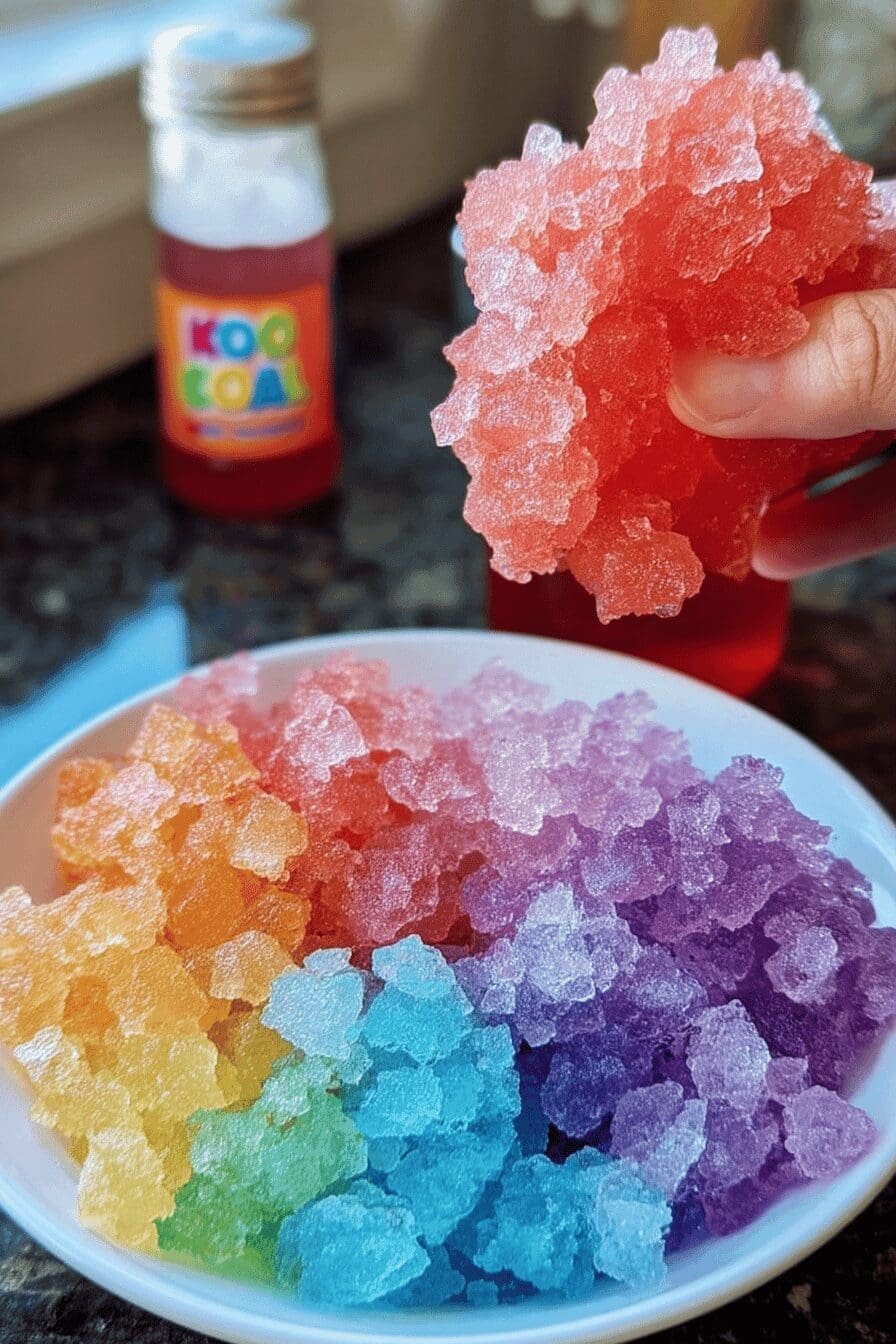
Benefits and Advantages of kool aid snow cone syrup
This kool aid snow cone syrup recipe is perfect for those who want a quick and tasty way to make refreshing frozen treats. Its simple preparation requires just a few common ingredients, making it accessible for all home cooks. The bright, bold flavors naturally provided by the Kool-Aid powder evoke nostalgic memories and offer a fun, fruity twist that store-bought syrups often lack. Additionally, this syrup can be customized to fit different dietary needs, including low-calorie or gluten-free options, by adjusting the type of sweetener or Kool-Aid flavor used. Its versatility extends beyond snow cones it’s great for slushies and other icy beverages, adding value to your homemade treats. Homemade syrup is also more cost-effective than purchasing pre-made versions, and you can experiment with unique flavor combinations to delight family and friends.
Jump To
- 1. Benefits and Advantages of kool aid snow cone syrup
- 2. Essential Ingredients for kool aid snow cone syrup
- 3. Dietary Substitutions to Customize Your kool aid snow cone syrup
- 4. How to Prepare the Perfect kool aid snow cone syrup: Step-by-Step Guide
- 5. Advanced Tips and Variations
- 6. How to Store kool aid snow cone syrup: Best Practices
- 7. Nutritional Value of kool aid snow cone syrup
- 8. FAQs: Frequently Asked Questions About kool aid snow cone syrup
- 9. kool aid snow cone syrup
Essential Ingredients for kool aid snow cone syrup
- 1 packet flavored drink mix (Kool-Aid), any flavor
- 1 cup (200 grams) granulated sugar
- 1 cup (240 milliliters) water
These three ingredients form the foundation of classic kool aid snow cone syrup. The sugar dissolves in water to create a sweet base, while the flavored drink mix imparts vibrant color and fruity taste. Choosing certified vegan and gluten-free Kool-Aid packets ensures the recipe is suitable for a broad range of dietary preferences. For calorie-conscious cooks, substituting sugar with low-calorie alternatives such as stevia or erythritol works well without compromising sweetness or texture.

Dietary Substitutions to Customize Your kool aid snow cone syrup
You can easily tailor this syrup recipe to meet specific dietary needs or personal preferences. For low-sugar or diabetic-friendly versions, replace granulated sugar with natural sweeteners like stevia, monk fruit, or erythritol. Always use gluten-free Kool-Aid packets to avoid cross-contamination if you have gluten sensitivities. Although Kool-Aid is generally vegan, checking labels is advised to confirm no animal-derived ingredients are present. For a more natural syrup, partially or fully substitute Kool-Aid with fruit juice concentrates, which contribute vitamins and nutrients along with flavor. Additionally, using filtered or spring water can improve the overall taste by avoiding unwanted flavors from tap water.
These simple substitutions keep your kool aid snow cone syrup inclusive and fresh while preserving the fun and vibrant flavor everyone loves.
How to Prepare the Perfect kool aid snow cone syrup: Step-by-Step Guide
- Mix sugar and water: In a medium saucepan, combine 1 cup of water and 1 cup of granulated sugar (or substitute). Stir gently to combine.
- Heat the syrup base: Warm over medium heat, stirring occasionally, until the sugar fully dissolves. Avoid boiling to maintain flavor clarity.
- Add Kool-Aid powder: Remove the pan from heat and stir in 1 packet of Kool-Aid until completely dissolved, infusing vibrant flavor and color.
- Cool the syrup: Allow the syrup to cool to room temperature to thicken slightly and let flavors meld.
- Store properly: Transfer syrup to a clean jar or bottle with a tight seal. Refrigerate until chilled and ready to use on shaved ice, snow cones, or slushies.
If using natural substitutes or juice concentrates, add them along with or in place of Kool-Aid powder in step 3. Throughout the process, adjust sweetness and flavor intensity according to your taste or dietary needs.
For more frozen treat inspiration, check out our Blueberry Cheesecake or White Chocolate Raspberry Cheesecake.
Additional useful resources include How to Make Homemade Snow Cone Syrup, Kool Aid Nutritional Facts, and Tips for Making Flavorful Snow Cones.
Advanced Tips and Variations
To get the most out of your kool aid snow cone syrup, try these helpful tips and creative twists. Letting the syrup rest overnight in the fridge helps the flavors deepen and meld, resulting in a richer taste. Don’t hesitate to mix different Kool-Aid flavors to craft unique combinations personalized to your preferences. For a natural variation, substitute a portion or all of the Kool-Aid powder with fresh fruit juice concentrates or extracts for added nutrients and a more authentic flavor.
If you prefer thicker syrup, slightly increase the sugar or sweetener ratio, but ensure it fully dissolves to avoid graininess. Adding a small amount of citric acid or fresh lemon juice gives the syrup a bright, tangy edge that balances sweetness nicely. For an eye-catching presentation, sprinkle edible glitter on top or garnish snow cones with fresh fruit pieces. These adjustments keep the traditional charm of kool aid snow cone syrup while offering fresh and exciting experiences.
How to Store kool aid snow cone syrup: Best Practices
To preserve the freshness and quality of your syrup, store kool aid snow cone syrup in the refrigerator inside a tightly sealed glass or plastic container. This method keeps the syrup tasting fresh for up to two weeks. For longer storage, freeze the syrup by pouring it into ice cube trays. Once frozen, transfer the cubes to a freezer-safe bag or container. These cubes thaw quickly at room temperature or in the refrigerator, making them convenient for portioned use.
Avoid reheating syrup on high heat as it can change its flavor and consistency; if warming is needed, do so gently to maintain quality. Always label containers with the preparation date to monitor freshness. Proper storage practices help keep your syrup vibrant in color and flavor, ensuring a refreshing experience with every use.
Nutritional Value of kool aid snow cone syrup
| Nutrient | Amount per serving | Notes |
|---|---|---|
| Calories | Approx. 60 kcal | Mainly from sugar content |
| Fat | 0 g | Fat-free |
| Protein | 0 g | Negligible protein |
| Carbohydrates | 15 g | Primarily sugars |
Using sugar alternatives like stevia or erythritol can lower calories and carbohydrates significantly. While the syrup is low in vitamins and minerals, it provides quick energy and a refreshing treat option. For detailed nutritional insights, see Kool Aid Nutritional Facts.
FAQs: Frequently Asked Questions About kool aid snow cone syrup
How do I make Kool Aid snow cone syrup at home?
To make Kool Aid snow cone syrup, combine 1 cup of water and 1 cup of sugar in a saucepan. Bring the mixture to a boil over medium-high heat and let it simmer for about three minutes until the sugar dissolves. Remove from heat, then stir in one packet of Kool Aid until fully dissolved. Allow the syrup to cool before transferring it to a container. Store the syrup in the refrigerator until you’re ready to use it on snow cones.
How long does homemade Kool Aid snow cone syrup last in the fridge?
Homemade Kool Aid snow cone syrup typically lasts up to two weeks when stored properly in a sealed container in the refrigerator. Always check for any changes in smell, color, or texture before use. If the syrup appears cloudy or has an off odor, it’s best to discard it to avoid any food safety issues.
Can I customize the flavor and sweetness of Kool Aid snow cone syrup?
Yes, you can customize the syrup by using different Kool Aid flavors and adjusting the sugar amount. For a sweeter syrup, increase the sugar slightly; for a lighter taste, reduce the sugar or dilute with a little extra water. Experimenting with mixes of Kool Aid flavors can create unique combinations to suit your preferences.
Is Kool Aid snow cone syrup safe for kids and suitable for special diets?
Kool Aid snow cone syrup is generally safe for kids but contains artificial colors, flavors, and sugar. If you’re looking for a sugar-free option, you can use sugar substitutes that dissolve well, but keep in mind this may affect texture and taste. Always check for any allergies or dietary restrictions before serving to children or guests with special diets.
How does making Kool Aid snow cone syrup at home compare cost-wise to buying store-bought syrup?
Making Kool Aid snow cone syrup at home is usually more budget-friendly than buying pre-made syrups. A single packet of Kool Aid, combined with sugar and water, costs only a few dollars but yields enough syrup for multiple servings. Store-bought syrups often come in smaller quantities and higher prices, making homemade syrup a great option for parties or regular use.

kool aid snow cone syrup
- Total Time: 6 minutes
- Yield: About 1 1/2 cups syrup
- Diet: Vegetarian, Gluten-Free
Description
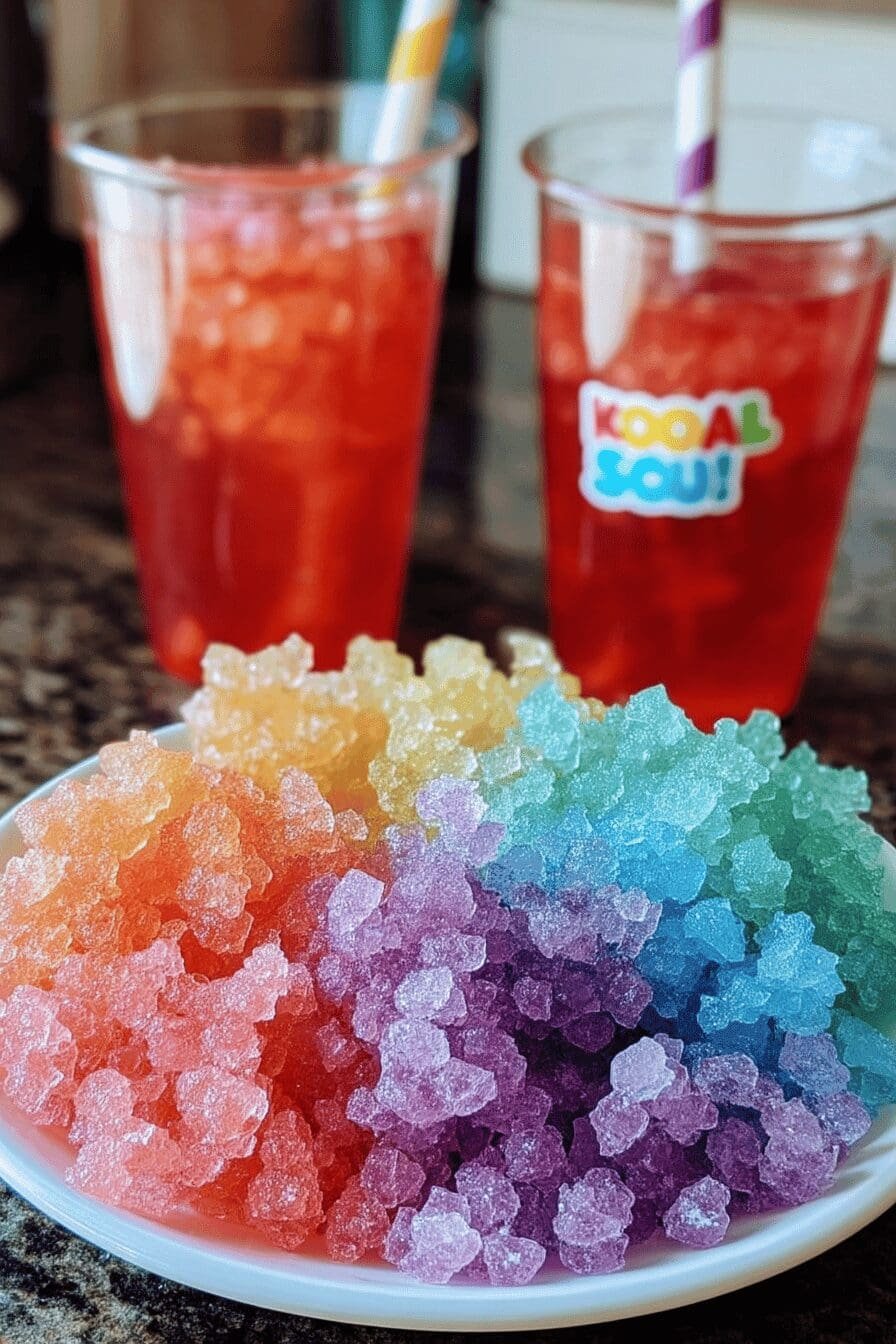
🍧 Kool Aid Snow Cone Syrup is a simple, colorful way to add vibrant flavor to your homemade shaved ice desserts.
🍓 With just three ingredients, this syrup is quick to make and perfect for fun parties or refreshing treats on hot days.
Ingredients
– 1 packet flavored drink mix (Kool-Aid), any flavor
– 1 cup (200 grams) granulated sugar
– 1 cup (240 milliliters) water
Instructions
Mix sugar and water: In a medium saucepan, combine 1 cup of water and 1 cup of granulated sugar (or substitute). Stir gently to combine.
Heat the syrup base: Warm over medium heat, stirring occasionally, until the sugar fully dissolves. Avoid boiling to maintain flavor clarity.
Add Kool-Aid powder: Remove the pan from heat and stir in 1 packet of Kool-Aid until completely dissolved, infusing vibrant flavor and color.
Cool the syrup: Allow the syrup to cool to room temperature to thicken slightly and let flavors meld.
Store properly: Transfer syrup to a clean jar or bottle with a tight seal. Refrigerate until chilled and ready to use on shaved ice, snow cones, or slushies.
Notes
🥄 Use inexpensive condiment bottles with cuttable holes for easy syrup storage and pouring.
🌈 Experiment with various flavored drink mixes to create fun, custom syrup blends.
❄️ Pair with finely shaved ice for the best texture and syrup absorption.
- Prep Time: 1 minute
- Cooking Time: 5 minutes
- Cook Time: 5 minutes
- Category: Beverage/Condiment
- Method: Boiling and Mixing
- Cuisine: American
Nutrition
- Serving Size: 2 tablespoons syrup
- Calories: 120 kcal
- Sugar: 30 g
- Sodium: 15 mg
- Fat: 0 g
- Saturated Fat: 0 g
- Unsaturated Fat: 0 g
- Trans Fat: 0 g
- Carbohydrates: 30 g
- Fiber: 0 g
- Protein: 0 g
- Cholesterol: 0 mg
Keywords: Kool Aid Snow Cone Syrup, Shaved Ice Syrup, Homemade Snow Cone, Simple Snow Cone Syrup
This recipe brought back so many childhood memories! 🎈 I used to love having these vibrant snow cones during summer fairs. One question though—is it possible to use stevia instead of sugar to make it a bit healthier? Thanks for the great recipe!
★★★★★