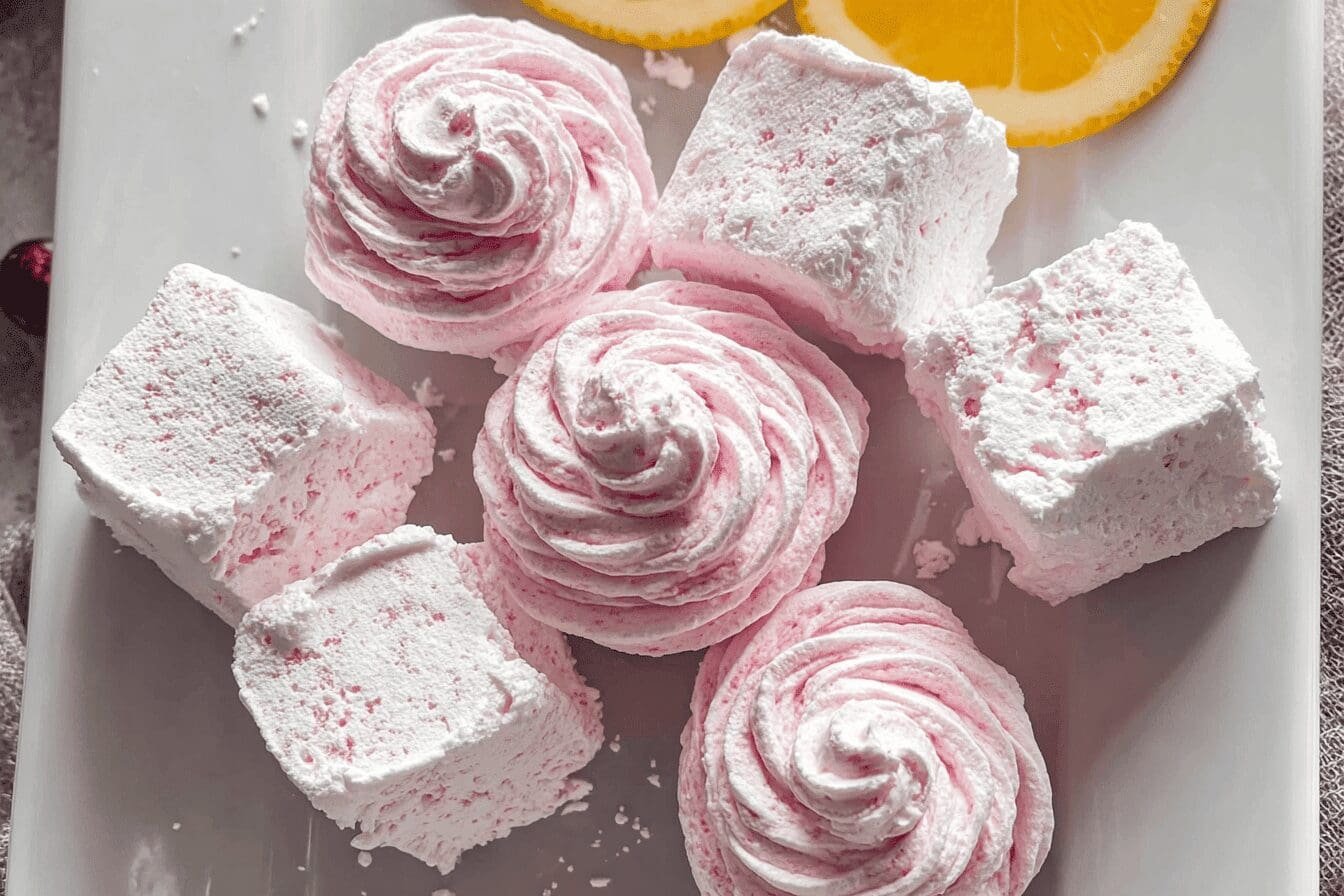
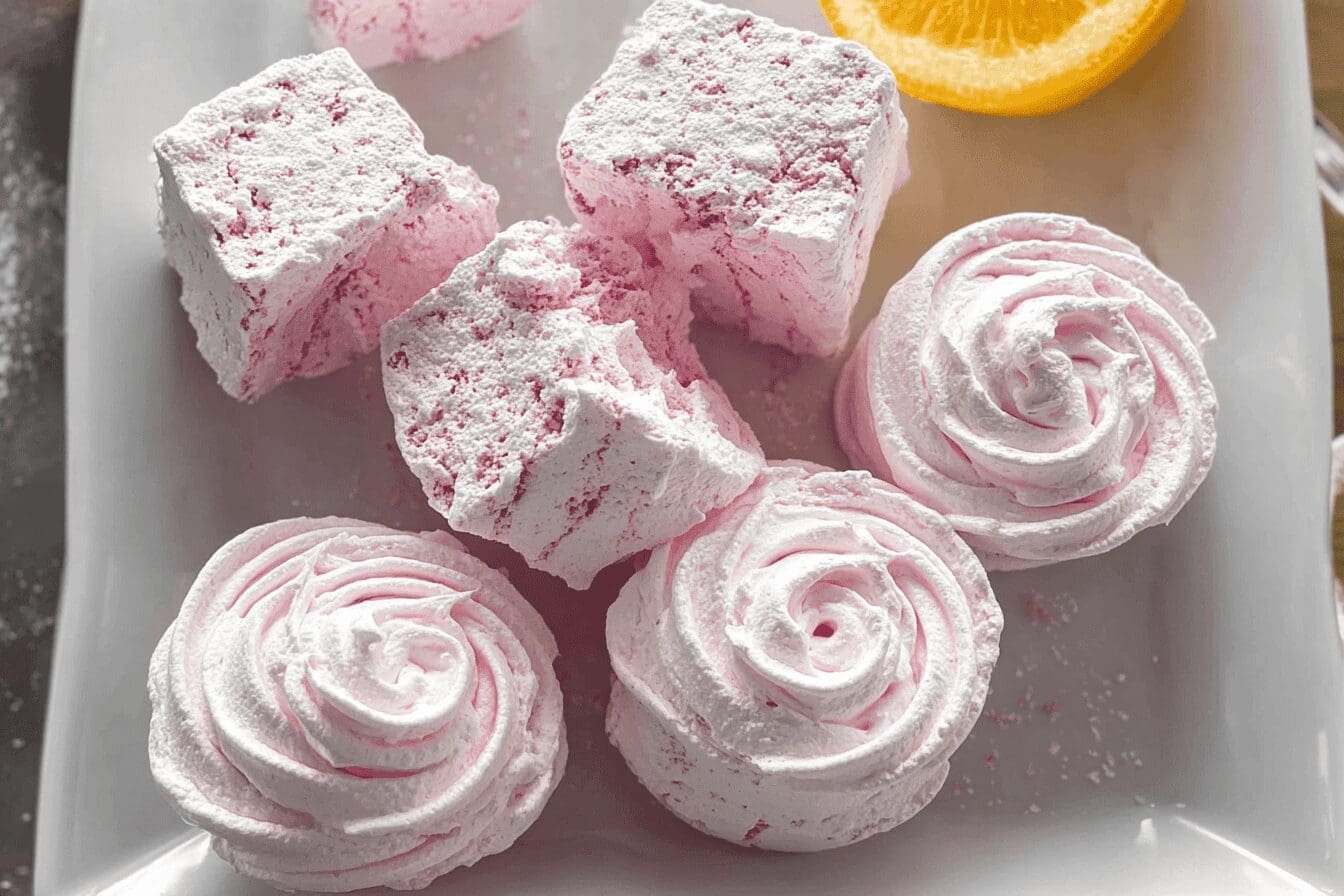
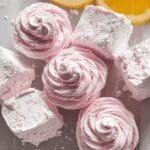
Why You’ll Love This Homemade Marshmallows
Making your own homemade marshmallows opens up a world of fun and flavor that store-bought ones just can’t match. This recipe stands out because it’s simple enough for anyone to try, even if you’re new to baking. You’ll appreciate how a few basic steps lead to soft, fluffy treats that bring joy to family gatherings or quiet evenings at home.
One reason this recipe shines is its ease of preparation. You only need simple ingredients and a short time in the kitchen to create something special. Whether you’re a busy parent squeezing in a quick activity with kids or a student looking for a fun project, these homemade marshmallows come together without much hassle.
Health benefits make this recipe even more appealing. By skipping artificial additives, you get a fresher option that’s better for your body. Using quality ingredients means you can enjoy a treat that’s more wholesome and easy to adapt for different dietary needs.
This homemade marshmallows recipe offers amazing versatility too. You can tweak it for vegan, gluten-free, or low-calorie versions with simple swaps. That makes it perfect for food enthusiasts who love experimenting or travelers wanting familiar comforts on the road.
The distinctive flavor is another highlight. Freshly made marshmallows have a richer taste you can customize with extracts or spices. This adds a personal touch that makes every batch feel unique and satisfying for baking enthusiasts and newlyweds alike.
Jump To
- 1. Why You’ll Love This Homemade Marshmallows
- 2. Essential Ingredients for Homemade Marshmallows
- 3. How to Prepare the Perfect Homemade Marshmallows: Step-by-Step Guide
- 4. Dietary Substitutions to Customize Your Homemade Marshmallows
- 5. Mastering Homemade Marshmallows: Advanced Tips and Variations
- 6. How to Store Homemade Marshmallows: Best Practices
- 7. FAQs: Frequently Asked Questions About Homemade Marshmallows
- 8. Homemade Marshmallows
Essential Ingredients for Homemade Marshmallows
Gathering the right ingredients is the first step to creating perfect homemade marshmallows. This section lists everything you need with precise measurements to ensure success. Follow this structured list for a clear guide, and remember, exact measurements help avoid any surprises in the kitchen.
- 50 grams confectioners’ sugar (for coating)
- 50 grams cornstarch (for coating to prevent stickiness)
- 21 grams unflavored gelatin (about 3 tablespoons, 3 packets or sheets)
- 120 ml cold water, divided (half for gelatin, half for sugar syrup)
- 240 ml light corn syrup
- 400 grams granulated sugar
- 1/4 teaspoon salt
- 2 teaspoons pure vanilla extract
For special dietary options, you can make swaps like using agar-agar for gelatin to go vegan. All these ingredients work together to give marshmallows their classic fluffy texture and sweet taste.
This list covers everything required, based on common recipes, so quantities might vary slightly depending on your gelatin source. If you’re a working professional short on time, having these measured out ahead makes the process even smoother. For more ideas on sweet treats, check out our no-bake chocolate cream pie recipe that pairs well with marshmallows.
How to Prepare the Perfect Homemade Marshmallows: Step-by-Step Guide
Getting started with homemade marshmallows is easier than you might think, and this guide walks you through every part. Begin by setting up your workspace to keep things organized and fun. You’ll love how these steps build on each other for great results every time.
First, prepare your workspace by lightly oiling a baking dish and lining it with parchment paper. Measure and separate all ingredients to ensure a smooth workflow. This helps beginners feel more confident as they dive in.
Second, bloom the gelatin by sprinkling it over 1/4 cup of cold water and letting it absorb for 5 minutes. This step is key for that springy texture we all enjoy in marshmallows.
Third, in a saucepan, combine the granulated sugar, corn syrup, and remaining 1/4 cup cold water. Cook over medium heat until the mixture reaches 240°F (115°C) on a candy thermometer. Watch this closely to get it just right.
- Remove the syrup from heat and slowly add the bloomed gelatin, stirring until completely dissolved.
- Transfer the mixture to a stand mixer and whip on high speed until fluffy and tripled in volume, approximately 10-15 minutes.
- Add vanilla extract during the last minute of whipping to incorporate flavor uniformly.
- Pour the marshmallow mixture into the prepared pan, spreading evenly. Allow to set at room temperature for at least 6 hours or overnight.
- Once set, dust the surface with powdered sugar and cut into desired shapes. Store in an airtight container.
Throughout the process, adapt ingredients to dietary needs by substituting gelatin with vegan alternatives. This recipe is a hit for seniors who appreciate straightforward instructions and busy parents looking for family activities.

Dietary Substitutions to Customize Your Homemade Marshmallows
One of the best parts of this homemade marshmallows recipe is how easy it is to make changes for different needs. Whether you’re avoiding certain ingredients or trying new flavors, these tips help you adjust without losing that perfect texture.
For protein and main component alternatives, gelatin can be replaced with agar-agar for a vegan option. Carrageenan and pectin also work as plant-based swaps, though they might change the feel a bit.
- Use organic fruit purees or citrus zest in place of part of the water to add freshness.
- Opt for natural syrups like maple or agave instead of corn syrup for a richer taste.
- Try extracts like almond or peppermint to mix up the flavor profile.
These substitutions keep the recipe intact while fitting food allergies or seasonal ingredients. Baking enthusiasts will find this flexibility inspiring for their next kitchen adventure.
Mastering Homemade Marshmallows: Advanced Tips and Variations
Once you’re comfortable with the basics, dive into these advanced tips to take your homemade marshmallows to the next level. Little changes can make a big difference in texture and taste, so let’s explore some fun ideas.
Pro Cooking Techniques
For a smoother texture, whip the marshmallow mixture longer until very stiff peaks form. Always use a candy thermometer accurately to avoid issues with the syrup. These methods help ensure your treats turn out just right every time.
Flavor Variations
Experiment by adding cocoa powder for chocolate marshmallows or spices like cinnamon for a cozy twist. This lets you create seasonal favorites that delight food enthusiasts and newlyweds alike.
Presentation Tips
Dust marshmallows with a mix of powdered sugar and cornstarch to keep them from sticking. Cut into fun shapes for holidays, and they become a hit at parties. For external inspiration on candy making, check out this guide to candy techniques.
Make-Ahead Options
Prepare batches in advance and store them for later use. They freeze well, making them ideal for travelers or working professionals. These suggestions make the recipe even more practical for everyday life.
How to Store Homemade Marshmallows: Best Practices
Proper storage keeps your homemade marshmallows fresh and tasty for as long as possible. Let’s go over the best ways to handle them so you can enjoy them whenever you want.
Store homemade marshmallows in an airtight container at room temperature for up to 2 weeks. Refrigeration can make them sticky, so it’s not the best choice. Freezing works great for long-term needs; wrap them individually in parchment paper and place in a freezer-safe bag for up to 3 months.
Thaw frozen marshmallows at room temperature to keep their texture intact. Avoid using a microwave, as it might affect their fluffiness. For meal prep, make extras and store them to have treats ready for spontaneous moments, like adding them to hot chocolate for a quick dessert.
| Storage Method | Duration | Tips |
|---|---|---|
| Room Temperature | Up to 2 weeks | Use airtight container |
| Freezing | Up to 3 months | Wrap individually |
This table summarizes the options, making it simple to plan ahead. For another easy dessert idea, visit our peanut butter squares page for a complementary treat.
FAQs: Frequently Asked Questions About Homemade Marshmallows
How can I make homemade marshmallows without gelatin?
You can make vegan marshmallows using alternatives like agar-agar, carrageenan, or pectin instead of gelatin. These ingredients require different preparation methods and precise measurements to achieve the right texture since they don’t behave the same as gelatin. Look for a recipe specifically designed for vegan marshmallows to get the best results, as simply substituting gelatin 1:1 will not work. Many successful recipes call for agar-agar powder boiled with sugar and water to form the base before whipping.
What are some popular flavors I can add to homemade marshmallows besides vanilla?
Beyond vanilla, you can add a variety of extracts or spices to customize your marshmallows. Common options include peppermint, lemon, almond, coconut, maple, and cinnamon. Start by adding about ½ teaspoon of your chosen flavor when you whip the sugar syrup to ensure it doesn’t overpower the marshmallows. You can adjust the amount after tasting. Adding natural zest or spices can also create unique seasonal variations.
Do I need a candy thermometer to make homemade marshmallows?
Yes, a candy thermometer is highly recommended for making marshmallows. It helps you reach the precise temperature required to get the sugar syrup to the correct stage, usually around 240°F (115°C). This ensures the marshmallows will set properly and have the ideal texture. Using a thermometer increases accuracy and reduces guesswork, making the process less intimidating and much more reliable.
Can I color homemade marshmallows, and how do I do it?
Yes, you can tint marshmallows using gel food coloring for vibrant colors without affecting texture. Add a few drops of gel coloring to the sugar syrup during whipping, typically when you add any flavoring extracts. Gel colors blend well and won’t thin the marshmallow mixture. Once poured into the pan, you can also decorate with sprinkles or edible glitter before they set.
What are some common ways to use homemade marshmallows in recipes?
Homemade marshmallows are versatile and can be used just like store-bought ones. They’re perfect for toasting over a fire for s’mores, adding to hot chocolate, or using in Rice Krispie treats. You can also use them as a topping for sweet potato casserole; add them during the last 5 minutes of baking so they brown without burning. Their soft, fluffy texture enhances many desserts and snacks.
Homemade Marshmallows
- Total Time: 4 hours 30 minutes
- Yield: About 36 marshmallows (1-inch squares)
- Diet: Vegetarian
Description
🍬 Homemade Marshmallows are delightfully fresh and fluffy, providing a tasty alternative to store-bought with a customizable flavor.
🎉 Perfect for gifts, snacking, or dessert toppings, they combine simple ingredients with straightforward steps for great results.
Ingredients
– 50 grams confectioners’ sugar for coating
– 50 grams cornstarch for coating to prevent stickiness
– 21 grams unflavored gelatin (about 3 tablespoons, 3 packets or sheets)
– 120 ml cold water, divided (half for gelatin, half for sugar syrup)
– 240 ml light corn syrup
– 400 grams granulated sugar
– 1/4 teaspoon salt
– 2 teaspoons pure vanilla extract
Instructions
1-First: prepare your workspace by lightly oiling a baking dish and lining it with parchment paper. Measure and separate all ingredients to ensure a smooth workflow. This helps beginners feel more confident as they dive in.
2-Second: bloom the gelatin by sprinkling it over 1/4 cup of cold water and letting it absorb for 5 minutes. This step is key for that springy texture we all enjoy in marshmallows.
3-Third: in a saucepan, combine the granulated sugar, corn syrup, and remaining 1/4 cup cold water. Cook over medium heat until the mixture reaches 240°F (115°C) on a candy thermometer. Watch this closely to get it just right.
4-Remove the syrup from heat and slowly add the bloomed gelatin, stirring until completely dissolved.
5-Transfer the mixture to a stand mixer and whip on high speed until fluffy and tripled in volume, approximately 10-15 minutes.
6-Add vanilla extract during the last minute of whipping to incorporate flavor uniformly.
7-Pour the marshmallow mixture into the prepared pan, spreading evenly. Allow to set at room temperature for at least 6 hours or overnight.
8-Once set, dust the surface with powdered sugar and cut into desired shapes. Store in an airtight container.
Notes
🎛️ Use a candy thermometer for precise temperature control.
⏳ Allow marshmallows to set completely for firm texture.
🔪 Dip knife or scissors in oil to cut sticky marshmallows easily.
- Prep Time: 15 minutes
- Setting time: 4 hours
- Cook Time: 15 minutes
- Category: Dessert
- Method: Whipping and setting
- Cuisine: American
Nutrition
- Serving Size: 1 marshmallow (approx 1-inch square)
- Calories: 60 kcal
- Sugar: 12 g
- Sodium: 10 mg
- Fat: 0 g
- Saturated Fat: 0 g
- Unsaturated Fat: 0 g
- Trans Fat: 0 g
- Carbohydrates: 15 g
- Fiber: 0 g
- Protein: 0 g
- Cholesterol: 0 mg
Keywords: Homemade marshmallows, Easy marshmallow recipe, Simple marshmallows, DIY marshmallows