Why You’ll Love This Grilled Vegetables
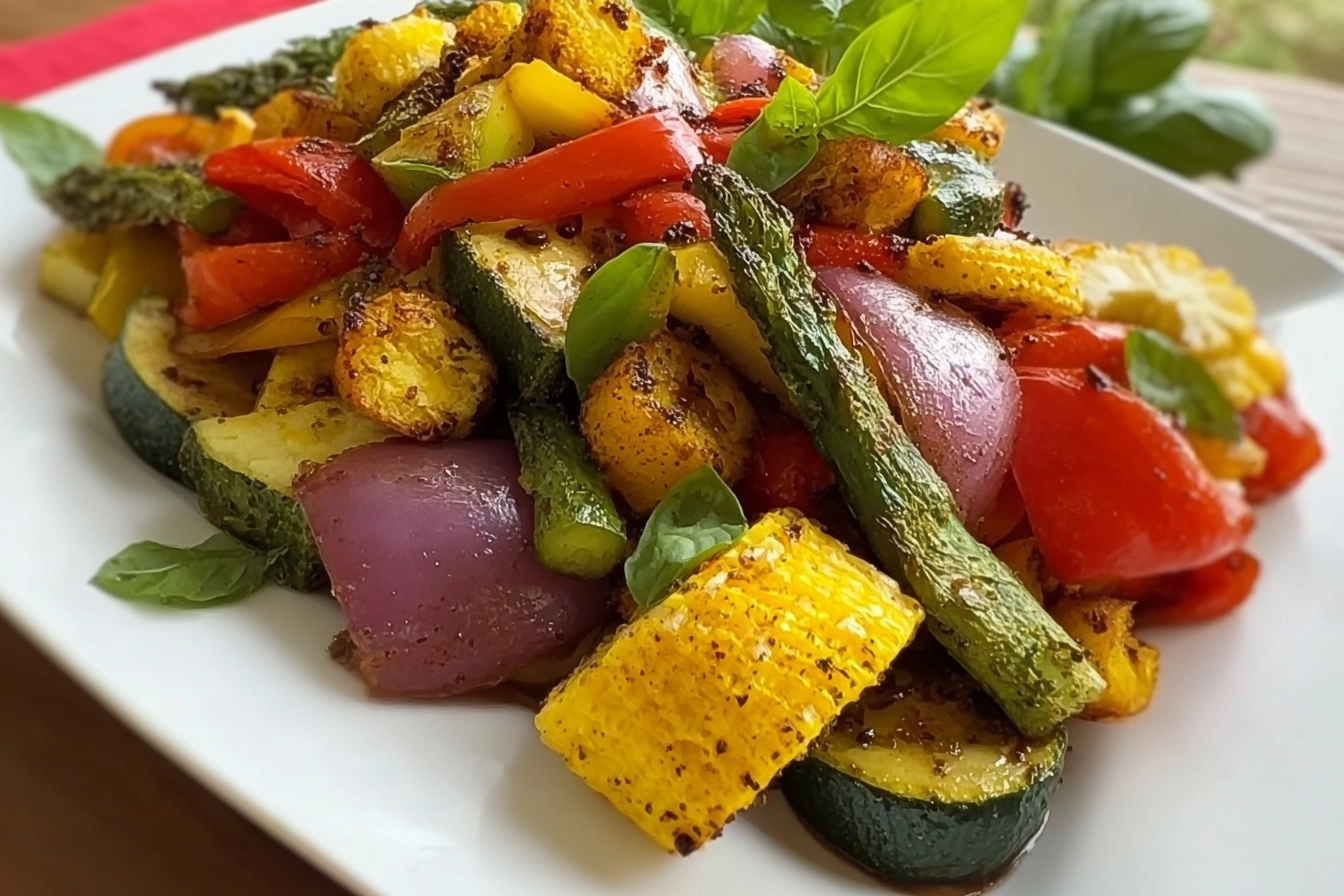
There’s something truly magical about grilled vegetables fresh off the barbecue. The smoky char, the tender-crisp texture, and the way natural sugars caramelize under high heat create flavors you simply cannot achieve any other way. Whether you’re hosting a summer cookout or simply looking for a nutritious weeknight side, this recipe delivers on every front.
This grilled vegetables recipe has become a go-to favorite in my kitchen for good reason. It transforms everyday produce into something special with minimal effort and maximum flavor. Plus, it’s incredibly forgiving, so even if you’re new to grilling, you’ll achieve restaurant-quality results right at home.
Key Benefits of This Recipe
- Ease of preparation: With just 9 minutes of prep time and 16 minutes on the grill, you can have this colorful side dish on the table in under 30 minutes. The straightforward method requires no special techniques, just basic cutting skills and a hot grill.
- Health benefits: This dish is naturally low in calories yet packed with vitamins, minerals, and fiber. Zucchini offers numerous health benefits including antioxidants and Vitamin C, while bell peppers deliver a powerful punch of Vitamin A and other essential nutrients. The olive oil adds healthy fats that help your body absorb fat-soluble vitamins.
- Versatility: Serve these vegetables alongside grilled proteins, toss them into pasta dishes, or enjoy them as a light main course. They pair beautifully with everything from butter-grilled wahoo steaks to simple grilled chicken. You can also customize the seasoning or swap vegetables based on what’s in season.
- Distinctive flavor: The combination of smoky char, natural sweetness from caramelized vegetables, and your choice of sauce creates layers of flavor that make this dish stand out. Each bite offers a perfect balance of textures and tastes.
Jump To
- 1. Why You’ll Love This Grilled Vegetables
- 2. How to Prepare the Perfect Grilled Vegetables: Step-by-Step Guide
- 3. Dietary Substitutions to Customize Your Grilled Vegetables
- 4. Mastering Grilled Vegetables: Advanced Tips and Variations
- 5. How to Store Grilled Vegetables: Best Practices
- 6. FAQs: Frequently Asked Questions About Grilled Vegetables
- 7. Grilled Vegetables
How to Prepare the Perfect Grilled Vegetables: Step-by-Step Guide
Creating perfectly grilled vegetables is easier than you might think. The secret lies in uniform cutting, proper seasoning, and timing your grill work just right. This guide walks you through every step to ensure tender, lightly charred vegetables every single time.
Ingredients You’ll Need
Before you begin, gather all your ingredients. Having everything prepped and ready makes the cooking process smooth and enjoyable.
Vegetables and Main Ingredients:
- Cooking spray for the grill
- 1 yellow squash cut into rounds
- 1 zucchini cut into rounds
- 8 ounces cremini mushrooms, stemmed
- 1 small red onion cut into 1-inch pieces
- 1 red bell pepper cut into 1-inch pieces
- 1 green bell pepper cut into 1-inch pieces
- 1 ear fresh corn cut into 1-inch rounds
- Olive oil for drizzling
- Sea salt and freshly ground black pepper to taste
Sauce and Dressing Options:
- Tzatziki sauce
- Tahini dressing
- Chimichurri sauce
- Garlic herb sauce
Step 1: Prepare Your Grill
Start by preheating your grill to medium-high heat. This temperature range, typically around 400-450°F, is ideal for achieving that perfect balance of char and tenderness. While the grill heats up, spray the grates with nonstick cooking spray to prevent sticking. A well-prepared grill surface is essential for easy vegetable removal and those beautiful grill marks everyone loves.
Pro Tip: If you’re using bamboo skewers instead of metal ones, soak them in water for at least 30 minutes before grilling to prevent burning.
Step 2: Cut and Prep Vegetables
While the grill heats, prepare your vegetables. The key here is uniformity. Cut all vegetables to approximately 1-inch pieces for even cooking and balanced bites. Bell peppers pack exceptional nutritional value with high levels of vitamins A and C, making them a colorful and healthy addition to your skewers.
For the squash and zucchini, slice them into rounds about 1/2-inch thick. Cut the red onion into 1-inch chunks that will hold their shape on the skewer. Remove the stems from the cremini mushrooms and cut the red and green bell peppers into 1-inch pieces. For the corn, cut the ear into 1-inch rounds, then carefully drill a small hole through the center of each round to make skewering easier.
Step 3: Assemble the Skewers
Thread the prepared vegetables onto 4 metal skewers. Distribute the different vegetables evenly among the skewers so each one has a colorful variety. This isn’t just about aesthetics; having a mix ensures every serving contains all the flavors and textures.
A good assembly order works like this: start with a sturdier vegetable like onion or pepper, then add zucchini, mushroom, corn, and repeat. This pattern helps hold softer vegetables in place and creates an appealing visual presentation.
Step 4: Season Generously
Place the assembled skewers on a large tray or platter. Drizzle olive oil evenly over all the vegetables, making sure each piece gets a light coating. The oil serves multiple purposes: it helps the seasonings stick, prevents vegetables from drying out, and promotes that gorgeous caramelization we’re after.
Season generously with sea salt and freshly ground black pepper. Don’t be shy with the seasoning. Remember that some will fall off during grilling, and vegetables need a fair amount of salt to bring out their natural flavors. Use about 1 teaspoon of salt and 1/2 teaspoon of pepper for this quantity of vegetables.
Step 5: Grill to Perfection
Place the skewers on the preheated, oiled grill. Cook for approximately 8 minutes per side, or until the vegetables are tender and lightly charred. You’re looking for that sweet spot where the vegetables have softened but still retain some bite, and the edges have developed a beautiful golden-brown char.
| Vegetable | Doneness Indicator | Visual Cue |
|---|---|---|
| Zucchini/Squash | Pierces easily with fork | Light char marks, tender |
| Bell Peppers | Skin slightly blistered | Edges browned, softened |
| Mushrooms | Shrinks slightly, releases moisture | Golden brown color |
| Corn | Kernels tender | Light char on edges |
| Onion | Soft but holding shape | Caramelized edges |
Step 6: Final Touches and Serving
Remove the skewers from the grill and transfer to a serving platter. Taste one of the vegetables and adjust the seasoning as needed. A final sprinkle of salt and pepper can make all the difference between good and great.
Serve immediately with your chosen sauce or dressing on the side. Tzatziki adds a cool, creamy contrast to the smoky vegetables, while chimichurri brings a bright, herbaceous kick. Tahini offers a nutty richness, and garlic herb sauce delivers classic savory flavors. Choose based on your mood or what pairs best with your main dish.

Dietary Substitutions to Customize Your Grilled Vegetables
One of the beautiful things about this grilled vegetables recipe is how easily it adapts to different dietary needs and preferences. Whether you’re cooking for vegetarians, vegans, or someone following a specific eating plan, you can modify this dish without losing any of its appeal.
Protein and Main Component Alternatives
While this recipe works wonderfully as a side dish, you can easily transform it into a complete meal. Add grilled tofu, tempeh, or halloumi cheese to your skewers for vegetarian protein options. These absorb the smoky flavors beautifully and provide satisfying texture contrasts.
For meat lovers, consider alternating vegetable pieces with chunks of chicken, shrimp, or steak on separate skewers. Cook these protein-focused skewers alongside your vegetable ones for a complete grilled dinner. Just remember that proteins may require different cooking times, so plan accordingly.
Vegetable, Sauce, and Seasoning Modifications
The vegetable combination in this recipe provides a wonderful mix of colors, textures, and flavors, but feel free to experiment based on seasonal availability and personal preferences. Consider adding eggplant, asparagus, cherry tomatoes, or portobello mushrooms for variety. Each brings its own unique character to the mix.
When it comes to seasonings, the possibilities are endless. Try these flavor combinations:
- Mediterranean style: Add dried oregano, garlic powder, and a squeeze of fresh lemon juice after grilling
- Southwestern kick: Season with cumin, chili powder, and serve with a cilantro-lime dressing
- Asian-inspired: Brush with sesame oil before grilling and sprinkle with sesame seeds after
- Italian herbs: Mix dried Italian seasoning blend into your olive oil before drizzling
For those watching their sodium intake, try using herb blends, citrus zests, or flavored vinegars to add flavor without added salt. The natural sweetness of grilled vegetables shines through even with minimal seasoning.
Mastering Grilled Vegetables: Advanced Tips and Variations
Once you’ve mastered the basic technique, you can take your grilled vegetables to the next level with these advanced tips and creative variations. These suggestions help you achieve consistent results and explore new flavor territories.
Pro Cooking Techniques
The difference between good and great grilled vegetables often comes down to a few key techniques. First, always pat your vegetables dry after washing them. Excess moisture creates steam instead of char, resulting in soggy vegetables rather than the crisp-tender texture you want.
Temperature management matters more than you might think. Maintain your grill at medium-high heat throughout cooking. If flare-ups occur from dripping oil, move the skewers to a cooler part of the grill momentarily. This prevents burning while still achieving proper doneness.
Consider the order of ingredients on your skewers. Place slower-cooking vegetables like onions and peppers near the center where heat is most intense, and quicker-cooking ones like zucchini and mushrooms near the ends. Alternatively, create separate skewers for different vegetables to control cooking times precisely.
Flavor Variations to Try
Expand your grilled vegetable repertoire with these flavor-packed variations:
Balsamic Glazed: Brush vegetables with a mixture of balsamic vinegar and olive oil during the last 2 minutes of grilling. The result is a tangy, slightly sweet finish that complements the natural vegetable flavors beautifully.
Spicy Cajun: Coat vegetables in Cajun seasoning before grilling for a kick of heat. Serve with a cool ranch or blue cheese dressing to balance the spice.
Honey Mustard: Mix honey and grainy mustard into your olive oil for a sweet and savory glaze. This pairs particularly well with root vegetables like sweet potatoes or carrots if you choose to add them.
Presentation Tips
How you present your grilled vegetables can elevate them from simple side dish to showstopping centerpiece. Remove vegetables from skewers and arrange on a platter in a rainbow pattern, or serve directly on skewers for a rustic, casual presentation. Garnish with fresh herbs like basil, parsley, or cilantro for a pop of color and fresh flavor.
For a dinner party, consider serving individual skewers on small plates with a dollop of sauce on the side. This makes for an elegant presentation and allows guests to customize their sauce portion.
Make-Ahead Options
Busy schedules shouldn’t prevent you from enjoying great food. You can prep all vegetables up to 24 hours in advance. Cut and store them in airtight containers in the refrigerator, then assemble and season just before grilling. This works especially well when entertaining, letting you spend more time with your guests.
For a complete make-ahead option, grill the vegetables up to 2 hours before serving. Store them at room temperature, then briefly reheat on the grill for 2-3 minutes before your meal. This works well for potlucks or outdoor gatherings where grill space is shared.
How to Store Grilled Vegetables: Best Practices
Proper storage ensures you can enjoy leftover grilled vegetables without sacrificing quality or safety. Follow these guidelines to maintain flavor and texture for future meals.
Refrigeration Guidelines
Allow grilled vegetables to cool to room temperature before storing, but don’t leave them out longer than 2 hours. Place them in an airtight container and refrigerate for up to 4 days. The flavors actually improve after a day as the vegetables absorb more of the seasoning and char flavors.
Store vegetables with any remaining sauce in a separate container. This prevents the vegetables from becoming soggy and lets you refresh the sauce when serving leftovers.
Freezing for Longer Storage
While fresh is best, you can freeze grilled vegetables for longer storage. Place completely cooled vegetables in a single layer on a baking sheet and freeze until solid, then transfer to a freezer-safe bag or container. This method prevents vegetables from freezing together in a clump. Use within 3 months for best quality.
Keep in mind that freezing changes the texture, making vegetables softer when thawed. They work best in cooked dishes like soups, stews, or pasta rather than as a standalone side dish after freezing.
Reheating Recommendations
The best way to reheat grilled vegetables is on the grill itself. A quick 2-3 minute warm-up over medium heat restores that fresh-off-the-grill taste. For faster reheating, use a skillet over medium-high heat for 3-4 minutes, stirring occasionally.
Avoid microwaving if possible, as it makes vegetables rubbery and unevenly heated. If you must use a microwave, heat in 30-second intervals and check frequently to avoid overcooking.
Meal Prep Considerations
Grilled vegetables make excellent meal prep components. Prepare a double batch on the weekend and use them throughout the week in different ways:
- Toss into scrambled eggs or frittatas for breakfast
- Add to sandwiches, wraps, or grain bowls for lunch
- Top salads for extra flavor and nutrition
- Mix into pasta dishes or grain-based salads
- Serve alongside proteins like balsamic chicken breast for quick dinners

FAQs: Frequently Asked Questions About Grilled Vegetables
What are the best vegetables for grilling?
The top vegetables for grilling include bell peppers, zucchini, yellow squash, onions, mushrooms, and corn on the cob. These hold up well to high heat, developing smoky flavors and tender textures without falling apart. Cut firmer veggies like peppers and onions into 1-inch pieces, while slicing softer ones like zucchini into ½-inch rounds. Brush with olive oil, salt, and pepper before grilling. Avoid delicate greens like lettuce, as they burn quickly. Grilling these boosts natural sweetness—peppers caramelize beautifully, and corn gets a charred pop. For best results, choose fresh, in-season produce. This mix serves 4-6 as a side and pairs with burgers or fish. Experiment with asparagus or eggplant for variety. (92 words)
How do I prepare vegetables for even grilling?
Cut all vegetables into uniform sizes—about 1-inch chunks for peppers, onions, and mushrooms, and ½-inch thick slices for zucchini or squash—to ensure they cook evenly and finish at the same time. Pat them dry after washing to reduce moisture, which prevents steaming. Thread onto metal skewers or use a grill basket for easy flipping. Toss with 2-3 tablespoons olive oil, 1 teaspoon salt, ½ teaspoon pepper, and optional garlic powder. Preheat your grill to medium-high (400-450°F). This prep avoids raw centers or burnt outsides. Pro tip: Group similar veggies together if cooking separately. Yields perfectly charred results in 8-12 minutes total. (98 words)
Should I season grilled vegetables before or after cooking?
Season vegetables before grilling for better flavor adhesion and to promote charring—mix ¼ cup olive oil, 1 teaspoon kosher salt, ½ teaspoon black pepper, and herbs like thyme or rosemary. Drizzle and toss pieces evenly. After grilling, taste and add more salt, a squeeze of lemon, or balsamic glaze for brightness. This two-step approach layers flavors: initial seasoning caramelizes on the heat, while post-grill adjustments fix any bland spots. Avoid heavy sauces pre-grill to prevent flare-ups. For 2 pounds of veggies, this uses pantry staples. Keeps them simple yet restaurant-quality. (92 words)
How long do I grill vegetables on skewers?
Grill vegetable skewers over medium-high heat (400-450°F) for 8 minutes per side, totaling 16 minutes, or until tender with light char marks. Turn every 4 minutes using tongs. Test doneness by piercing with a fork—zucchini softens faster than onions. If using a basket, stir every 5 minutes for 12-15 total. Close the lid for even cooking. Factors like grill type (gas vs. charcoal) or veggie size affect time; start checking at 12 minutes. Brush with oil midway to prevent drying. Serves smoky, juicy results perfect for summer BBQs. (89 words)
Can I use wooden skewers for grilling vegetables, or should I use a basket?
Skip wooden skewers—they burn easily unless soaked 30 minutes in water, but even then, they splinter. Opt for metal skewers for durability and reuse, or a grill basket for no-skewer convenience. Baskets let you toss all veggies together (peppers, squash, onions) and flip as one, ideal for mixed batches. Yes, cook everything at once in a preheated basket over medium-high heat for 12-15 minutes, stirring occasionally. Oil the basket first to avoid sticking. This method saves time and cleanup, yielding evenly cooked, hands-off grilled veggies for 4 servings. (94 words)

Grilled Vegetables
- Total Time: 25 minutes
- Yield: 4 servings
- Diet: Vegan, Vegetarian, Gluten-Free
Description
🥗🔥 Smoky, charred summer veggies on skewers deliver vibrant flavors and nutrients in a healthy, low-calorie side dish.
🌽 Ready in 25 minutes, versatile grill essential pairs with any protein for effortless BBQs and potlucks.
Instructions
1-Step 1: Prepare Your Grill
Start by preheating your grill to medium-high heat. This temperature range, typically around 400-450°F, is ideal for achieving that perfect balance of char and tenderness. While the grill heats up, spray the grates with nonstick cooking spray to prevent sticking. A well-prepared grill surface is essential for easy vegetable removal and those beautiful grill marks everyone loves.
2-Step 2: Cut and Prep Vegetables
While the grill heats, prepare your vegetables. The key here is uniformity. Cut all vegetables to approximately 1-inch pieces for even cooking and balanced bites. Bell peppers pack exceptional nutritional value with high levels of vitamins A and C, making them a colorful and healthy addition to your skewers.
For the squash and zucchini, slice them into rounds about 1/2-inch thick. Cut the red onion into 1-inch chunks that will hold their shape on the skewer. Remove the stems from the cremini mushrooms and cut the red and green bell peppers into 1-inch pieces. For the corn, cut the ear into 1-inch rounds, then carefully drill a small hole through the center of each round to make skewering easier.
3-Step 3: Assemble the Skewers
Thread the prepared vegetables onto 4 metal skewers. Distribute the different vegetables evenly among the skewers so each one has a colorful variety. This isn’t just about aesthetics; having a mix ensures every serving contains all the flavors and textures.
A good assembly order works like this: start with a sturdier vegetable like onion or pepper, then add zucchini, mushroom, corn, and repeat. This pattern helps hold softer vegetables in place and creates an appealing visual presentation.
4-Step 4: Season Generously
Place the assembled skewers on a large tray or platter. Drizzle olive oil evenly over all the vegetables, making sure each piece gets a light coating. The oil serves multiple purposes: it helps the seasonings stick, prevents vegetables from drying out, and promotes that gorgeous caramelization we’re after.
Season generously with sea salt and freshly ground black pepper. Don’t be shy with the seasoning. Remember that some will fall off during grilling, and vegetables need a fair amount of salt to bring out their natural flavors. Use about 1 teaspoon of salt and 1/2 teaspoon of pepper for this quantity of vegetables.
5-Step 5: Grill to Perfection
Place the skewers on the preheated, oiled grill. Cook for approximately 8 minutes per side, or until the vegetables are tender and lightly charred. You’re looking for that sweet spot where the vegetables have softened but still retain some bite, and the edges have developed a beautiful golden-brown char.
6-Step 6: Final Touches and Serving
Remove the skewers from the grill and transfer to a serving platter. Taste one of the vegetables and adjust the seasoning as needed. A final sprinkle of salt and pepper can make all the difference between good and great.
Serve immediately with your chosen sauce or dressing on the side. Tzatziki adds a cool, creamy contrast to the smoky vegetables, while chimichurri brings a bright, herbaceous kick. Tahini offers a nutty richness, and garlic herb sauce delivers classic savory flavors. Choose based on your mood or what pairs best with your main dish.
Notes
✂️ Cut all veggies into uniform 1-inch pieces for even cooking and easy eating.
🔥 Use metal skewers or soak bamboo in water for 30 minutes to prevent burning.
🧂 Season with salt and pepper before and after grilling for maximum flavor.
- Prep Time: 10 minutes
- Cook Time: 16 minutes
- Category: Side Dish
- Method: Grill
- Cuisine: American
Nutrition
- Serving Size: 1 skewer
- Calories: 120 kcal
- Sugar: 6g
- Sodium: 150mg
- Fat: 8g
- Saturated Fat: 1g
- Unsaturated Fat: 7g
- Trans Fat: 0g
- Carbohydrates: 15g
- Fiber: 4g
- Protein: 3g
- Cholesterol: 0mg
Keywords: grilled vegetables, easy summer side, veggie skewers, bbq vegetables