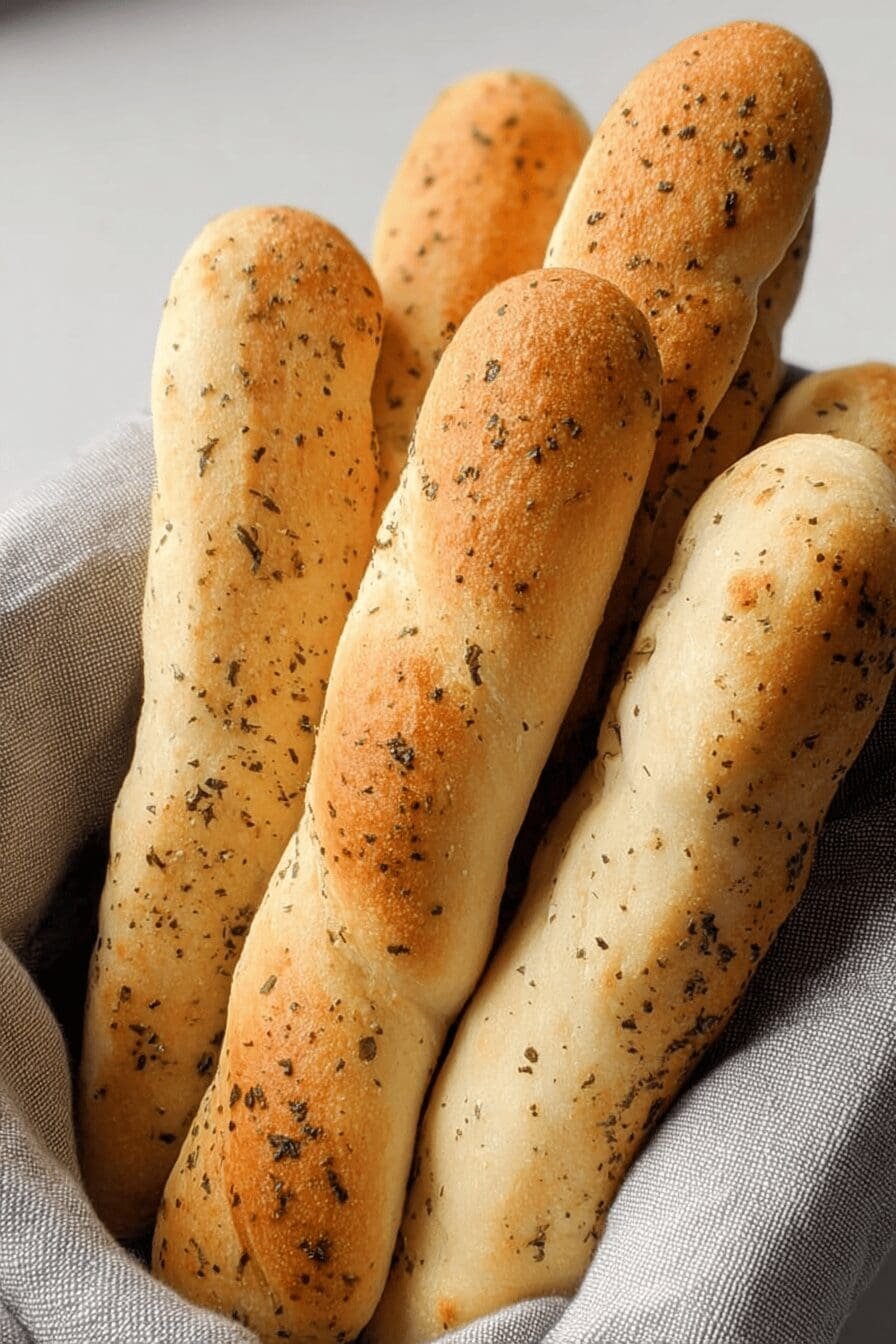
Why You’ll Love This Garlic Breadsticks
Garlic breadsticks are a go-to treat for anyone wanting a simple yet tasty snack at home. This recipe stands out because it’s easy to follow, making it ideal for busy parents and beginners in the kitchen. You’ll appreciate how these breadsticks bring a burst of flavor with their soft texture and garlicky topping, perfect for pairing with soups or salads.
Beyond the taste, garlic breadsticks offer some nice perks for health-conscious folks, like the antioxidants in garlic that support wellness. They’re flexible too, letting you tweak the recipe for different dietary needs without losing that delicious edge. Whether you’re a student grabbing a quick bite or a baking enthusiast experimenting in the kitchen, this recipe will quickly become a favorite for its reliable results and joyful process.
To dive deeper into why garlic is such a powerhouse ingredient, check out this resource on garlic’s benefits. It’s packed with info that can inspire you to add more garlic to your meals.
Key Features That Make Them Special
- Quick and simple prep, ideal for beginners and busy schedules.
- Nutritious elements like garlic that add a healthy twist.
- Easy swaps for vegan or gluten-free versions to fit various diets.
- A tasty garlic punch that elevates any meal effortlessly.
Jump To
- 1. Why You’ll Love This Garlic Breadsticks
- 2. Essential Ingredients for Garlic Breadsticks
- 3. How to Prepare the Perfect Garlic Breadsticks: Step-by-Step Guide
- 4. Dietary Substitutions to Customize Your Garlic Breadsticks
- 5. Mastering Garlic Breadsticks: Advanced Tips and Variations
- 6. How to Store Garlic Breadsticks: Best Practices
- 7. FAQs: Frequently Asked Questions About Garlic Breadsticks
- 8. Garlic Breadsticks
Essential Ingredients for Garlic Breadsticks
Gathering the right ingredients is the first step to making perfect garlic breadsticks. This recipe focuses on basic items that deliver great flavor and texture. We’ll use a specific list to ensure your breadsticks turn out just right, with options for tweaks if needed.
Main Ingredients List
Here is the complete list of ingredients needed for this homemade breadsticks recipe. Each item is listed with its exact measurement to make shopping and preparation straightforward:
- 1 and 1/4 cups warm water
- 2 and 1/4 teaspoons instant or active dry yeast
- 2 tablespoons granulated sugar
- 3 tablespoons unsalted butter, melted
- 1 and 1/2 teaspoons salt
- 3 and 1/3 cups bread flour, plus more if needed
- Optionally, 1/2 teaspoon garlic powder
Topping Ingredients
- 2 tablespoons unsalted butter, melted
- 1/4 teaspoon salt
- 1/4 teaspoon garlic powder
- Optionally, dried parsley or herbs
This structured list covers everything required, making it simple to measure out each part accurately. If you’re curious about how bread choices affect health, read more in this guide to bread and nutrition.
How to Prepare the Perfect Garlic Breadsticks: Step-by-Step Guide
Getting started with garlic breadsticks begins with activating the yeast, which sets the stage for a fluffy dough. Whisk the warm water, yeast, and sugar together and let it sit until it becomes foamy this usually takes a few minutes. Once that’s ready, mix in the melted butter, salt, and flour to form the dough.
Knead the dough for 8-10 minutes until it passes the windowpane test, meaning it’s smooth and elastic. Let the dough rise in a warm spot for 1.5 to 2 hours, then punch it down and shape it into 14 logs. After shaping, let them rise for another 20 minutes before baking.
Bake the breadsticks at 400°F (204°C) for 18-19 minutes until they’re golden. Right after baking, brush them with the melted butter mixed with salt and garlic powder for that extra flavor boost. This recipe yields 14 breadsticks and takes about 3 hours total, including prep and cooking time.
Step-by-Step Breakdown
- In a large bowl, combine warm water (between 100-110°F or 38-43°C) with yeast and sugar; let it sit for 5-10 minutes until foamy.
- Add the melted butter, salt, and flour; stir to form a dough and knead for 8-10 minutes.
- Place the dough in a greased bowl, cover it, and let it rise for 1.5 to 2 hours.
- Punch down the dough, shape into 14 logs, and let them rise for 20 minutes.
- Preheat your oven to 400°F (204°C) and bake for 18-19 minutes.
- Brush with the butter mixture immediately after baking.
For more tips on dough handling, check out our Italian pizza dough guide on the site, which shares similar techniques.

Dietary Substitutions to Customize Your Garlic Breadsticks
Making garlic breadsticks work for your diet is easy with a few simple swaps. For instance, if you’re going vegan, replace the unsalted butter with olive oil or a plant-based alternative. This keeps the moisture and flavor intact while fitting your needs.
Gluten-free options involve swapping bread flour for a gluten-free blend, and adding a bit more liquid if the dough feels dry. You can also reduce sugar for a lower-calorie version or use herbs like basil instead of parsley to change things up. These changes help everyone enjoy the breadsticks without missing out.
| Substitution Type | Suggestion | Why It Works |
|---|---|---|
| Vegan | Use olive oil instead of butter | Maintains richness and helps with browning |
| Gluten-Free | Switch to gluten-free flour | Ensures the dough rises properly with adjustments |
| Low-Calorie | Reduce butter and use whole grains | Lowers fat while adding fiber |
Mastering Garlic Breadsticks: Advanced Tips and Variations
Once you’re comfortable with the basics, try some advanced techniques to level up your garlic breadsticks. For a deeper flavor, brush the dough with garlic-infused olive oil before baking, which can make the crust even crisper. Using a pizza stone in the oven helps achieve that perfect texture everyone loves.
Feel free to experiment with flavors by adding cheese or herbs to the dough. You could mix in grated parmesan or chili flakes for a spicy kick. Presentation matters too serve them with a simple dipping sauce like marinara to make your meal feel special.
Remember, the key to great breadsticks is in the details, like letting the dough rest for enhanced flavor. As one baking pro notes, “Patience with rising time makes all the difference in texture.”
More Variation Ideas
- Add cheese on top for a gooey finish.
- Incorporate fresh herbs for a garden-fresh taste.
- Make ahead by refrigerating the dough overnight.
How to Store Garlic Breadsticks: Best Practices
Keeping your garlic breadsticks fresh is key to enjoying them later. Store them in an airtight container at room temperature for up to a day, or in the fridge for up to three days to lock in that just-baked taste. If you have extras, freezing is a great option for longer storage.
To reheat, pop them in the oven at 350°F for a few minutes to bring back the crispness. This method works well for meal prep, so you can have homemade snacks ready on busy days. Always wrap them properly to avoid drying out.
Storage Tips for Longevity
- Use foil or bags to keep them airtight.
- Thaw frozen ones slowly for the best texture.
- Avoid the microwave to prevent sogginess.
FAQs: Frequently Asked Questions About Garlic Breadsticks
How do I make garlic breadsticks soft and fluffy?
To achieve soft and fluffy garlic breadsticks, start with fresh yeast dough or active dry yeast proofed in warm water with a bit of sugar. Knead the dough well to develop gluten, then let it rise covered in a warm spot until it doubles in size (usually about 1 to 1.5 hours). Baking at around 375°F (190°C) for 12-15 minutes helps retain moisture. Brushing melted butter mixed with garlic over the breadsticks right after baking keeps them tender and flavorful.
Can I add cheese to garlic breadsticks, and how?
Yes, you can easily add cheese to garlic breadsticks. Prepare your breadsticks as usual and bake them for about 15 minutes. Then, brush with garlic butter, sprinkle shredded mozzarella or cheddar evenly over them, and return to the oven for an additional 3-4 minutes until the cheese melts and the breadsticks turn golden. This method creates a delicious cheesy topping that complements the garlic perfectly.
What types of garlic should I use for the best flavor in breadsticks?
Fresh garlic cloves provide the strongest, most vibrant flavor for breadsticks. Mince or grate the garlic finely to distribute flavor evenly. Roasted garlic can also be used for a milder, sweeter taste. Avoid using pre-minced garlic from jars for baking, as it may have preservatives that affect taste. Mix garlic with melted butter and herbs for brushing onto breadsticks before or after baking for the best results.
How long can I store homemade garlic breadsticks, and how should I reheat them?
Homemade garlic breadsticks can be stored in an airtight container at room temperature for up to 2 days or refrigerated for up to 5 days. To reheat, wrap them in foil to prevent drying out and warm in a 350°F (175°C) oven for 8-10 minutes. For crispier breadsticks, unwrap them during the last 2 minutes. Avoid microwaving, as it can make the breadsticks chewy or soggy.
Can garlic breadsticks be made gluten-free, and what changes should I make?
Yes, garlic breadsticks can be made gluten-free by using a gluten-free flour blend suitable for yeast baking. Since gluten-free doughs lack elasticity, add xanthan gum if it’s not included in your flour blend to improve texture. Expect the dough to be slightly stickier. Increase the rising time slightly and bake at the same temperature but monitor closely, as gluten-free breadsticks may brown faster. Brushing with garlic butter after baking keeps them moist and delicious.
Garlic Breadsticks
- Total Time: 3 hours
- Yield: 14 breadsticks
Description
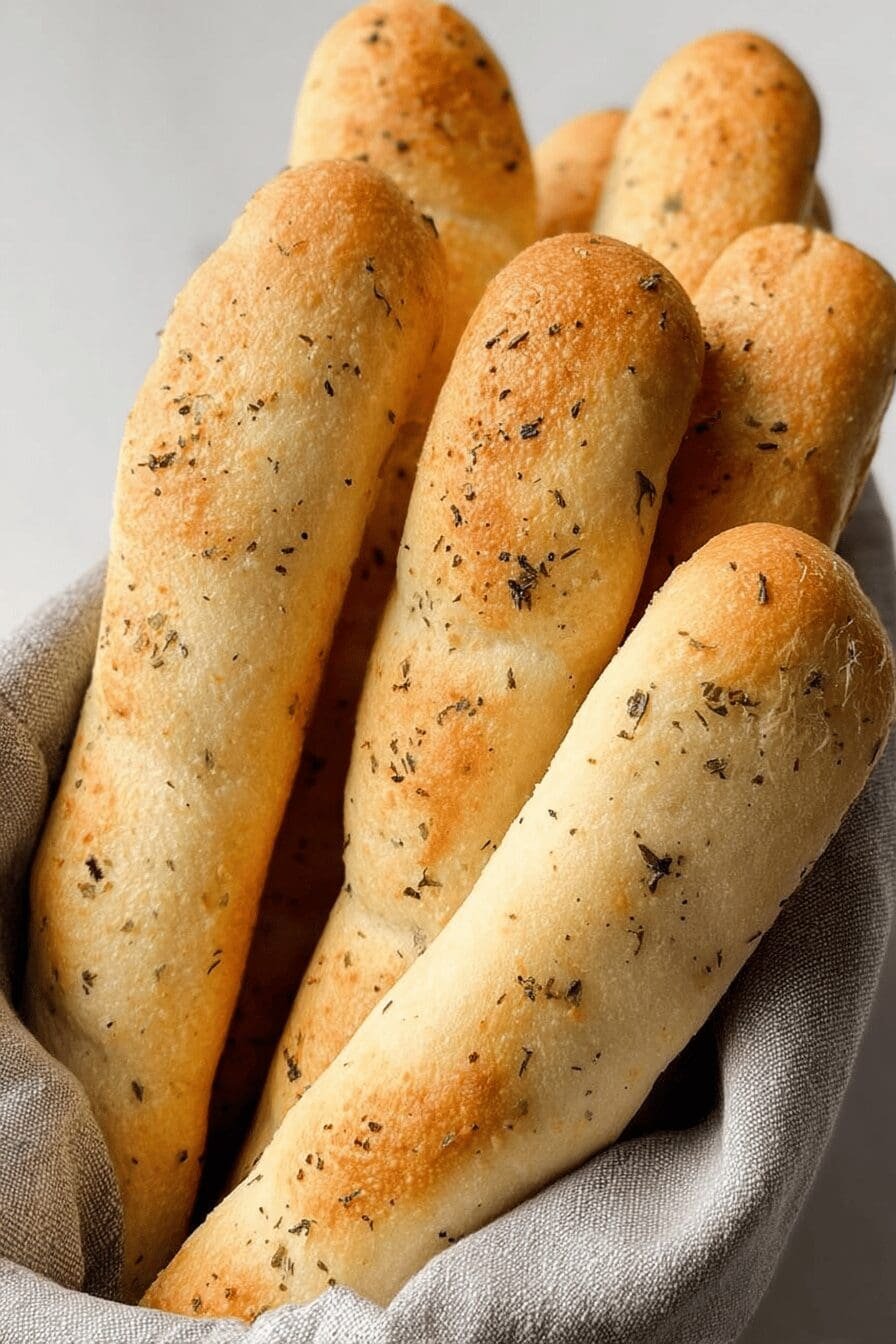
🥖 These Homemade Soft Breadsticks are easy to make and perfect for snacking or serving alongside meals.
🧄 The garlic butter topping adds a delicious flavor boost, making them an irresistible treat for any occasion.
Ingredients
– 1 and 1/4 cups warm water
– 2 and 1/4 teaspoons instant or active dry yeast
– 2 tablespoons granulated sugar
– 3 tablespoons unsalted butter, melted
– 1 and 1/2 teaspoons salt
– 3 and 1/3 cups bread flour, plus more if needed
– 1/2 teaspoon garlic powder
– 2 tablespoons unsalted butter, melted
– 1/4 teaspoon salt
– 1/4 teaspoon garlic powder
– dried parsley or herbs
Instructions
1-In a large bowl, combine warm water (between 100-110°F or 38-43°C) with yeast and sugar; let it sit for 5-10 minutes until foamy.
2-Add the melted butter, salt, and flour; stir to form a dough and knead for 8-10 minutes.
3-Place the dough in a greased bowl, cover it, and let it rise for 1.5 to 2 hours.
4-Punch down the dough, shape into 14 logs, and let them rise for 20 minutes.
5-Preheat your oven to 400°F (204°C) and bake for 18-19 minutes.
6-Brush with the butter mixture immediately after baking.
Notes
🌡️ Use water between 100-110°F to properly activate the yeast for best rising.
💪 Knead dough until it passes the windowpane test to develop gluten and ensure soft texture.
🌾 Bread flour is preferred, but all-purpose flour can be substituted if needed.
❄️ Dough can be refrigerated for 8-12 hours for enhanced flavor or frozen for later use.
- Prep Time: 15 minutes
- Rising Time: 2 hours 20 minutes
- Cook Time: 18 minutes
- Category: Snack, Bread
- Method: Baking
- Cuisine: American
Nutrition
- Serving Size: 1 breadstick
Keywords: Homemade Breadsticks, Soft Breadsticks, Garlic Breadsticks, Easy Snacks