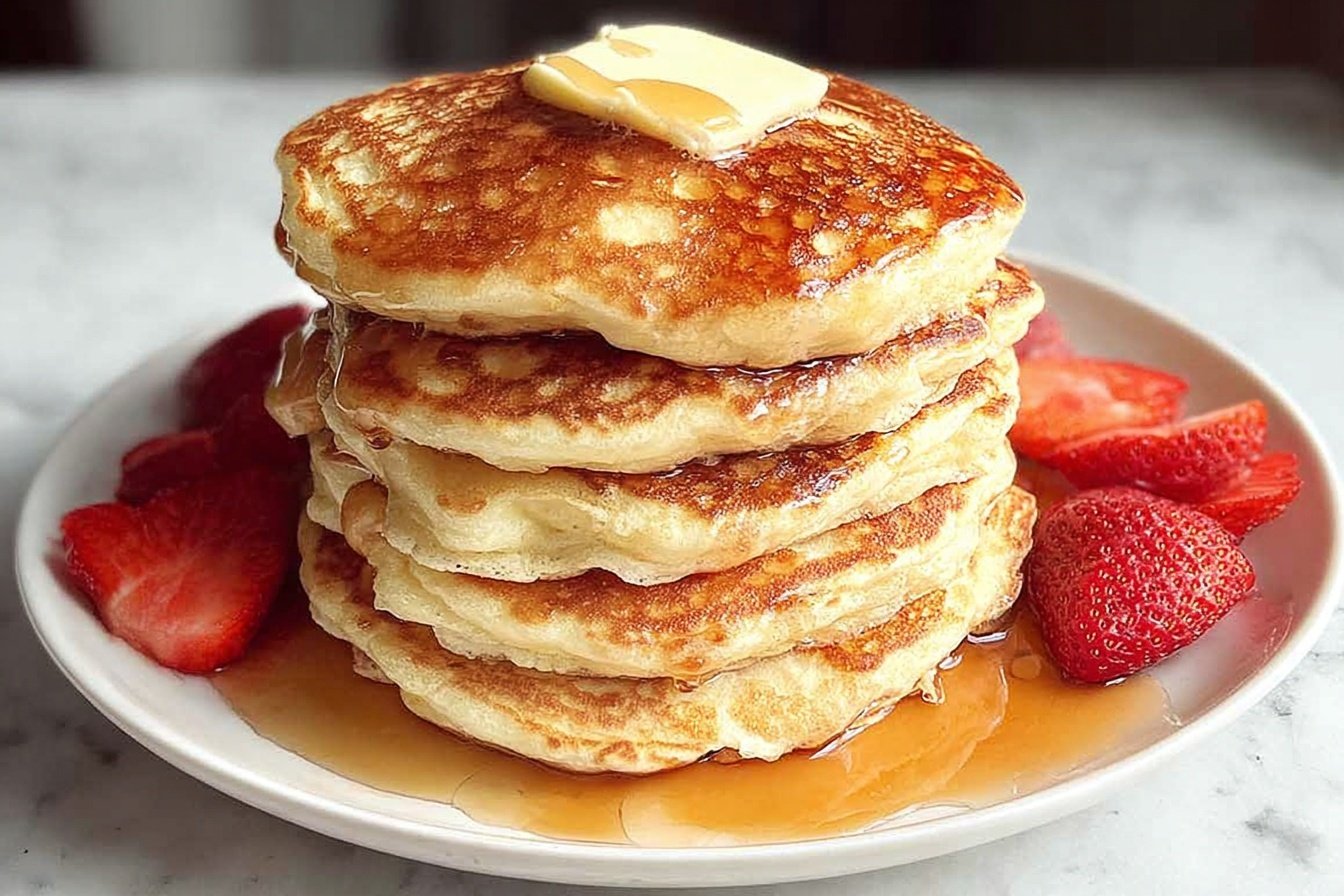
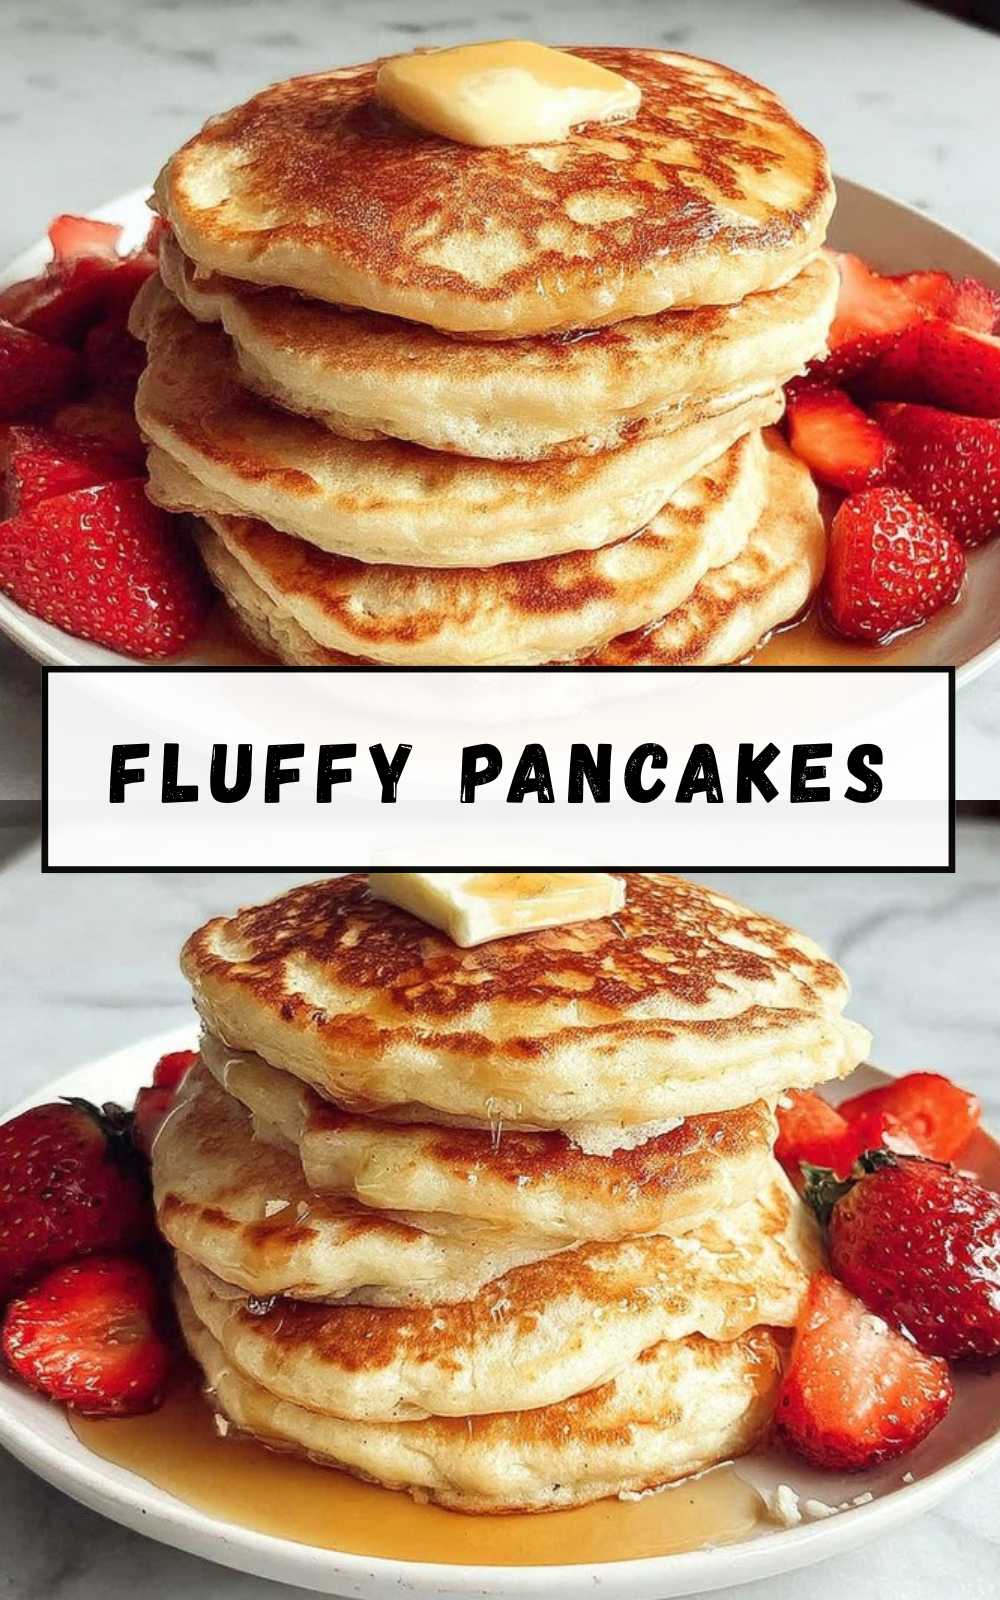
Why You’ll Love This Fluffy Pancakes
There’s something magical about waking up to a stack of fluffy pancakes that are golden on the outside and cloud-soft on the inside. This recipe has become a weekend tradition in my kitchen, and once you try it, you’ll understand exactly why families keep coming back to this classic breakfast treat.
- Ease of preparation: This easy fluffy pancake recipe comes together in just 15 minutes from start to finish, with only 5 minutes of prep time and about 10 minutes on the griddle. The straightforward method uses basic pantry ingredients you likely have on hand right now, making it perfect for those spontaneous Saturday morning cravings when you want something special without the fuss. No fancy equipment or complicated techniques required!
- Health benefits: Each serving of two pancakes delivers 4g of protein and 171mg of calcium for strong bones. At just 190 calories per two-pancake serving, this pancake recipe fits nicely into a balanced breakfast. The aluminum-free baking powder means no metallic aftertaste, and you control exactly what goes into your morning meal.
- Versatility: Whether you prefer fresh blueberries folded gently into the batter, chocolate chips for a sweet treat, or you need gluten-free or dairy-free options, this recipe adapts beautifully to your needs. You can even prepare the batter the night before for those hectic weekday mornings, making it a lifesaver for busy parents and professionals.
- Distinctive flavor: The addition of vanilla extract and the perfect balance of sugar creates pancakes that taste amazing on their own or with your favorite toppings. This recipe produces a thick, rich batter that yields tall, restaurant-quality stacks that will have everyone asking for seconds.
Jump To
- 1. Why You’ll Love This Fluffy Pancakes
- 2. Essential Ingredients for Fluffy Pancakes
- 3. How to Prepare the Perfect Fluffy Pancakes: Step-by-Step Guide
- 4. Dietary Substitutions to Customize Your Fluffy Pancakes
- 5. Mastering Fluffy Pancakes: Advanced Tips and Variations
- 6. How to Store Fluffy Pancakes: Best Practices
- 7. FAQs: Frequently Asked Questions About Fluffy Pancakes
- 8. Fluffy Pancakes
Essential Ingredients for Fluffy Pancakes
Getting that perfect fluffy texture starts with understanding what each ingredient brings to your fluffy pancake recipe. Here’s everything you need measured out and ready to go:
Main Ingredients
- 1 ½ cups all-purpose flour – The foundation of your pancakes; measure by spooning lightly into the measuring cup and leveling off without packing to keep the batter light and airy.
- 2 ½ teaspoons aluminum-free baking powder – The secret weapon for fluffiness; aluminum-free prevents any metallic or salty aftertaste in your finished pancakes.
- ½ teaspoon salt – Balances the sweetness and enhances all the other flavors in your pancake recipe.
- 2 tablespoons sugar – Adds just enough sweetness for pancakes that taste delicious even without syrup.
- 1 ¼ cups milk (any kind) – Whole milk creates richer pancakes, but any milk works including plant-based options.
- 1 egg – Provides structure and richness while helping bind everything together for that perfect tender crumb.
- 3 tablespoons melted butter (or neutral oil) – Adds moisture and flavor; butter gives a richer taste while oil keeps them extra moist.
- 2 teaspoons vanilla extract – Infuses warm, aromatic flavor that makes these pancakes taste bakery-special.
Special Dietary Options
- Vegan: Replace the egg with a flax egg (1 tablespoon ground flaxseed mixed with 3 tablespoons water, let sit 5 minutes), use plant-based milk, and swap butter for coconut oil or neutral vegetable oil.
- Gluten-free: Substitute the all-purpose flour with a 1:1 gluten-free flour blend designed for baking for best results.
- Low-calorie: Use skim milk, reduce sugar to 1 tablespoon, and consider using a sugar substitute that measures equally.
When you’re ready to branch out from this classic recipe, try my blueberry cottage cheese breakfast bake for another protein-packed morning option that feeds a crowd beautifully.
How to Prepare the Perfect Fluffy Pancakes: Step-by-Step Guide
Learning how to make fluffy pancakes is all about technique. Follow these steps carefully, and you’ll be flipping picture-perfect stacks in no time. This recipe yields about 12 pancakes using a ¼ cup measure per pancake.
Step 1: Prepare Your Dry Ingredients
Start by grabbing a large mixing bowl. You want plenty of room to work without ingredients spilling over the sides. Add your 1 ½ cups all-purpose flour, measuring it lightly without packing it down into the cup. Packed flour creates dense, heavy pancakes nobody wants. Add the 2 ½ teaspoons of aluminum-free baking powder, ½ teaspoon of salt, and 2 tablespoons of sugar to the bowl. Use a whisk or fork to combine everything evenly, making sure the baking powder and salt get distributed throughout the flour. This takes about 30 seconds and prevents any concentrated pockets of salt or leavening.
Pro tip: Check that your baking powder is fresh! It loses potency after 9-12 months once opened. To test, mix 1 teaspoon with hot water and it should bubble vigorously. No bubbles means it’s time for a new container.
Step 2: Create the Well and Add Wet Ingredients
This is where the “volcano” technique comes into play. Use your spoon or the back of a measuring cup to create a deep well in the center of your dry ingredients. Think of it like building a tiny crater in a flour mountain. Pour 1 ¼ cups of milk into this well, then crack in 1 egg, add 3 tablespoons of melted butter (or neutral oil), and splash in 2 teaspoons of vanilla extract.
Here’s a game-changer technique: take a fork and gently break up the egg yolk right there in the well, mixing it with the other liquid ingredients before you start incorporating the flour. This makes the mixing process faster and more even, reducing the temptation to overmix later.
Step 3: Mix the Batter Gently
Now comes the most critical step in creating fluffy pancakes. Working from the outside of the bowl inward, use a spoon or spatula to gradually pull the dry ingredients into the wet mixture. Use gentle folding motions rather than aggressive stirring. Mix just until the flour disappears and the batter is mostly smooth with perhaps a few small lumps remaining.
Resist the urge to keep mixing! Overmixing develops gluten strands that make pancakes chewy and tough instead of tender and fluffy. The batter should be thick, similar to brownie batter consistency, and it won’t spread much when you pour it. This thickness is exactly what you want for tall, pillowy stacks.
Step 4: Rest the Batter
For the fluffiest results, let your batter rest for 5-7 minutes before cooking. This resting period allows the flour to fully absorb the liquid and gives the baking powder time to start working its magic. You might notice small bubbles forming on the surface, which is exactly what you want to see. While the batter rests, you can preheat your cooking surface.
Step 5: Heat and Prepare Your Griddle or Pan
Heat a non-stick griddle or large pan over medium heat until hot. The ideal temperature falls between 300-350°F for even cooking. Test your griddle by flicking a few drops of water onto the surface. The droplets should dance and sizzle gently, not evaporate instantly (too hot) or just sit there (not hot enough).
Grease the surface with butter, oil, or cooking spray immediately before pouring your batter. The type of fat you use affects the pancake’s surface texture and browning. Butter creates a beautiful golden color and rich flavor but can brown quickly, while oil gives a more even browning.
Step 6: Cook Your Pancakes
Pour ¼ cup of batter onto the griddle for each pancake. Because this batter is thick and doesn’t spread much, you may need to use the back of a spoon or your measuring scoop to gently shape it into a circle. Don’t worry about making them perfectly round; rustic shapes have charm!
Watch for the telltale signs that it’s time to flip. After approximately 2 minutes, you’ll see bubbles appearing on the surface and the edges will start to look set and slightly defined. The surface should look somewhat matte rather than shiny and wet. Slide your spatula underneath and flip with confidence.
Critical tip: Never press down on your pancakes after flipping! This squeezes out the precious air bubbles that make them fluffy, resulting in dense, undercooked centers. Cook the second side for a little less time than the first, usually 1-1½ minutes, until golden brown.
Step 7: Serve or Keep Warm
Transfer cooked pancakes to plates and serve immediately with syrup and your favorite toppings. If you’re cooking for a crowd and want everyone to eat together, keep the finished pancakes warm by placing them on a baking sheet in a 200°F oven. You can also cover the stack loosely with a clean kitchen towel to retain warmth.

Dietary Substitutions to Customize Your Fluffy Pancakes
One of the things I love most about this fluffy pancake recipe is how beautifully it adapts to different dietary needs and ingredient availability. Whether you’re cooking for someone with allergies, trying to reduce calories, or simply working with what’s in your pantry, these substitutions have you covered.
Protein and Main Component Alternatives
The egg in this recipe provides structure and richness, but you can easily make this recipe without one. Create a flax egg by combining 1 tablespoon of ground flaxseed with 3 tablespoons of water. Let it sit for about 5 minutes until it develops a gel-like consistency, then use it exactly as you would a regular egg. This adds a subtle nutty flavor and a boost of omega-3 fatty acids. For a protein boost, consider adding 2 tablespoons of protein powder to the dry ingredients or mixing Greek yogurt into your milk for extra staying power.
Buttermilk makes an excellent substitute for regular milk and creates even tangier, more tender buttermilk pancakes. Simply use the same 1 ¼ cups measurement. The acidity in buttermilk reacts with the baking powder for extra lift. In a pinch, you can make your own buttermilk by adding 1 tablespoon of white vinegar or lemon juice to a cup of regular milk and letting it sit for 5 minutes until it curdles slightly. Yogurt thinned with a little water works beautifully too, creating pancakes with a delightful tang.
Vegetable, Sauce, and Seasoning Modifications
While this recipe keeps the flavor classic with vanilla, you can customize it endlessly. Add 1 teaspoon of cinnamon or pumpkin pie spice to the dry ingredients for warm, cozy flavors perfect for autumn mornings. A teaspoon of lemon zest brightens the batter beautifully, especially when paired with fresh blueberries.
Speaking of mix-ins, feel free to gently fold up to 1 cup of small diced fruit like strawberries, bananas, or blueberries into your batter. For chocolate lovers, ½ cup of chocolate chips scattered throughout creates melty pockets of sweetness. Add these gently at the very end of mixing to avoid overworking the batter. For more breakfast inspiration that pairs perfectly with pancakes, my ham and cheese hash brown casserole rounds out a hearty weekend brunch spread.
Mastering Fluffy Pancakes: Advanced Tips and Variations
Once you’ve mastered the basic technique for fluffy pancakes, you can take your breakfast game to the next level with these professional tips and creative variations that will have your family thinking you’ve been secretly trained at a culinary institute.
Pro Cooking Techniques
The difference between good pancakes and great ones often comes down to temperature control. Invest in an inexpensive griddle thermometer or use an infrared thermometer to check your cooking surface. That 300-350°F range produces the most consistent results. If you’re cooking multiple batches, wipe your griddle clean between batches with a paper towel and re-grease. Old butter bits can burn and create bitter flavors on subsequent batches.
Pay attention to how your butter performs on the griddle. It should sizzle gently but not brown immediately. If your butter turns dark brown or black within seconds, your pan is too hot. Remove it from the heat for a minute to cool down before proceeding. This simple attention prevents those burnt, bitter flavors that ruin an otherwise perfect pancake recipe.
Flavor Variations
Transform this base recipe into something spectacular with seasonal variations. In fall, add ½ teaspoon of cinnamon, ¼ teaspoon of nutmeg, and a pinch of cloves to the dry ingredients, then top with maple syrup and toasted pecans. Summer calls for fresh fruit toppings or even stirring fresh corn kernels into the batter for sweet corn pancakes. Winter birthdays deserve funfetti pancakes with rainbow sprinkles folded into the batter.
For something truly special, brown your butter before adding it to the wet ingredients. Cook butter in a small saucepan until it foams and smells nutty, watching carefully so it doesn’t burn. This adds an incredible depth of flavor that makes these pancakes taste like they came from a high-end brunch spot.
Presentation Tips
We eat with our eyes first, and a beautifully presented stack makes breakfast feel like a special occasion. Stack pancakes with a small pat of butter between each layer so it melts down the sides. Dust the entire stack with powdered sugar through a fine mesh sieve for that snowy, restaurant-worthy finish. Serve toppings in small bowls so everyone can customize their own creation, from fresh berries and whipped cream to chopped nuts and warm maple syrup.
Make-Ahead Options
Busy mornings call for smart prep strategies. This batter can be made a day ahead, covered tightly, and stored in the refrigerator. When morning comes, let it sit at room temperature for 20-30 minutes before cooking for the most even results. Cold batter on a hot griddle cooks unevenly, so this short rest time makes a real difference in texture.
For even more convenience, cook the entire batch, let the pancakes cool completely, then freeze them in a single layer on a parchment-lined baking sheet for about an hour before transferring to a freezer bag. They’ll keep for up to 3 months and reheat beautifully in the toaster oven or microwave for quick weekday breakfasts. According to the experts at AllRecipes, this make-ahead approach is a favorite among home cooks for good reason.
How to Store Fluffy Pancakes: Best Practices
Knowing how to properly store your fluffy pancakes means you can enjoy them throughout the week without sacrificing that fresh-made texture. Whether you have leftovers from a weekend breakfast or you’re meal prepping for the week ahead, these storage methods keep your pancakes tasting their best.
Refrigeration Guidelines
For short-term storage, allow your cooked pancakes to cool completely on a wire rack first. Stack them with a small piece of parchment paper between each pancake to prevent sticking, then wrap the stack loosely in plastic wrap or place in an airtight container. Stored properly in the refrigerator, they’ll stay fresh for up to 2 days. The parchment paper trick makes it easy to grab just one or two pancakes at a time for reheating.
Freezing for Long-Term Storage
Freezing is where batch cooking really shines. Lay your cooled pancakes in a single layer on a baking sheet lined with parchment paper and place them in the freezer for about 1 hour. This initial flash-freezing prevents them from sticking together when stored. Once firm, transfer them to a freezer-safe bag, pressing out as much air as possible before sealing. Label the bag with the date, and they’ll keep beautifully for up to 3 months.
Reheating Methods
The key to reheating fluffy pancakes is gentle heat that warms them through without drying them out. The toaster oven set to 350°F for 3-5 minutes works wonderfully, creating slightly crispy edges while keeping the centers soft. A microwave works for speed; stack 2-3 pancakes loosely and heat for 30-60 seconds, checking frequently. For larger batches, arrange pancakes in a single layer on a baking sheet, cover loosely with foil, and warm in a 200°F oven. Avoid reheating directly on the stovetop, as it tends to dry out the pancakes quickly.
Meal Prep Considerations
A single batch of this recipe yields about 12 pancakes, which serves 4 people at 3 pancakes each. If you’re cooking for one or two, consider the full batch your meal prep for the week. One batch provides 6 breakfasts for one person or 3 breakfasts for two people. Pair with fresh fruit, a dollop of yogurt, or a sprinkle of nuts to round out a satisfying morning meal.
For more detailed information about pancake nutrition and how they fit into a healthy diet, check out the comprehensive breakdown at VeryWellFit, which covers everything from calorie counts to vitamins and minerals.
FAQs: Frequently Asked Questions About Fluffy Pancakes
How many pancakes does a fluffy pancakes recipe make?
A standard fluffy pancakes recipe typically yields about 12 pancakes, which serves 4 people at 3 pancakes each. This assumes using a 1/4-cup measure per pancake on a medium-hot griddle. Factors like pan size or batter thickness can vary the count slightly—thicker batter makes fewer, taller stacks. For larger groups, double the recipe by multiplying ingredients evenly, but mix wet and dry separately in batches to avoid overmixing, which keeps them light. Track servings by noting 1 cup batter equals roughly 4 pancakes. Leftovers freeze well for up to 3 months.
Why are my pancakes flat and not fluffy?
Flat pancakes often result from old baking powder, which loses potency after 9-12 months once opened—test by mixing 1 tsp with hot water; it should bubble vigorously. Overmixing deflates air bubbles, so stir just until flour disappears, leaving small lumps. Incorrect flour measuring packs it too densely; use the spoon-and-level method: spoon lightly into the cup and sweep off excess. Batter should be thick like brownie batter, not runny. Rest it 5-10 minutes before cooking on medium heat without pressing down. Fresh, aluminum-free baking powder and gentle handling yield tall, fluffy results every time.
Can I make fluffy pancake batter the night before?
Yes, prepare batter ahead, cover tightly, and refrigerate overnight. In the morning, let it sit at room temperature for 20-30 minutes to warm evenly—cold batter cooks unevenly. Stir gently once; it may thicken slightly from hydration, so add 1-2 tbsp milk if needed. Cook on a preheated, medium-low griddle greased with butter. This method saves time for busy mornings while maintaining fluffiness from rested gluten development. Avoid leaving out longer than 2 hours post-refrigeration to prevent bacterial growth. Yields same 12 pancakes with no quality loss.
Why do my pancakes burn on the outside but stay raw inside?
Burning outside while raw inside usually means heat is too high—pancakes need even cooking for fluffiness. Set griddle or pan to medium (325-350°F); test by flicking water droplets—they should dance, not evaporate instantly. Cool an overheated pan by rinsing under cold water, dry, and re-oil. Grease lightly between batches to prevent sticking. Flip when edges set and bubbles pop (about 2-3 minutes per side); never press down, as it squeezes out air. Use a thermometer for precision. This fixes doughy centers and achieves golden, fluffy pancakes in 10-12 minutes total.
How do I store and reheat fluffy pancakes?
Cool pancakes fully on a wire rack, then freeze in a single layer on parchment-lined sheet for 1 hour before bagging—they store up to 3 months without sticking. For short-term, stack with parchment between and refrigerate up to 2 days. Reheat in microwave (30-60 seconds stacked loosely), toaster oven (350°F for 3-5 minutes), or 200°F oven on a baking sheet covered with foil for crisp edges. Avoid direct stove-top to prevent drying. Keeps fluffy texture intact; one batch of 12 serves breakfasts all week. Label bags with dates for freshness.
Fluffy Pancakes
- Total Time: 15 minutes
- Yield: 6 servings
- Diet: Vegetarian
Description
🥞 Indulge in the fluffiest pancakes you’ve ever tasted – light, airy, and perfectly golden for an epic breakfast treat!
🧈 Easy homemade recipe with simple ingredients that rises tall and stays tender – a must-try family favorite!
Ingredients
– 1 ½ cups all-purpose flour
– 2 ½ teaspoons aluminum-free baking powder
– ½ teaspoon salt
– 2 tablespoons sugar
– 1 ¼ cups milk (any kind)
– 1 egg
– 3 tablespoons melted butter (or neutral oil)
– 2 teaspoons vanilla extract
Instructions
1-Step 1: Prepare Your Dry Ingredients Start by grabbing a large mixing bowl. You want plenty of room to work without ingredients spilling over the sides. Add your 1 ½ cups all-purpose flour, measuring it lightly without packing it down into the cup. Packed flour creates dense, heavy pancakes nobody wants. Add the 2 ½ teaspoons of aluminum-free baking powder, ½ teaspoon of salt, and 2 tablespoons of sugar to the bowl. Use a whisk or fork to combine everything evenly, making sure the baking powder and salt get distributed throughout the flour. This takes about 30 seconds and prevents any concentrated pockets of salt or leavening.
2-Step 2: Create the Well and Add Wet Ingredients This is where the “volcano” technique comes into play. Use your spoon or the back of a measuring cup to create a deep well in the center of your dry ingredients. Think of it like building a tiny crater in a flour mountain. Pour 1 ¼ cups of milk into this well, then crack in 1 egg, add 3 tablespoons of melted butter (or neutral oil), and splash in 2 teaspoons of vanilla extract. Here’s a game-changer technique: take a fork and gently break up the egg yolk right there in the well, mixing it with the other liquid ingredients before you start incorporating the flour. This makes the mixing process faster and more even, reducing the temptation to overmix later.
3-Step 3: Mix the Batter Gently Now comes the most critical step in creating fluffy pancakes. Working from the outside of the bowl inward, use a spoon or spatula to gradually pull the dry ingredients into the wet mixture. Use gentle folding motions rather than aggressive stirring. Mix just until the flour disappears and the batter is mostly smooth with perhaps a few small lumps remaining. Resist the urge to keep mixing! Overmixing develops gluten strands that make pancakes chewy and tough instead of tender and fluffy. The batter should be thick, similar to brownie batter consistency, and it won’t spread much when you pour it. This thickness is exactly what you want for tall, pillowy stacks.
4-Step 4: Rest the Batter For the fluffiest results, let your batter rest for 5-7 minutes before cooking. This resting period allows the flour to fully absorb the liquid and gives the baking powder time to start working its magic. You might notice small bubbles forming on the surface, which is exactly what you want to see. While the batter rests, you can preheat your cooking surface.
5-Step 5: Heat and Prepare Your Griddle or Pan Heat a non-stick griddle or large pan over medium heat until hot. The ideal temperature falls between 300-350°F for even cooking. Test your griddle by flicking a few drops of water onto the surface. The droplets should dance and sizzle gently, not evaporate instantly (too hot) or just sit there (not hot enough). Grease the surface with butter, oil, or cooking spray immediately before pouring your batter. The type of fat you use affects the pancake’s surface texture and browning. Butter creates a beautiful golden color and rich flavor but can brown quickly, while oil gives a more even browning.
6-Step 6: Cook Your Pancakes Pour ¼ cup of batter onto the griddle for each pancake. Because this batter is thick and doesn’t spread much, you may need to use the back of a spoon or your measuring scoop to gently shape it into a circle. Don’t worry about making them perfectly round; rustic shapes have charm! Watch for the telltale signs that it’s time to flip. After approximately 2 minutes, you’ll see bubbles appearing on the surface and the edges will start to look set and slightly defined. The surface should look somewhat matte rather than shiny and wet. Slide your spatula underneath and flip with confidence. Critical tip: Never press down on your pancakes after flipping! This squeezes out the precious air bubbles that make them fluffy, resulting in dense, undercooked centers. Cook the second side for a little less time than the first, usually 1-1½ minutes, until golden brown.
7-Step 7: Serve or Keep Warm Transfer cooked pancakes to plates and serve immediately with syrup and your favorite toppings. If you’re cooking for a crowd and want everyone to eat together, keep the finished pancakes warm by placing them on a baking sheet in a 200°F oven. You can also cover the stack loosely with a clean kitchen towel to retain warmth.
Notes
🥄 Spoon flour lightly into the measuring cup without packing for the fluffiest texture.
⏳ Let batter rest 5-7 minutes before cooking to fully hydrate flour and activate leavening.
❌ Never overmix batter or press pancakes after flipping to avoid dense, chewy results.
- Prep Time: 5 minutes
- Cook Time: 10 minutes
- Category: Breakfast
- Method: Stovetop
- Cuisine: American
Nutrition
- Serving Size: 2 pancakes
- Calories: 190
- Sugar: 2g
- Sodium: 450mg
- Fat: 7g
- Saturated Fat: 4g
- Unsaturated Fat: 3g
- Trans Fat: 0.2g
- Carbohydrates: 27g
- Fiber: 1g
- Protein: 4g
- Cholesterol: 42mg
Keywords: fluffy pancakes, best pancake recipe, homemade pancakes, breakfast pancakes