Why You’ll Love This Danish Butter Cookies
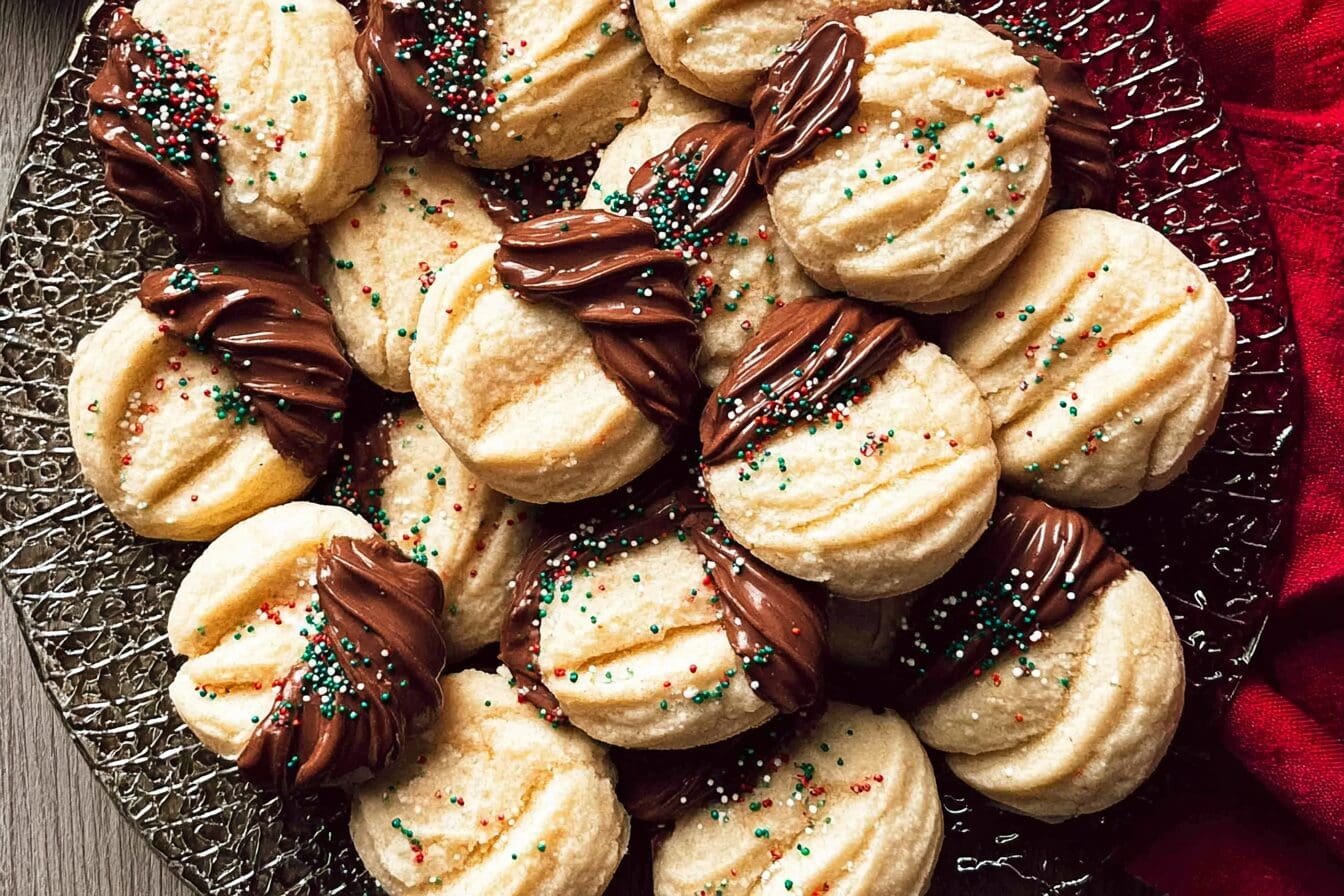
Danish Butter Cookies stand out as a timeless favorite, drawing from a rich heritage that dates back several decades. These treats are crafted using traditional baking methods and high-quality ingredients, resulting in a crispy, delicate texture that melts in the mouth. With signature shapes like pretzels, vanilla rings, and coconut rounds, they offer a nostalgic charm and come packaged in a resealable tin to keep them fresh for later enjoyment.
This recipe stands out for its ease of preparation, making it perfect for both novice bakers and those short on time. You’ll appreciate the health benefits, as these cookies provide essential fats from quality butter and energy from carbohydrates, offering a mindful treat compared to other snacks. Their versatility allows for adaptations to suit dietary needs, while the distinctive buttery flavor with subtle vanilla notes evokes the authentic Scandinavian baking tradition.
For home cooks and baking enthusiasts, these cookies bring joy through their simple ingredients and quick process. They pair wonderfully with tea or coffee, enhancing everyday moments with a touch of indulgence. Best enjoyed in moderation due to their rich butter content, these cookies create memorable experiences that you can share with family and friends.
Key Features of Danish Butter Cookies
- Simple and quick to prepare in under 30 minutes.
- Adaptable for vegan, gluten-free, or low-calorie options.
- Rich in buttery aroma and melt-in-the-mouth texture.
- Ideal for gifting or holiday sharing in their resealable tins.
Jump To
- 1. Why You’ll Love This Danish Butter Cookies
- 2. Essential Ingredients for Danish Butter Cookies
- 3. How to Prepare the Perfect Danish Butter Cookies: Step-by-Step Guide
- 4. Dietary Substitutions to Customize Your Danish Butter Cookies
- 5. Mastering Danish Butter Cookies: Advanced Tips and Variations
- 6. How to Store Danish Butter Cookies: Best Practices
- 7. FAQs: Frequently Asked Questions About Danish Butter Cookies
- 8. Danish Butter Cookies
Essential Ingredients for Danish Butter Cookies
Gathering the right ingredients is key to capturing the classic flavor of Danish Butter Cookies. These components highlight high-quality butter, sugar, and flour, blended with natural flavorings for that authentic taste. The preparation starts with creaming butter and sugar until fluffy, then adding flour and flavorings before shaping and baking to golden perfection.
Below is a comprehensive list of all ingredients needed, based on the traditional recipe. This ensures you have everything for a successful bake, with precise measurements for clarity.
- 250 grams of high-quality butter – Forms the creamy base for the indulgent texture.
- 200 grams of sugar – Provides sweetness and helps create a tender crumb.
- 300 grams of all-purpose flour – Serves as the structural foundation of the dough.
- 1 teaspoon of vanilla extract – Adds subtle aromatic notes to enhance the flavor.
- 1 cup of unsalted butter – Offers the rich, creamy base that distinguishes these cookies (as an alternative measure).
- 1/2 cup of granulated sugar – Contributes to the sweetness and tender texture.
- 2 cups of all-purpose flour – Acts as the main component for forming the cookie dough.
- 1 teaspoon of vanilla extract – Enhances the overall taste with its natural essence.
- 1/4 teaspoon of salt – Balances the sweetness and elevates the flavor profile.
For special dietary options, consider these swaps to customize your cookies while keeping the essence intact.
- Vegan: Use plant-based margarine or coconut oil instead of butter.
- Gluten-free: Opt for a gluten-free baking blend in place of all-purpose flour.
- Low-calorie: Swap granulated sugar with a sugar substitute and use light margarine.
How to Prepare the Perfect Danish Butter Cookies: Step-by-Step Guide
Creating Danish Butter Cookies involves straightforward steps that cover mixing, shaping, and baking phases, ensuring the delicate texture and classic flavor. This process, rooted in traditional methods, takes about 30 minutes of preparation time, allowing you to enjoy fresh-baked treats with minimal effort. Follow these steps closely for cookies that boast a crispy edge and buttery center, perfect for any occasion.
Basic Preparation Steps
- Preheat your oven to 350°F (175°C) and line a baking sheet with parchment paper for even baking.
- In a large bowl, cream together the unsalted butter and granulated sugar until light and fluffy, incorporating air for a tender result.
- Mix in the vanilla extract and salt to blend the flavors evenly into the butter-sugar base.
- Gradually add the all-purpose flour, folding it in carefully to form a soft dough without overmixing.
- Shape the dough into forms like pretzels or rings using a piping bag or by hand, spacing them on the baking sheet.
- Bake for 12-15 minutes until the edges turn golden, preserving that signature crispness.
- Let the cookies cool on the sheet for 5 minutes, then move to a wire rack for full cooling before storing.
These steps adapt easily for dietary preferences, such as using plant-based butter for vegan options. The entire process highlights the cookies’ heritage, making each batch a nod to Scandinavian traditions.

Dietary Substitutions to Customize Your Danish Butter Cookies
Adapting Danish Butter Cookies to various diets keeps their buttery heritage alive while accommodating modern needs. Whether you’re focusing on plant-based ingredients or adding fresh twists, these changes maintain the cookies’ crispy texture and flavor. Explore options like using almond extract for a new aroma or citrus zest for a vibrant update.
- Substitute unsalted butter with vegan margarine or coconut oil for a dairy-free version.
- Use almond or oat flour blends as alternatives to all-purpose flour for gluten-free baking.
- Add almond extract as a replacement for vanilla to create a different aromatic profile.
- Incorporate lemon zest or orange zest for a fresh, citrusy flavor.
- Include a pinch of cinnamon or nutmeg for a spiced variation.
These substitutions ensure everyone can enjoy these indulgent treats, blending tradition with personalization. For those exploring other recipes, try our Lemon Oatmeal Cookies Recipe for a similar twist on classics.
Mastering Danish Butter Cookies: Advanced Tips and Variations
To elevate your Danish Butter Cookies beyond the basics, focus on pro techniques like using chilled butter for flakier results and avoiding overmixing to keep the dough tender. These methods preserve the cookies’ rich heritage and ensure a melt-in-the-mouth experience with every bite. Experiment with flavors by adding crushed nuts or citrus zest, while presentation tips like piping shapes and dusting with sugar can make them even more appealing.
| Technique | Benefit |
|---|---|
| Use chilled butter | Creates flakier cookies with a better texture |
| Add crushed nuts | Introduces crunch and enhances flavor variety |
| Pipe into shapes | Improves visual appeal for gifting |
Make-ahead options include preparing dough in advance and refrigerating it for up to three days. Pairing the cookies with tea brings out their buttery sweetness, making them ideal for sharing. For more inspiration, check out our Rhubarb Shortbread Cookies for complementary baking ideas.
How to Store Danish Butter Cookies: Best Practices
Proper storage is essential to maintain the freshness of Danish Butter Cookies, preserving their crispy texture and buttery flavor. These treats, with their rich heritage, last longer when kept in an airtight container at room temperature for up to one week. Freezing extends their shelf life, allowing you to enjoy them later with ease.
- Store in an airtight container to keep cookies fresh and crisp.
- Freeze in sealed bags for up to three months and thaw at room temperature.
- Reheat briefly in a low oven to refresh texture without drying them out.
- Portion into small containers for meal prep to maintain aroma.
Tips like these enhance the nostalgic feel, making the cookies perfect for pairing with coffee. Their indulgent nature means enjoying them in moderation keeps the experience delightful. Danish Butter Cookies Recipe at Brown Eyed Baker offers more storage insights.
FAQs: Frequently Asked Questions About Danish Butter Cookies
What are Danish Butter Cookies made of?
Danish Butter Cookies are traditionally made from a simple mixture of high-quality butter, sugar, wheat flour, and sometimes an egg or vanilla extract. The rich butter content gives them their signature crisp texture and buttery flavor. Using unsalted butter is common to maintain control over the sweetness and saltiness. The dough is often chilled before baking to preserve the cookie’s shape and texture.
How should I store Danish Butter Cookies to keep them fresh?
To keep Danish Butter Cookies fresh, store them in an airtight container at room temperature. They will typically stay crisp and flavorful for up to two weeks this way. Avoid refrigerating as it can cause them to become stale faster. If you want to store them longer, freeze the cookies in a sealed container or freezer bag for up to three months, and thaw them at room temperature before serving.
Can Danish Butter Cookies be made gluten-free?
Yes, you can make gluten-free Danish Butter Cookies by substituting regular wheat flour with a gluten-free flour blend suitable for baking. It’s important to use a blend that contains xanthan gum or another binding agent to mimic the elasticity of gluten. Keep in mind that texture might slightly differ, but with proper flour choice and chilling the dough, you can still achieve a crisp and buttery cookie.
Why do Danish Butter Cookies come in different shapes and how does this affect baking?
Danish Butter Cookies are often shaped using cookie presses or piping bags into various traditional forms like pretzels, rings, or rectangles. The different shapes bake at slightly different rates due to thickness and surface area. For even baking, thinner cookies should be watched closely to prevent burning, while thicker shapes may need a minute or two longer. Shaped cookies also create a more attractive presentation, which is why the variety is popular.
Are Danish Butter Cookies a good gift option during holidays?
Yes, Danish Butter Cookies make an excellent gift for holidays because they have a long shelf life and are widely loved for their rich, buttery taste. They are often packaged in decorative tins that add to their appeal. You can personalize the gift by baking your own and arranging them in festive containers. Including a note with serving suggestions or pairing ideas such as tea or coffee can add a thoughtful touch.
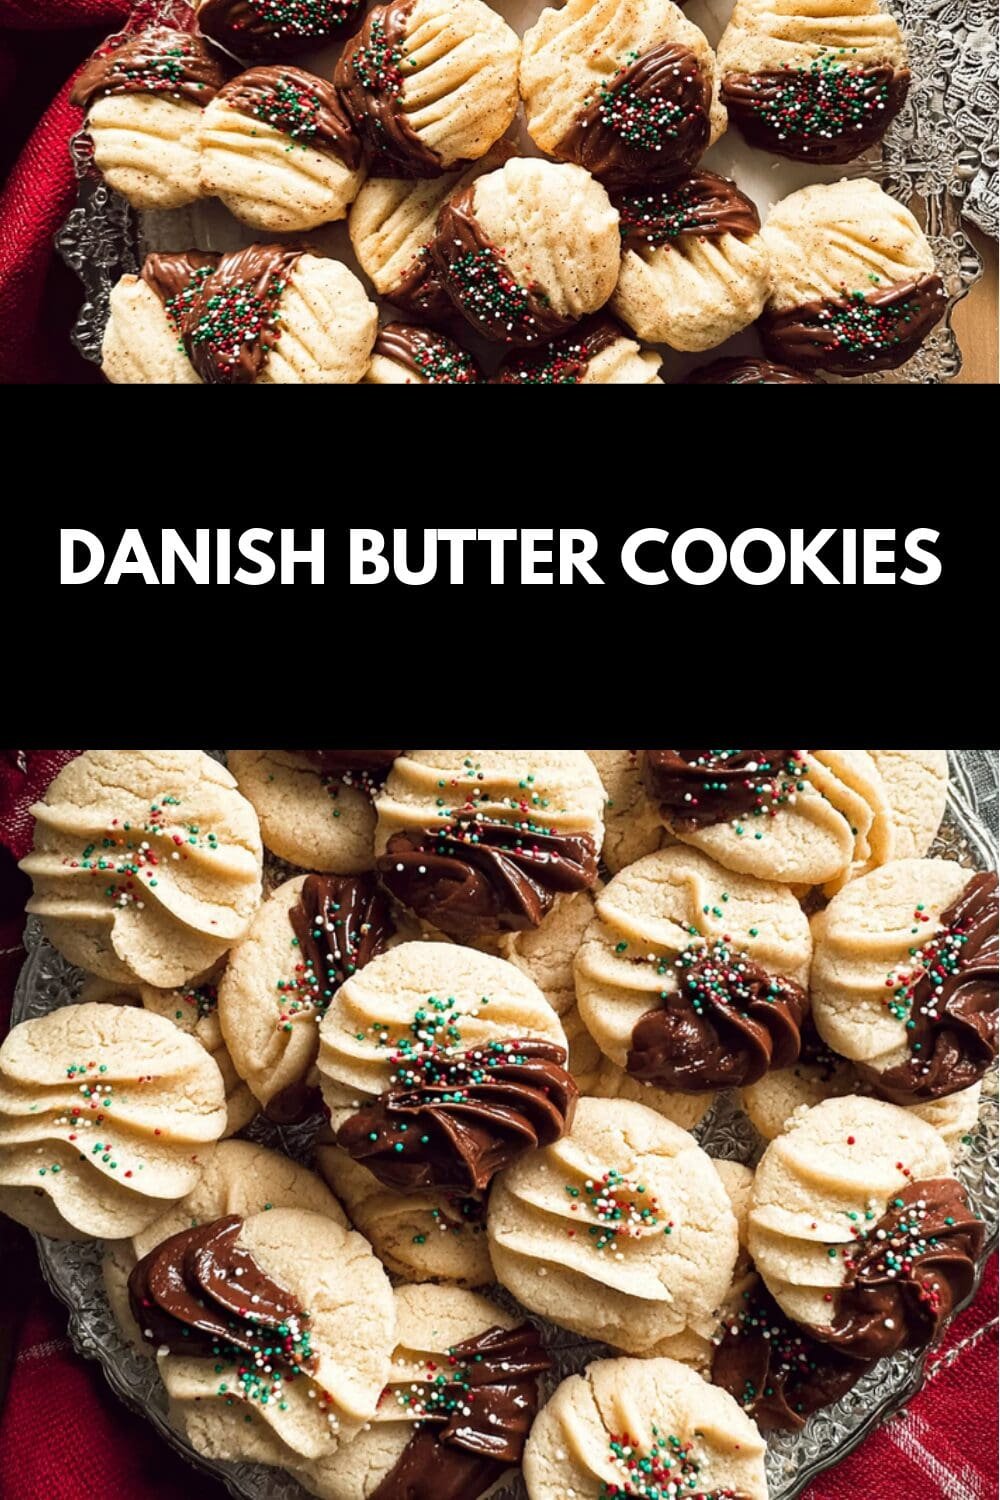
Danish Butter Cookies
- Total Time: 30 minutes
- Yield: About 30 cookies
- Diet: Vegetarian
Description
🍪 Indulge in Danish Butter Cookies for a rich, buttery flavor that delivers a crispy, melt-in-your-mouth texture.
☕ Perfect for sharing, these traditional treats pair beautifully with tea or coffee, bringing a nostalgic delight to any occasion.
Ingredients
– 250 grams of high-quality butter Forms the creamy base for the indulgent texture.
– 200 grams of sugar Provides sweetness and helps create a tender crumb.
– 300 grams of all-purpose flour Serves as the structural foundation of the dough.
– 1 teaspoon of vanilla extract Adds subtle aromatic notes to enhance the flavor.
– 1 cup of unsalted butter Offers the rich, creamy base that distinguishes these cookies (as an alternative measure).
– 1/2 cup of granulated sugar Contributes to the sweetness and tender texture.
– 2 cups of all-purpose flour Acts as the main component for forming the cookie dough.
– 1 teaspoon of vanilla extract Enhances the overall taste with its natural essence.
– 1/4 teaspoon of salt Balances the sweetness and elevates the flavor profile.
– plant-based margarine or coconut oil instead of butter for vegan option
– gluten-free baking blend instead of all-purpose flour for gluten-free option
– sugar substitute and light margarine for low-calorie option
Instructions
1-Preheat your oven to 350°F (175°C) and line a baking sheet with parchment paper for even baking.
2-In a large bowl, cream together the unsalted butter and granulated sugar until light and fluffy, incorporating air for a tender result.
3-Mix in the vanilla extract and salt to blend the flavors evenly into the butter-sugar base.
4-Gradually add the all-purpose flour, folding it in carefully to form a soft dough without overmixing.
5-Shape the dough into forms like pretzels or rings using a piping bag or by hand, spacing them on the baking sheet.
6-Bake for 12-15 minutes until the edges turn golden, preserving that signature crispness.
7-Let the cookies cool on the sheet for 5 minutes, then move to a wire rack for full cooling before storing.
Notes
🍴 Store cookies in an airtight container to preserve texture and flavor.
🤗 Share with loved ones for a nostalgic and joyful experience.
🫖 Pair cookies with your favorite tea or coffee to enhance their buttery taste.
- Prep Time: 15 minutes
- Cook Time: 15 minutes
- Category: Dessert
- Method: Baking
- Cuisine: Danish
Nutrition
- Serving Size: 1 cookie
- Calories: 90
- Sugar: 6g
- Sodium: 15mg
- Fat: 6g
- Saturated Fat: 4g
- Unsaturated Fat: 2g
- Trans Fat: 0g
- Carbohydrates: 9g
- Fiber: 0g
- Protein: 1g
- Cholesterol: 15mg
Keywords: Danish Butter Cookies, Butter Cookies, Traditional Cookies, Homemade Cookies