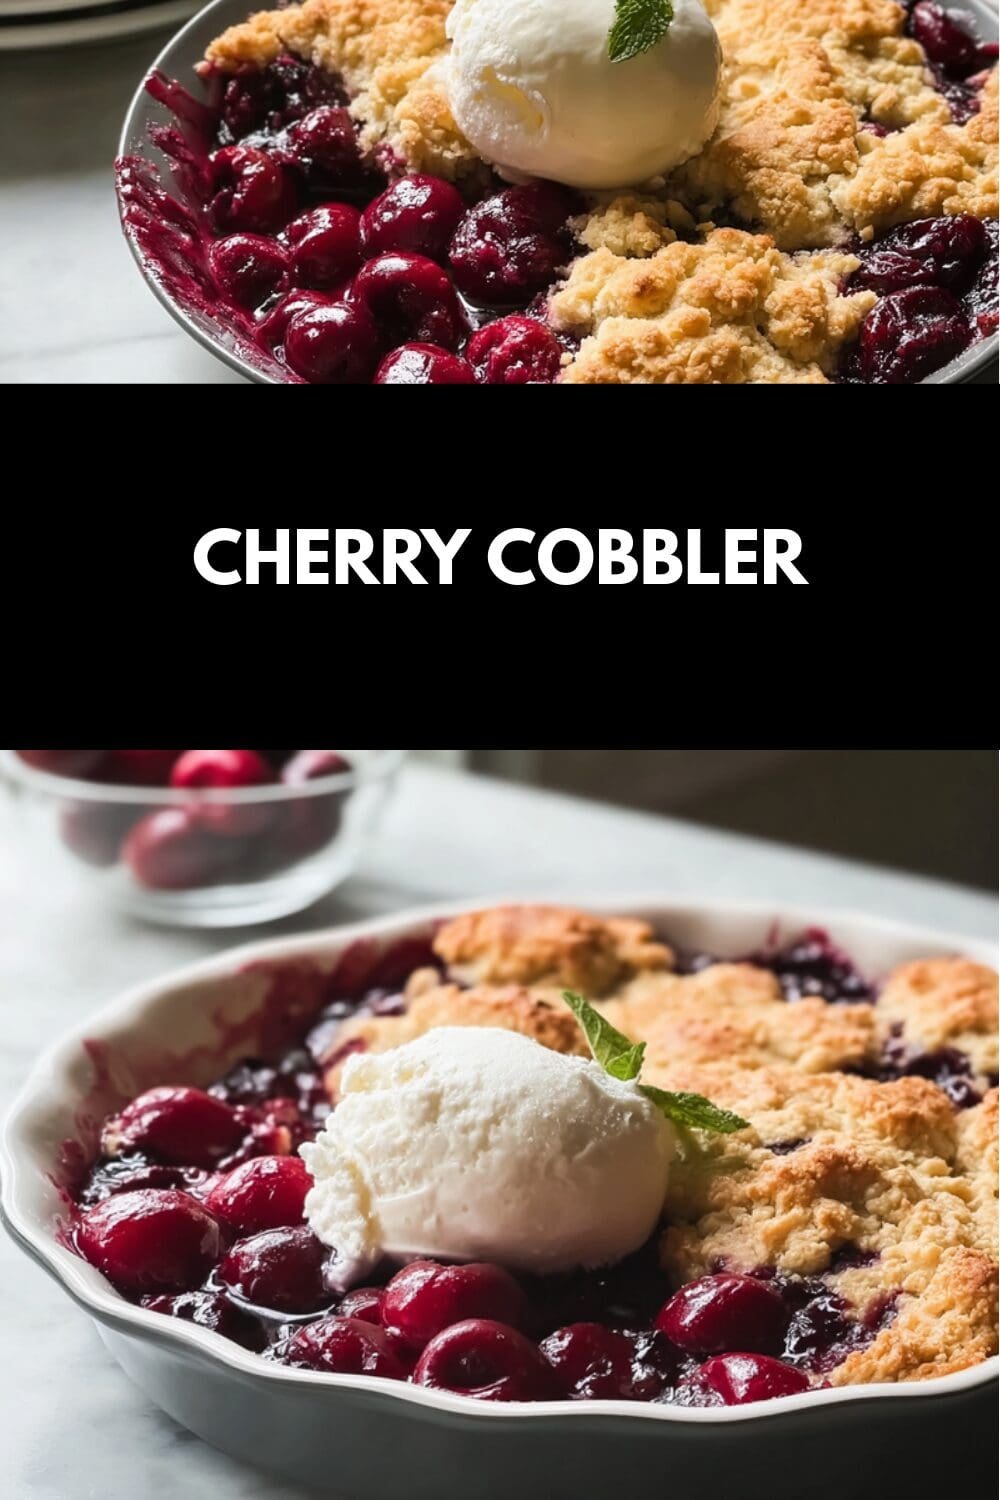
Why You’ll Love This Cherry Cobbler
This cherry cobbler is a simple delight that brings together fresh cherries and a buttery topping for a dessert everyone will enjoy. It’s perfect for busy parents or working professionals who need something quick yet satisfying after a long day. With its adaptability to different diets, this recipe stands out as a go-to option for family gatherings or casual treats.
One of the best parts is its ease of preparation, using minimal ingredients and straightforward steps that fit into anyone’s schedule. You’ll appreciate how fresh cherries pack in antioxidants and vitamins, making it a slightly healthier choice for diet-conscious folks. Plus, you can tweak it for vegan or gluten-free needs, ensuring it’s versatile for baking enthusiasts and newlyweds starting their culinary adventures.
Beyond that, the distinctive flavor of tart or sweet cherries paired with a crispy crust creates a memorable experience. Whether you’re a student looking for a quick study break snack or a senior enjoying nostalgic flavors, this cherry cobbler delivers. It’s not just a dessert; it’s a way to create joyful moments around the table, just like what my blog strives to inspire.
Jump To
- 1. Why You’ll Love This Cherry Cobbler
- 2. Essential Ingredients for Cherry Cobbler
- 3. How to Prepare the Perfect Cherry Cobbler: Step-by-Step Guide
- 4. Dietary Substitutions to Customize Your Cherry Cobbler
- 5. Mastering Cherry Cobbler: Advanced Tips and Variations
- 6. How to Store Cherry Cobbler: Best Practices
- 7. FAQs: Frequently Asked Questions About Cherry Cobbler
- 8. Cherry Cobbler
Essential Ingredients for Cherry Cobbler
Gathering the right ingredients is key to making a delicious cherry cobbler. This section lists everything you need with precise measurements to ensure your recipe turns out perfectly. Using fresh, high-quality cherries will enhance the natural sweetness and tang, making it a hit for home cooks of all levels.
- 4 cups fresh pitted and halved cherries (about 1 lb)
- 2/3 cup granulated sugar (adjustable to taste)
- 2 tablespoons cornstarch (add an extra tablespoon for frozen cherries)
- 2 tablespoons fresh lemon juice (about half a lemon)
- 1 teaspoon vanilla extract
- 1/4 teaspoon almond extract
- 6 tablespoons butter
- 1 cup all-purpose flour
- 1 cup granulated sugar
- 2 teaspoons baking powder
- 1/4 teaspoon salt
- 3/4 cup milk
- Ground cinnamon for sprinkling
These ingredients form the base for a wonderful treat, and you can adjust based on what you have on hand, like using gluten-free flour for special diets. Remember, sweet or tart cherries work well, but increase sugar if you’re using tart ones to get the balance just right.
How to Prepare the Perfect Cherry Cobbler: Step-by-Step Guide
Getting started on this cherry cobbler is straightforward and fun, even for beginners. First, preheat your oven to 350°F (175°C) and prepare your cherries by pitting and halving them if they’re fresh. For those using canned cherries, be sure to drain the juice and reserve 1/4 cup for the filling, as this helps create a thicker sauce.
Next, make the cherry filling by combining ingredients like sugar, cornstarch, lemon juice, vanilla extract, and almond extract in a saucepan. Stir in the cherries and cook briefly until the sauce thickens slightly this step ensures better texture and flavor, especially if you’re using frozen or canned fruit. For the batter, whisk together flour, sugar, baking powder, and salt, then stir in milk until just combined.
Once your oven is ready, place the sliced butter in a 9×13 inch baking dish and melt it directly in the oven. Pour the batter evenly over the melted butter, spoon the cherry mixture on top, and sprinkle with ground cinnamon. Bake for 40-45 minutes until golden and bubbly. This method makes about 9 servings and takes just 55 minutes total, including 15 minutes of prep time.
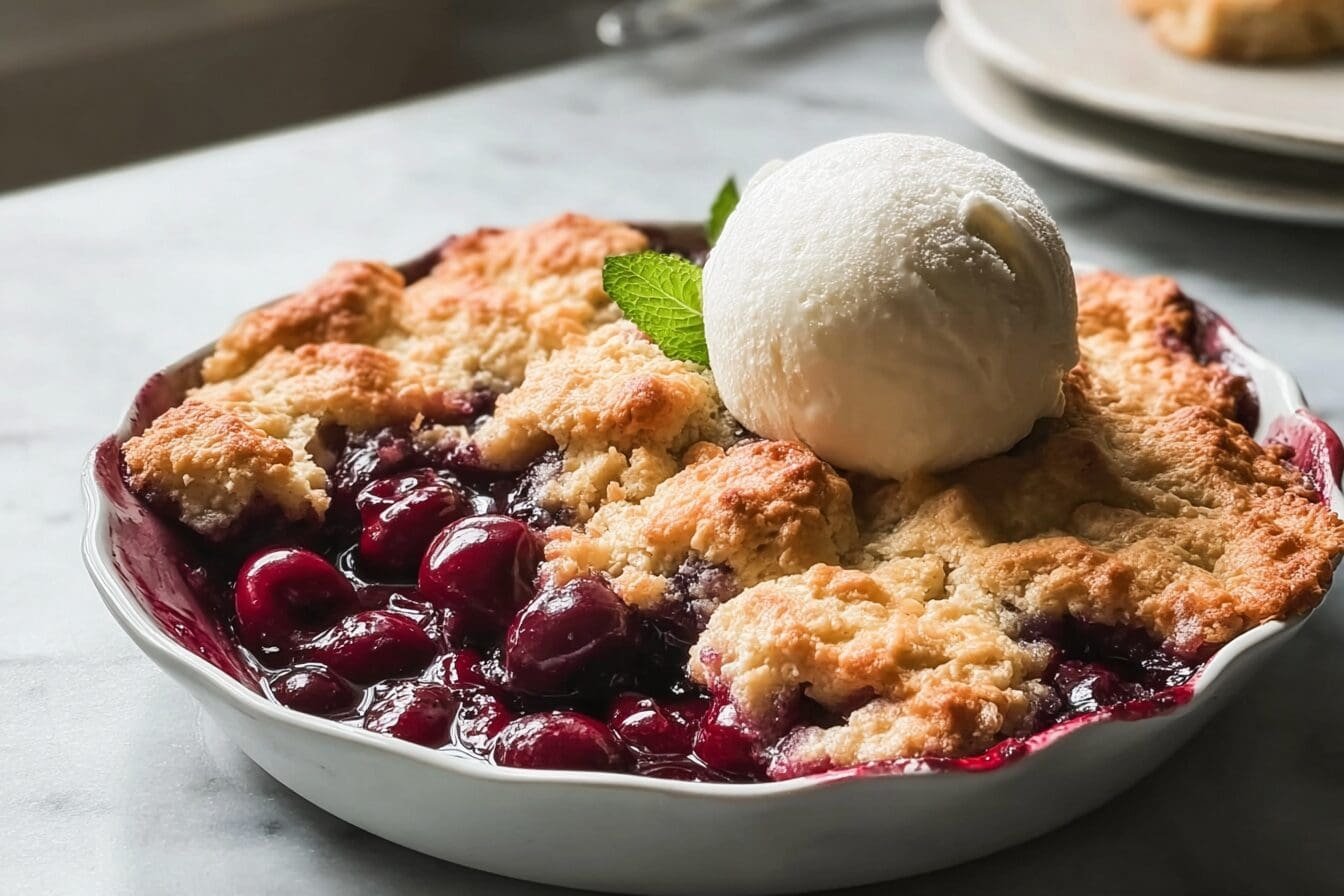
As it bakes, the aroma will fill your kitchen, making it ideal for food enthusiasts. For a link to a similar fruity dessert, check out our peach cobbler recipe for more inspiration on warm, comforting treats. After baking, let it cool slightly and serve warm, perhaps with vanilla ice cream for an extra touch.

Dietary Substitutions to Customize Your Cherry Cobbler
One of the great things about cherry cobbler is how easy it is to adapt for different needs. If you’re vegan, swap the butter with coconut oil or vegan margarine to keep things plant-based. For gluten-free options, use a gluten-free baking mix in place of all-purpose flour, which helps maintain that perfect texture without any issues.
You can also replace white sugar with natural sweeteners like honey or stevia if you’re watching your calories. Adding fruits such as blueberries can bring a fun twist, while spices like cinnamon or nutmeg enhance the flavor profile. These changes make it simple for busy parents or diet-conscious individuals to enjoy a personalized version.
- Protein and main component alternatives: Replace butter with vegan margarine or coconut oil.
- Use gluten-free flour blends for those with gluten intolerance.
- Substitute white sugar with honey, maple syrup, or stevia for lower glycemic options.
- Vegetable, sauce, and seasoning modifications: Incorporate blueberries or raspberries for variety.
- Add cinnamon, nutmeg, or almond extract to vary flavors.
- Adjust lemon juice with orange zest for a citrus twist.
By making these tweaks, you ensure the cobbler fits seasonal produce and personal tastes, all while staying true to the original recipe’s essence.
Mastering Cherry Cobbler: Advanced Tips and Variations
Once you’re comfortable with the basics, try some advanced techniques to elevate your cherry cobbler game. For a flakier crust, use cold butter chunks instead of melted, as this creates layers that bake up beautifully. You could also macerate the cherries with sugar overnight to deepen their flavor, making the filling even more irresistible.
Experiment with flavors by adding a splash of almond extract or mixing in spices like cardamom for a unique twist. For presentation, serve it warm with vanilla ice cream and fresh mint it’s a simple way to impress guests. If you’re planning ahead, prepare the filling and crust separately and store them in the fridge for quick assembly later.
Tips for Better Texture and Flavor
Using high-quality cherries, whether fresh, frozen, or canned, is key; just remember to add extra cornstarch for frozen ones to avoid a runny filling. As mentioned in external resources, cherries offer health benefits like vitamins that make this dessert a smart choice. For more dessert ideas, explore our strawberry rhubarb pie filling recipe, which pairs well with similar techniques.
These expert tips not only improve the cobbler’s taste but also help with make-ahead options for busy lifestyles. Whether you’re a traveler adapting to new ingredients or a senior perfecting family recipes, these variations keep things exciting and delicious.
How to Store Cherry Cobbler: Best Practices
Proper storage keeps your cherry cobbler tasting fresh longer, so let’s cover the basics. Store leftovers in an airtight container in the fridge for up to 4-5 days to lock in flavor and texture. If you’re freezing, portion it into freezer-safe containers and it can last up to 3 months without losing its appeal.
When reheating, warm servings in the microwave or oven at 350°F (175°C) to bring back that just-baked goodness. For meal prep, make the cherry filling and crust ahead of time, storing them separately in the fridge for easy baking later. This approach works great for working professionals or students with packed schedules.
| Storage Method | Duration | Tips |
|---|---|---|
| Refrigeration | 4-5 days | Use an airtight container to keep it moist |
| Freezing | Up to 3 months | Wrap tightly and reheat covered |
FAQs: Frequently Asked Questions About Cherry Cobbler
What kind of cherries should I use for making cherry cobbler?
Both sweet and sour cherries work well for cherry cobbler. Sour cherries are more tart and usually require additional sugar to balance the flavor, while sweet cherries provide natural sweetness. You can also use a combination to achieve a balanced taste. For canned cherries, choose plain sour cherries instead of pre-sweetened pie filling to control the sweetness and texture. Frozen cherries are another good option but consider adding an extra tablespoon of cornstarch to help thicken the filling.
Can I make cherry cobbler with frozen or canned cherries?
Yes, you can use both frozen and canned cherries. For frozen cherries, thaw them slightly and add an additional tablespoon of cornstarch to the filling to compensate for excess moisture. When using canned cherries, drain the cherries and reserve some juice. Mix the juice with cornstarch before combining it with the cherries to create a thick, flavorful filling. Using canned or frozen cherries makes cherry cobbler more accessible year-round.
Should I cook the cherry filling before baking the cobbler?
Cooking the cherry filling before adding it to the cobbler results in a thicker, more evenly baked dessert. Pre-cooking helps release juices and activate thickeners like cornstarch, preventing a soggy crust. However, it’s also possible to add the uncooked cherry filling directly to the dough, but expect a looser filling and longer baking time to fully cook the fruit.
Is there a gluten-free way to make cherry cobbler?
Yes, you can create a gluten-free cherry cobbler by substituting the regular flour in the batter with a gluten-free baking mix. Many gluten-free flour blends work well and maintain the texture and rise of the cobbler topping. Be sure to check if your baking mix contains xanthan gum or other binders to ensure the best consistency.
How should I store and reheat leftover cherry cobbler?
Store leftover cherry cobbler in an airtight container in the refrigerator for up to 4-5 days. To reheat, either warm it in the microwave for 1-2 minutes or bake it in the oven at 350°F (175°C) for about 20 minutes. Cover the top with foil during reheating to prevent over-browning. Baked cherry cobbler can also be frozen for up to 3 months; thaw it fully in the refrigerator before reheating.

Cherry Cobbler
- Total Time: 55 minutes
- Yield: 9 servings
- Diet: Vegetarian
Description
🍒 Create a comforting homemade dessert that combines sweet, juicy cherries with a tender, golden-brown topping for the perfect treat
🥧 Enjoy a classic American dessert that’s easy to make and guaranteed to satisfy your sweet tooth with its fruity filling and fluffy batter
Ingredients
– 4 cups fresh pitted and halved cherries
– 2/3 cup granulated sugar
– 2 tablespoons cornstarch
– 2 tablespoons fresh lemon juice
– 1 teaspoon vanilla extract
– 1/4 teaspoon almond extract
– 6 tablespoons butter
– 1 cup all-purpose flour
– 1 cup granulated sugar
– 2 teaspoons baking powder
– 1/4 teaspoon salt
– 3/4 cup milk
– Ground cinnamon for sprinkling
Instructions
1-First, preheat your oven to 350°F (175°C) and prepare your cherries by pitting and halving them if they’re fresh. For those using canned cherries, be sure to drain the juice and reserve 1/4 cup for the filling, as this helps create a thicker sauce.
2-Next, make the cherry filling by combining ingredients like sugar, cornstarch, lemon juice, vanilla extract, and almond extract in a saucepan. Stir in the cherries and cook briefly until the sauce thickens slightly this step ensures better texture and flavor, especially if you’re using frozen or canned fruit. For the batter, whisk together flour, sugar, baking powder, and salt, then stir in milk until just combined.
3-Once your oven is ready, place the sliced butter in a 9×13 inch baking dish and melt it directly in the oven. Pour the batter evenly over the melted butter, spoon the cherry mixture on top, and sprinkle with ground cinnamon. Bake for 40-45 minutes until golden and bubbly. This method makes about 9 servings and takes just 55 minutes total, including 15 minutes of prep time.
4-After baking, let it cool slightly and serve warm, perhaps with vanilla ice cream for an extra touch.
Notes
🍒 Use sweet or tart cherries or a combination of both – increase sugar if using tart cherries for balanced flavor
🌾 Make it gluten-free by substituting all-purpose flour with a gluten-free baking mix for everyone to enjoy
❄️ Best served immediately, but can be refrigerated for 4-5 days or frozen up to 3 months – reheat covered to prevent excessive browning
- Prep Time: 15 minutes
- Cook Time: 40 minutes
- Category: Dessert
- Method: Baking
- Cuisine: American
Nutrition
- Serving Size: 1 serving
- Calories: 320
- Sugar: 46g
- Sodium: 227mg
- Fat: 9g
- Saturated Fat: 5g
- Unsaturated Fat: 3g
- Trans Fat: 0.5g
- Carbohydrates: 60g
- Fiber: 2g
- Protein: 3g
- Cholesterol: 23mg
Keywords: Cherry Cobbler, Sweet Dessert, Fruity Dessert, Cobbler Recipe