Why You’ll Love This Banana Pudding
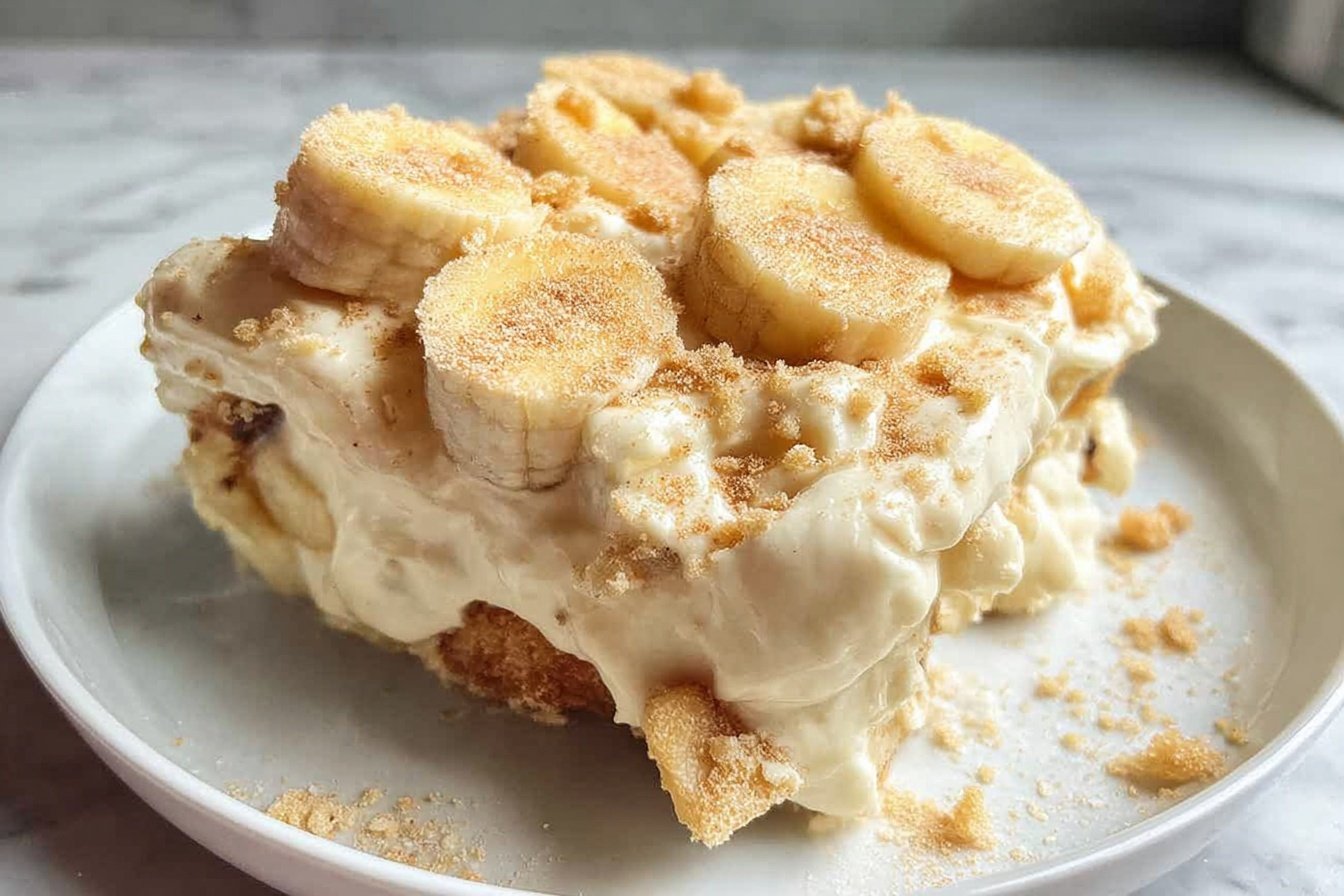
There’s something truly magical about a creamy, chilled banana pudding that brings back memories of family gatherings and Southern hospitality. This famous bakery style banana pudding recipe captures everything we love about the classic Magnolia Bakery version, right in your own kitchen.
- Ease of preparation: Unlike many bakery-style desserts that require hours of active cooking, this homemade banana pudding comes together in just 15 minutes of prep time. The no-bake method means you won’t even need to turn on your oven, making it perfect for hot summer days or when you want a fuss-free dessert that still impresses.
- Health benefits: Fresh bananas bring natural potassium, vitamin B6, and dietary fiber to this indulgent treat. According to health experts, bananas support heart health and provide quick energy. While this is definitely a sweet dessert, the real fruit adds nutritional value you won’t find in purely processed sweets.
- Versatility: This easy banana pudding recipe bakery style adapts beautifully to different dietary needs and preferences. You can swap vanilla wafers for gluten-free alternatives, use sugar-free pudding mix, or adjust the sweetness level to your liking. It works equally well in a large trifle bowl for parties or individual jars for personal servings.
- Distinctive flavor: The combination of sweetened condensed milk, instant vanilla pudding, and freshly whipped heavy cream creates a luxuriously creamy base that store-bought versions simply cannot match. Layered with tender bananas and crisp-tender vanilla wafers, each bite offers a perfect balance of textures and flavors that keeps everyone coming back for more.
Jump To
- 1. Why You’ll Love This Banana Pudding
- 2. Essential Ingredients for Banana Pudding
- 3. How to Prepare the Perfect Banana Pudding: Step-by-Step Guide
- 4. Dietary Substitutions to Customize Your Banana Pudding
- 5. Mastering Banana Pudding: Advanced Tips and Variations
- 6. How to Store Banana Pudding: Best Practices
- 7. FAQs: Frequently Asked Questions About Banana Pudding
- 8. Banana Pudding
Essential Ingredients for Banana Pudding
Creating an authentic magnolia banana pudding recipe at home requires quality ingredients that work together to build layers of flavor and texture. Here’s everything you’ll need:
Main Ingredients
- 1 (14 oz) can sweetened condensed milk – Creates a rich, sweet base for the pudding mixture and adds that signature creamy texture
- 1 ½ cups ice cold water – Helps thin the condensed milk mixture to the perfect consistency for folding with whipped cream
- 1 (3.4 oz) box instant vanilla pudding mix – Provides structure and vanilla flavor; use instant, not cook-and-serve variety
- 3 cups heavy whipping cream – Whipped to stiff peaks, this adds airy volume and richness to the pudding
- 4 cups sliced barely ripe bananas – Choose bananas with slightly green stems for less browning and firmer texture
- 1 (12 oz) box vanilla wafers – Classic choice for layers; can substitute with shortbread, butter cookies, or animal crackers
Special Dietary Options
| Dietary Need | Substitution Options |
|---|---|
| Vegan | Use coconut sweetened condensed milk, coconut cream for whipping, plant-based pudding mix, and vegan cookies |
| Gluten-free | Replace vanilla wafers with gluten-free vanilla cookies or shortbread |
| Lower calorie | Use sugar-free instant pudding mix and light whipped topping instead of heavy cream |
| Reduced sugar | Try sugar-free cheesecake pudding mix and reduce condensed milk slightly |
How to Prepare the Perfect Banana Pudding: Step-by-Step Guide
Making this magnolia bakery banana pudding recipe at home is simpler than you might think. The secret lies in proper chilling time and gentle folding technique. Let me walk you through each step.
Step 1: Create the Pudding Base
Start by grabbing a large mixing bowl. Pour in the entire can of sweetened condensed milk and add your ice cold water. Using an electric mixer, beat these together for about 1 minute until they’re well combined. The mixture should look smooth and slightly frothy. Cold water is essential here because it helps the pudding set properly later.
Next, add the instant vanilla pudding mix to your condensed milk mixture. Beat this for about 2 minutes on medium speed. You’ll notice the mixture starting to thicken slightly as the pudding mix dissolves. Resist the urge to overmix; just make sure no dry pudding powder remains visible.
Step 2: Chill the Pudding Mixture
Here’s where patience becomes your secret weapon. Cover the bowl with plastic wrap or a tight-fitting lid and place it in the refrigerator. You need to let this mixture set for 3-4 hours minimum, though overnight works beautifully. This chilling time allows the pudding to develop its signature thick, creamy consistency.
Pro Tip: If your pudding mixture seems runny after chilling, it likely needs more time in the refrigerator or wasn’t mixed properly. The consistency should be similar to thick custard before you fold in the whipped cream.
Step 3: Whip the Heavy Cream
When your pudding base has chilled and set properly, it’s time to prepare the whipped cream. In a separate large bowl, pour in all 3 cups of heavy whipping cream. Using an electric mixer on high speed, whip the cream until stiff peaks form. This typically takes 3-5 minutes depending on your mixer and the temperature of your cream.
You’ll know your whipped cream is ready when you lift the beaters and the cream holds its shape with peaks that stand straight up without drooping. Be careful not to overwhip, as the cream can quickly turn grainy and start separating into butter.
Step 4: Fold in the Whipped Cream
This step requires a gentle touch. Take your whipped cream and add it to the chilled pudding mixture in two or three batches. Using a rubber spatula, fold the whipped cream into the pudding using a gentle scooping motion. Cut through the center, slide under the mixture, and flip it over the top.
Continue folding until no white streaks remain and the entire mixture is a uniform pale yellow color. Work efficiently but gently to maintain the airiness of the whipped cream. This aeration is what gives bakery-style banana pudding its light, mousse-like texture.
Step 5: Assemble Your Layers
Now comes the fun part! Grab a large glass or trifle bowl with a 4-5 quart capacity. Clear glass works best because it showcases the beautiful layers that make this dessert so visually appealing.
Begin by placing about one-third of your vanilla wafers across the bottom. Add a layer of banana slices using one-third of your prepared bananas. Then spread one-third of the pudding mixture evenly over the bananas. Repeat this process two more times, creating three distinct layers of each component.
For the finishing touch, garnish the top with any remaining wafers or crush a few extra wafers into crumbs and sprinkle them over the surface. This adds a lovely textural contrast and makes the presentation bakery-worthy.
Step 6: The Final Chill
Cover your assembled pudding tightly with plastic wrap, pressing it gently against the surface to minimize air exposure. Place the entire dish in the refrigerator for at least 4 hours before serving. This final chill allows the flavors to meld together and the wafers to soften slightly into that perfect cake-like consistency.
However, timing matters here. Don’t let the assembled pudding sit for more than 8 hours total, as the bananas will begin to brown and lose their appealing appearance. If you need to prep further ahead, consider making the components separately and assembling closer to serving time. For another no-bake option that’s perfect for parties, check out this no-bake chocolate eclair cake that our readers love.

Dietary Substitutions to Customize Your Banana Pudding
One of the best things about this no bake banana pudding is how easily it adapts to various dietary needs. Whether you’re cooking for guests with restrictions or simply want to lighten things up, these substitutions have you covered.
Cookie and Wafer Alternatives
Traditional vanilla wafers can be swapped with several alternatives depending on your needs. For gluten-free versions, look for certified gluten-free vanilla cookies or shortbread cookies. Biscoff cookies offer a delicious spiced caramel flavor that pairs surprisingly well with bananas. Pepperidge Farm Chessmen cookies provide a buttery, elegant alternative.
Animal crackers work wonderfully for a kid-friendly version and tend to soften beautifully between the pudding layers. For a tropical twist, try using gingersnaps for a spicier profile that complements the sweet bananas.
Pudding Mix Modifications
While instant vanilla pudding is the classic choice, you have options. French vanilla pudding adds a richer, more complex vanilla flavor. Sugar-free instant pudding works for those watching their sugar intake, though you may want to taste-test and adjust the condensed milk accordingly.
Some bakers love using sugar-free cheesecake pudding for a tangy variation that still works beautifully with the bananas. Banana cream pudding mix intensifies the banana flavor for true banana lovers, though the fresh bananas provide plenty of fruit flavor on their own.
Dairy-Free Adaptations
Creating a dairy-free version requires a few strategic swaps. Coconut sweetened condensed milk is available at many specialty grocery stores and adds a subtle tropical undertone. Full-fat coconut cream whips up similarly to heavy cream when properly chilled overnight.
For the pudding mix, check labels carefully as many instant pudding mixes contain dairy derivatives. Look specifically for vegan pudding options or make your own cornstarch-based pudding from scratch using plant milk.
Mastering Banana Pudding: Advanced Tips and Variations
Once you’ve mastered the basic banana pudding recipe, you can start experimenting with techniques and variations that take your dessert from great to extraordinary.
Pro Cooking Techniques
Temperature matters: Keep your heavy whipping cream ice cold for the best volume when whipping. Some bakers even chill their mixing bowl and beaters in the freezer for 10-15 minutes before whipping cream.
Banana selection: Choose bananas that are barely ripe with slightly green stems for the best results. These firmer bananas hold their shape better and resist browning longer than fully ripe ones. If only very ripe bananas are available, use them but plan to serve the pudding within 4 hours of assembly.
Preventing oxidation: Brush banana slices lightly with lemon juice, dip them briefly in club soda, or rinse quickly with cold water before layering. These methods slow the enzymatic browning process without affecting the flavor.
Creative Flavor Variations
- Chocolate lovers’ version: Use chocolate instant pudding instead of vanilla and layer with chocolate sandwich cookies instead of vanilla wafers
- Tropical twist: Add a layer of sliced pineapple between the bananas and wafers, or use coconut pudding mix
- Bourbon-spiked: Add 1-2 tablespoons bourbon to the pudding mixture for an adult version with warm, caramel notes
- Toasted marshmallow: Top individual servings with a quick torch of mini marshmallows before serving
Presentation Tips
For parties and gatherings, consider assembling individual servings in clear mason jars or dessert cups. This makes serving easy and creates an impressive visual display. Layer the components in each container following the same ratio as the larger version.
A beautiful trifle bowl remains the classic choice for family-style serving. The straight sides show off each distinct layer, turning your dessert into an edible centerpiece that guests will admire before they even take their first bite.
Make-Ahead Strategies
The pudding and whipped cream mixture can be prepared up to 24 hours ahead and stored covered in the refrigerator. Keep your vanilla wafers in an airtight container and slice your bananas just before assembly. This approach lets you do most of the work in advance while ensuring fresh results.
If you love make-ahead desserts like this one, you might also enjoy this banana pudding lush for another variation on this classic flavor combination.
How to Store Banana Pudding: Best Practices
Proper storage keeps your homemade banana pudding fresh and delicious. Understanding how to handle leftovers ensures nothing goes to waste.
Refrigeration Guidelines
Store assembled banana pudding in the refrigerator covered tightly with plastic wrap. Press the plastic directly against the pudding surface to minimize air contact, which helps prevent the bananas from browning prematurely. Properly stored, the pudding stays fresh for up to 3 days, though the wafers will continue softening over time.
For best quality, consume within 8-12 hours of assembly. The bananas will remain their most visually appealing during this window, and the wafers will have reached that perfect tender-crisp consistency.
Freezing Considerations
Freezing is possible but changes the texture of both the whipped cream and the bananas. If you must freeze, do so only if planning to serve later the same day after thawing. Place individual portions in airtight containers and freeze for no more than 1 month. Thaw overnight in the refrigerator before serving.
Keep in mind that frozen and thawed bananas release moisture and become softer. The texture difference will be noticeable to discerning palates.
Meal Prep Approach
For gatherings or weekly planning, prepare the pudding mixture and whipped cream combination up to 24 hours ahead. Store in a sealed container in the refrigerator. Keep wafers crisp in their original packaging and slice bananas fresh just before assembly. This method gives you freshly assembled pudding with minimal day-of preparation.
FAQs: Frequently Asked Questions About Banana Pudding
How do I prevent bananas from browning in banana pudding?
To keep bananas fresh-looking in banana pudding, use barely ripe bananas with a slightly green stem—they’re firmer and resist oxidation longer than fully ripe ones. Slice them just before assembly and dip slices in lemon juice (1 tablespoon per cup of water) or pineapple juice for 30 seconds to neutralize enzymes. Layer them immediately between pudding and wafers to limit air exposure. Avoid tossing them in advance. If browning starts after assembly, a thin layer of pudding on top helps seal them in. This method keeps your pudding visually appealing for up to 24 hours in the fridge. For best results, serve within 8-12 hours. (78 words)
Can I make banana pudding ahead of time?
Yes, prepare the pudding and whipped cream mixture up to 24 hours ahead and store covered in the fridge. Assemble with wafers and bananas right before serving to maintain texture—wafers soften perfectly overnight if layered then. Full assembly can sit 4-8 hours in the fridge without sogginess, but beyond that, wafers may dissolve. For overnight assembly, use extra-firm wafers or add them last. Chill assembled pudding at least 4 hours for setting, but don’t exceed 24 hours to avoid banana discoloration. This approach saves time for parties while keeping it fresh. (92 words)
Why is my banana pudding runny and how do I fix it?
Runny banana pudding usually results from not chilling long enough (needs 4+ hours), using too much liquid, or stirring too vigorously after mixing. Instant pudding sets best when whisked briefly into cold condensed milk mixture without overmixing. To fix after chilling: Sprinkle 1-2 teaspoons unflavored gelatin over 2 tablespoons cold water, let bloom 5 minutes, microwave 10 seconds to dissolve, then whisk into pudding. Rechill 2-4 hours. If using cook-and-serve by mistake, cook it per package, cool fully, then fold in. Measure ingredients precisely and chill undisturbed for success next time. (96 words)
Can I substitute Nilla wafers in banana pudding?
Absolutely, swap Nilla wafers for Biscoff cookies, chessmen, shortbread, or vanilla sandwich cookies—they provide similar crunch and pair well with bananas. Use the same amount (about 11-ounce box crushed for a 9×13 dish). Biscoff adds caramel spice, while Pepperidge Farm Chessmen offer buttery elegance. Crush coarsely for texture variety. Avoid chocolate cookies unless making a twist. Layer as usual: pudding, bananas, cookies. Test one substitution first to match sweetness. This flexibility works for allergies or preferences without altering the classic taste. (85 words)
What if I used cook-and-serve pudding instead of instant in banana pudding?
If you accidentally used cook-and-serve pudding, cook it on stovetop per package with the required milk (usually 2 cups), stirring constantly until thickened (about 5 minutes), then cool to room temperature. Skip adding dry mix to condensed milk—fold cooled pudding into whipped cream and condensed milk mixture instead. Omit extra water to avoid runniness. Chill assembled pudding 4+ hours. It sets firmer than instant, yielding a homemade custard vibe. Taste-test before chilling and add vanilla if needed. This salvage turns a mistake into a creamier version. (89 words)

Banana Pudding
- Total Time: 7 hours 15 minutes
- Yield: 15 servings
- Diet: Vegetarian
Description
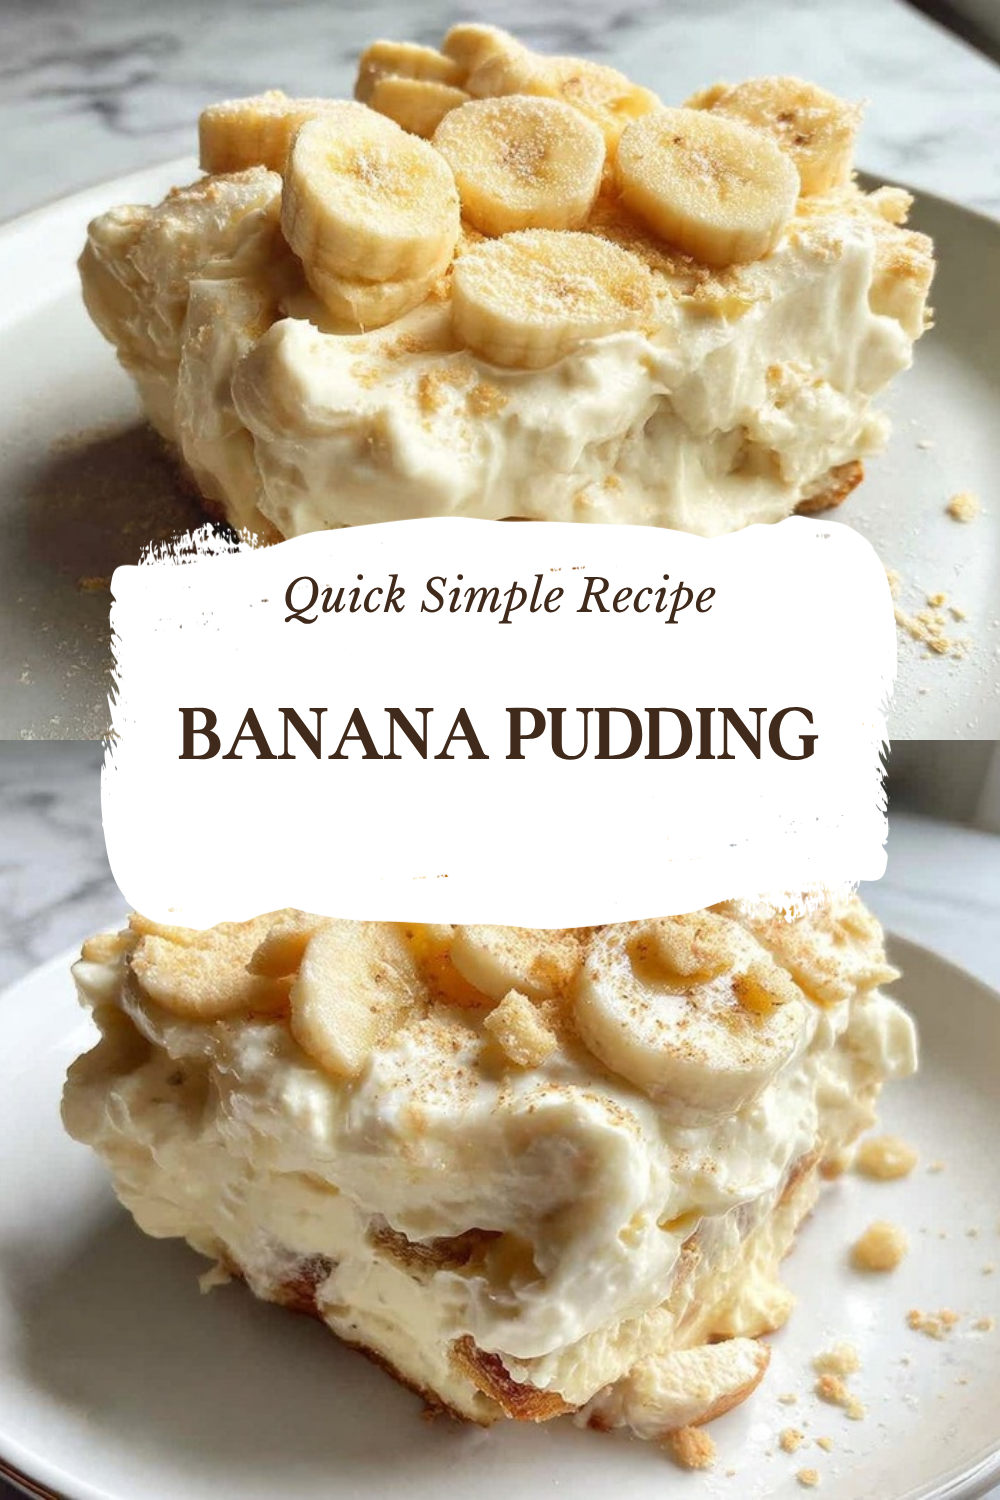
🍌 Dive into creamy, layered banana pudding with fresh bananas and vanilla wafers, capturing famous bakery richness and nostalgia in every bite.
🍮 No-bake, make-ahead dessert chills to perfection for effortless entertaining or sweet cravings!
Ingredients
– 1 (14 oz) can sweetened condensed milk for rich, sweet base and creamy texture
– 1 ½ cups ice cold water for thinning the condensed milk mixture
– 1 (3.4 oz) box instant vanilla pudding mix for structure and vanilla flavor
– 3 cups heavy whipping cream for airy volume and richness
– 4 cups sliced barely ripe bananas for less browning and firmer texture
– 1 (12 oz) box vanilla wafers for layers
Instructions
1-Step 1: Create the Pudding Base Start by grabbing a large mixing bowl. Pour in the entire can of sweetened condensed milk and add your ice cold water. Using an electric mixer, beat these together for about 1 minute until they’re well combined. The mixture should look smooth and slightly frothy. Cold water is essential here because it helps the pudding set properly later. Next, add the instant vanilla pudding mix to your condensed milk mixture. Beat this for about 2 minutes on medium speed. You’ll notice the mixture starting to thicken slightly as the pudding mix dissolves. Resist the urge to overmix; just make sure no dry pudding powder remains visible.
2-Step 2: Chill the Pudding Mixture Here’s where patience becomes your secret weapon. Cover the bowl with plastic wrap or a tight-fitting lid and place it in the refrigerator. You need to let this mixture set for 3-4 hours minimum, though overnight works beautifully. This chilling time allows the pudding to develop its signature thick, creamy consistency.
3-Step 3: Whip the Heavy Cream When your pudding base has chilled and set properly, it’s time to prepare the whipped cream. In a separate large bowl, pour in all 3 cups of heavy whipping cream. Using an electric mixer on high speed, whip the cream until stiff peaks form. This typically takes 3-5 minutes depending on your mixer and the temperature of your cream. You’ll know your whipped cream is ready when you lift the beaters and the cream holds its shape with peaks that stand straight up without drooping. Be careful not to overwhip, as the cream can quickly turn grainy and start separating into butter.
4-Step 4: Fold in the Whipped Cream This step requires a gentle touch. Take your whipped cream and add it to the chilled pudding mixture in two or three batches. Using a rubber spatula, fold the whipped cream into the pudding using a gentle scooping motion. Cut through the center, slide under the mixture, and flip it over the top. Continue folding until no white streaks remain and the entire mixture is a uniform pale yellow color. Work efficiently but gently to maintain the airiness of the whipped cream. This aeration is what gives bakery-style banana pudding its light, mousse-like texture.
5-Step 5: Assemble Your Layers Now comes the fun part! Grab a large glass or trifle bowl with a 4-5 quart capacity. Clear glass works best because it showcases the beautiful layers that make this dessert so visually appealing. Begin by placing about one-third of your vanilla wafers across the bottom. Add a layer of banana slices using one-third of your prepared bananas. Then spread one-third of the pudding mixture evenly over the bananas. Repeat this process two more times, creating three distinct layers of each component. For the finishing touch, garnish the top with any remaining wafers or crush a few extra wafers into crumbs and sprinkle them over the surface. This adds a lovely textural contrast and makes the presentation bakery-worthy.
6-Step 6: The Final Chill Cover your assembled pudding tightly with plastic wrap, pressing it gently against the surface to minimize air exposure. Place the entire dish in the refrigerator for at least 4 hours before serving. This final chill allows the flavors to meld together and the wafers to soften slightly into that perfect cake-like consistency. However, timing matters here. Don’t let the assembled pudding sit for more than 8 hours total, as the bananas will begin to brown and lose their appealing appearance. If you need to prep further ahead, consider making the components separately and assembling closer to serving time.
Notes
🍌 Choose barely ripe bananas with green stems to reduce browning.
❄️ Assemble and chill no more than 8 hours ahead; airtight cover helps.
🥛 Fold whipped cream gently into pudding for light, fluffy texture.
- Prep Time: 15 minutes
- Chill: 4-8 hours
- Cook Time: 0 minutes
- Category: Dessert
- Method: No Cook
- Cuisine: American
Nutrition
- Serving Size: 1 serving
- Calories: 447
- Sugar: 35g
- Sodium: 250mg
- Fat: 22g
- Saturated Fat: 13g
- Unsaturated Fat: 9g
- Trans Fat: 0g
- Carbohydrates: 55g
- Fiber: 1g
- Protein: 5g
- Cholesterol: 60mg
Keywords: banana pudding recipe, famous banana pudding, bakery style banana pudding, homemade banana pudding