Why You’ll Love This Baked Chicken Tenders
These crispy oven baked chicken tenders are about to become your new weeknight obsession. Whether you’re feeding picky toddlers, meal-prepping for busy days, or just craving something golden and satisfying, this recipe delivers on every front. No deep-frying mess, no complicated techniques just simple, wholesome ingredients coming together in a dish that’s as nutritious as it is delicious.
What makes this baked chicken tenders recipe truly special is the clever combination of a thick batter and pre-toasted panko breadcrumbs. This approach eliminates the traditional three-step dredging process while still delivering that satisfying crunch we all crave. Plus, the entire dish comes together in just 30 minutes from start to finish.
- Ease of preparation: With only 15 minutes of prep time and 15 minutes in the oven, this easy oven baked chicken tenders recipe fits perfectly into busy weeknight schedules. The streamlined batter method means less mess and fewer dishes to wash afterward.
- Health benefits: Baking instead of frying significantly reduces the oil content while still achieving that crave-worthy crunch. Each serving packs 42 grams of protein with only 12 grams of fat, making these healthy chicken tenders a smart choice for fitness enthusiasts and families alike.
- Versatility: These tenders work beautifully with various dipping sauces, seasonings, and side dishes. They’re also easily adaptable for gluten-free diets and can be made ahead for convenient meal prep.
- Distinctive flavor: The Dijon mustard and mayonnaise in the batter create a tangy, savory foundation that elevates the taste beyond typical breaded chicken. Pre-toasting the panko adds depth and ensures maximum crunch in every bite.
Jump To
- 1. Why You’ll Love This Baked Chicken Tenders
- 2. Essential Ingredients for Baked Chicken Tenders
- 3. How to Prepare the Perfect Baked Chicken Tenders: Step-by-Step Guide
- 4. Variations and Substitutions
- 5. Mastering Baked Chicken Tenders: Advanced Tips and Variations
- 6. How to Store Baked Chicken Tenders: Best Practices
- 7. FAQs: Frequently Asked Questions About Baked Chicken Tenders
- 8. Baked Chicken Tenders
Essential Ingredients for Baked Chicken Tenders
Creating the perfect crispy chicken tenders starts with understanding each ingredient’s role in building flavor and texture. Here’s everything you’ll need to make this recipe a success.
Main Ingredients
- 500 grams (1 pound) chicken tenderloins or chicken breast The star of the show. Tenderloins cook evenly and remain juicy, but chicken breast cut into 2/3 inch (1.5 cm) thick strips works wonderfully too. Cutting the pieces uniformly ensures even cooking throughout.
- 1 1/2 cups panko breadcrumbs Essential for achieving that signature crunch. Panko’s larger, flakier texture creates air pockets that crisp up beautifully, making it superior to regular breadcrumbs for baked panko chicken tenders.
- 1 egg Acts as the binding agent in your batter, helping the coating adhere to the chicken while adding richness and structure.
- 1 tablespoon mayonnaise Keeps the chicken incredibly moist during baking while contributing to a golden exterior. The fat content helps the breading brown evenly.
- 1 1/2 tablespoons Dijon mustard (or other mustard) Adds tangy depth and complexity to the flavor profile. Dijon works beautifully, but whole grain or yellow mustard can substitute depending on your preference.
- 2 tablespoons flour Thickens the batter to the perfect consistency, ensuring it clings to the chicken and creates a solid base for the breadcrumbs.
- 1/2 teaspoon salt Enhances all the flavors and seasons the chicken from within the batter.
- Black pepper to taste Adds a subtle warmth and complexity without overpowering the other flavors.
- Oil spray Light application on the breadcrumbs during toasting and on the coated chicken before baking ensures even browning and that golden finish.
Special Dietary Options
- Gluten-free alternative: Replace panko breadcrumbs with gluten-free panko or crushed gluten-free cereal. Substitute the flour with cornstarch or a gluten-free flour blend for a celiac-friendly version.
- Lower calorie option: Use Greek yogurt in place of mayonnaise in the batter for reduced fat content while maintaining moisture.
- Dairy-free: This recipe is naturally dairy-free, making it suitable for those avoiding dairy products.
How to Prepare the Perfect Baked Chicken Tenders: Step-by-Step Guide
Making restaurant-quality crispy oven baked chicken tenders recipe at home is simpler than you might think. Follow these detailed steps to achieve golden, crunchy perfection every single time.
Step 1: Preheat Your Oven
Begin by preheating your oven to 200°C (390°F). If you have a fan-forced or convection setting, you can use 180°C instead. This temperature is ideal for creating that crispy exterior while keeping the interior juicy and tender. According to health experts, chicken provides lean protein that supports muscle health and keeps you feeling satisfied longer.
Step 2: Toast the Panko Breadcrumbs
This is the secret step that transforms good oven baked chicken tenders into great ones. Spread your 1 1/2 cups panko breadcrumbs on a baking tray and spray lightly with oil. Bake for 3 to 5 minutes until they turn a light golden color. Keep a close eye on them they can go from perfectly toasted to burnt quickly.
Why toasting matters: Pre-toasting removes moisture from the panko, intensifying the crunch factor and giving your finished tenders that beautiful golden appearance without overcooking the chicken.
Once toasted, transfer the breadcrumbs to a shallow bowl or plate. This step is what sets this recipe apart from others, creating healthy baked chicken tenders recipe results that rival any deep-fried version.
Step 3: Prepare Your Baking Setup
Place a wire rack on your baking tray if you have one. This setup allows hot air to circulate underneath the chicken, promoting even browning on all sides. If you don’t have a rack, don’t worry your tenders will still be delicious, just flip them halfway through baking for even cooking.
Step 4: Create the Flavorful Batter
In a medium bowl, whisk together:
- 1 egg
- 1 tablespoon mayonnaise
- 1 1/2 tablespoons Dijon mustard
- 2 tablespoons flour
- 1/2 teaspoon salt
- Black pepper to taste
Whisk until smooth and fully combined. The consistency should be thick enough to coat the back of a spoon. This batter is your all-in-one solution it replaces the traditional flour-egg-breadcrumb three-step process with a single, efficient coating.
Step 5: Coat the Chicken
Add your 500 grams of chicken tenderloins (or sliced breast) to the batter bowl. Toss well to coat each piece thoroughly. Using tongs, pick up each battered piece and place it into the bowl of toasted panko breadcrumbs. Sprinkle additional breadcrumbs over the top, press down firmly to help them adhere, then transfer to your prepared baking tray.
Pro tip: Using tongs keeps your fingers clean and prevents the breadcrumbs from getting clumped with batter, ensuring a more even coating on every tender.
Step 6: Bake to Golden Perfection
Spray the coated chicken lightly with oil and optionally sprinkle with a pinch of salt. Bake for 15 minutes, or up to 20 minutes for larger pieces. The internal temperature should reach 74°C (165°F) for food safety.
| Chicken Size | Baking Time | Internal Temperature |
|---|---|---|
| Standard tenders | 15 minutes | 74°C (165°F) |
| Larger pieces | 18-20 minutes | 74°C (165°F) |
| Thick-cut strips | 20-22 minutes | 74°C (165°F) |
Resist the urge to bake longer than necessary overcooking will dry out the chicken and compromise the texture. For more detailed techniques on achieving the perfect crunch, check out this comprehensive guide on baked chicken methods.
Step 7: Serve and Enjoy
Remove from the oven and serve immediately while hot and crispy. These chicken tenders recipe favorites pair wonderfully with various dipping sauces. A sprinkle of fresh parsley adds a pop of color and freshness if desired.
Variations and Substitutions
Protein and Main Component Alternatives
While chicken tenderloins are the classic choice, this versatile recipe works beautifully with several protein alternatives. Each option brings its own character while maintaining that satisfying crunch you’re after.
Chicken breast alternatives: If you don’t have tenderloins, boneless, skinless chicken breast cut into 2/3 inch (1.5 cm) thick strips works perfectly. You might also try this method with chicken thighs just adjust cooking time to 20-25 minutes as the darker meat takes slightly longer to cook through.
Seafood options: This batter and coating method translates wonderfully to fish fillets. Try it with white fish like cod or tilapia, reducing baking time to 12-15 minutes. For a delicious seafood twist, check out my creamy crab and shrimp seafood bisque for serving alongside.
Plant-based alternatives: For a vegetarian version, firm tofu or tempeh cut into strips can substitute for chicken. Press the tofu well to remove excess moisture before coating. The baking time remains similar about 15-18 minutes until golden and crispy.
Turkey tenders: Turkey tenderloins work excellently with this recipe and offer a leaner alternative. They’re particularly delicious served alongside my squash dressing recipe for a complete meal.
Vegetable, Sauce, and Seasoning Modifications
The beauty of this baked chicken tenders recipe lies in its adaptability. Here are ways to customize the flavors based on your preferences and what you have on hand.
Seasoning variations: Add dried herbs and spices to your toasted panko for extra flavor. Garlic powder, paprika, Italian seasoning, or Cajun spice blend transform the taste profile instantly. For a spicy kick, mix in cayenne pepper or chili powder.
Dipping sauce options: While these tenders are delicious on their own, the right sauce elevates them further:
- Honey mustard: Mix mayonnaise, Dijon mustard, honey, lemon juice, salt, and pepper for a sweet-tangy dip.
- Classic ranch: Combine mayonnaise, sour cream, milk, lemon juice, dried herbs, garlic powder, salt, and pepper.
- BBQ sauce: Use your favorite store-bought variety or make homemade with ketchup, brown sugar, vinegar, and spices.
- Sweet chili: Perfect for those who enjoy a balance of sweet, spicy, and tangy flavors.
Vegetable side pairings: These tenders complement roasted vegetables beautifully. Try serving with roasted broccoli, sweet potato fries, or a fresh garden salad. The crispy texture contrasts wonderfully with tender roasted vegetables.
Mastering Baked Chicken Tenders: Advanced Tips and Variations
Taking your crispy chicken tenders from good to great requires a few insider techniques. These tips ensure restaurant-quality results in your home kitchen.
Pro Cooking Techniques
- Don’t skip the rack: Using a wire rack on your baking tray allows air to circulate completely around the chicken, creating an even crust on all sides without flipping.
- Pat chicken dry: Before adding to the batter, pat chicken pieces dry with paper towels. Excess moisture prevents proper coating adhesion.
- Work quickly with breadcrumbs: Once you start coating, maintain momentum the batter can drip off if left too long, resulting in uneven breading.
- Test oil spray coverage: Hold the spray bottle about 6 inches from the chicken for even coverage. Too close creates pooling; too far wastes product.
Flavor Variations
Transform your healthy chicken tenders with these creative twists:
- Parmesan-herb: Add 1/4 cup grated Parmesan and 1 teaspoon Italian seasoning to the toasted panko.
- Spicy jalapeño: Mix 1/2 teaspoon cayenne pepper into the batter and add diced jalapeños to the coating.
- Lemon-garlic: Add lemon zest to the panko and garlic powder to the batter for a bright, aromatic variation.
- Everything bagel: Toss everything bagel seasoning into the toasted panko for an umami-rich crust.
Presentation Tips
Serve your tenders on a wooden board lined with parchment paper for a rustic presentation. Garnish with fresh parsley, lemon wedges, and small bowls of various dipping sauces. For family-style dining, arrange tenders in a circular pattern with sauces in the center. A colorful side salad adds freshness and visual appeal to the plate.
Make-Ahead Options
For busy schedules, this recipe offers convenient prep-ahead strategies:
- Batter and store: Coat chicken in the batter and refrigerate up to 2 days before adding breadcrumbs and baking.
- Pre-toast panko: Toast breadcrumbs up to a week in advance and store in an airtight container.
- Fully cooked storage: Baked tenders keep well refrigerated for 3 days perfect for meal prep.
How to Store Baked Chicken Tenders: Best Practices
Proper storage ensures your oven baked chicken tenders maintain their quality and safety for future meals.
Refrigeration Guidelines
Allow cooked tenders to cool completely before storing this prevents condensation that can make the coating soggy. Place in an airtight container with parchment paper between layers if stacking. Refrigerated tenders stay fresh for up to 3 days. For best results, store the dipping sauce separately.
Freezing Instructions
While raw crumbed chicken doesn’t freeze well, fully cooked tenders freeze beautifully:
- Cool completely after baking
- Arrange in a single layer on a baking sheet and freeze until solid
- Transfer to a freezer-safe bag or container
- Label with the date and freeze for up to 1 month
Reheating for Best Results
The key to reheating is avoiding the microwave, which creates soggy coating. Instead, reheat in a 200°C (390°F) oven for 3-5 minutes on a wire rack. This revives the crunch from the toasted panko coating. For frozen tenders, bake from frozen at 180°C (350°F) for 10-12 minutes.
Meal Prep Considerations
These baked panko chicken tenders are ideal for weekly meal prep. Consider making a double batch one for dinner and one for lunches. Pair with roasted vegetables and quinoa for balanced meal prep containers. The protein holds up well refrigerated, making it perfect for salads, wraps, or grain bowls throughout the week.

FAQs: Frequently Asked Questions About Baked Chicken Tenders
How do you make baked chicken tenders crispy without frying?
For crispy baked chicken tenders, start by toasting panko breadcrumbs in a 180°C (350°F) oven for 5-7 minutes until golden—this dries them out for maximum crunch. Pat chicken tenders dry, then dip in a batter of 1 egg, 1/4 cup flour, 1 tbsp mustard, 1 tbsp mayonnaise, salt, and pepper. Coat with the toasted panko using tongs to avoid mess. Place on a wire rack over a baking tray for even air circulation. Bake at 200°C (390°F) for 15-20 minutes, flipping halfway. This method mimics frying’s texture while keeping it healthier with less oil. Internal temperature should reach 74°C (165°F) for safety. Yields about 4 servings. (92 words)
What type of breadcrumbs work best for baked chicken tenders?
Panko breadcrumbs are ideal for baked chicken tenders because their larger flakes create air pockets for superior crunch compared to fine regular breadcrumbs. Toast 2 cups of panko in the oven at 180°C (350°F) for 5-7 minutes, stirring once, until lightly golden. This step removes moisture and intensifies flavor. Avoid fresh breadcrumbs as they get soggy. For gluten-free, use crushed rice cereal or gluten-free panko. After toasting, mix in a pinch of salt and garlic powder if desired. This simple swap makes tenders restaurant-quality crispy every time. (98 words)
How long do you bake chicken tenders in the oven?
Bake chicken tenders at 200°C (390°F) for 15 minutes for medium golden color, or up to 20 minutes for thicker pieces—check that they reach 74°C (165°F) internally with a thermometer. Flip halfway through for even browning. Use a wire rack over the baking tray to allow hot air to circulate underneath, preventing sogginess. Don’t overbake, as it dries out the meat. Prep time is 15 minutes, total 35 minutes. This timing works for 500g (1 lb) of tenders cut into strips. Serve immediately for best texture. (96 words)
Can you prepare baked chicken tenders ahead of time?
Yes, prep baked chicken tenders up to 2 days ahead: toast panko and batter the chicken (egg, flour, mustard, mayo, seasonings), then refrigerate uncovered. Crumb and store up to 24 hours in the fridge on a rack-lined tray. Bake fresh for best crunch—freezing breaded raw tenders leads to soggy results after thawing. Cooked tenders freeze well in an airtight container for 1 month; thaw overnight and reheat. This makes weeknight dinners easy. Label with dates to track freshness. Perfect for meal prep without losing quality. (92 words)
How do you reheat baked chicken tenders to keep them crispy?
Reheat baked chicken tenders in a 200°C (390°F) oven for 3-5 minutes on a wire rack over a tray until hot and crispy—avoid microwave to prevent sogginess. For frozen, bake from frozen at 180°C (350°F) for 10-12 minutes. Air fryer at 190°C (375°F) for 4 minutes works too. This revives the crunch from toasted panko coating. Pair with quick dips like honey mustard (mix 1/4 cup mayo, 2 tbsp mustard, 1 tbsp honey). Keeps them tasting fresh for leftovers. Stores in fridge up to 3 days. (94 words)

Baked Chicken Tenders
- Total Time: 30 minutes
- Yield: 3 servings
- Diet: None
Description
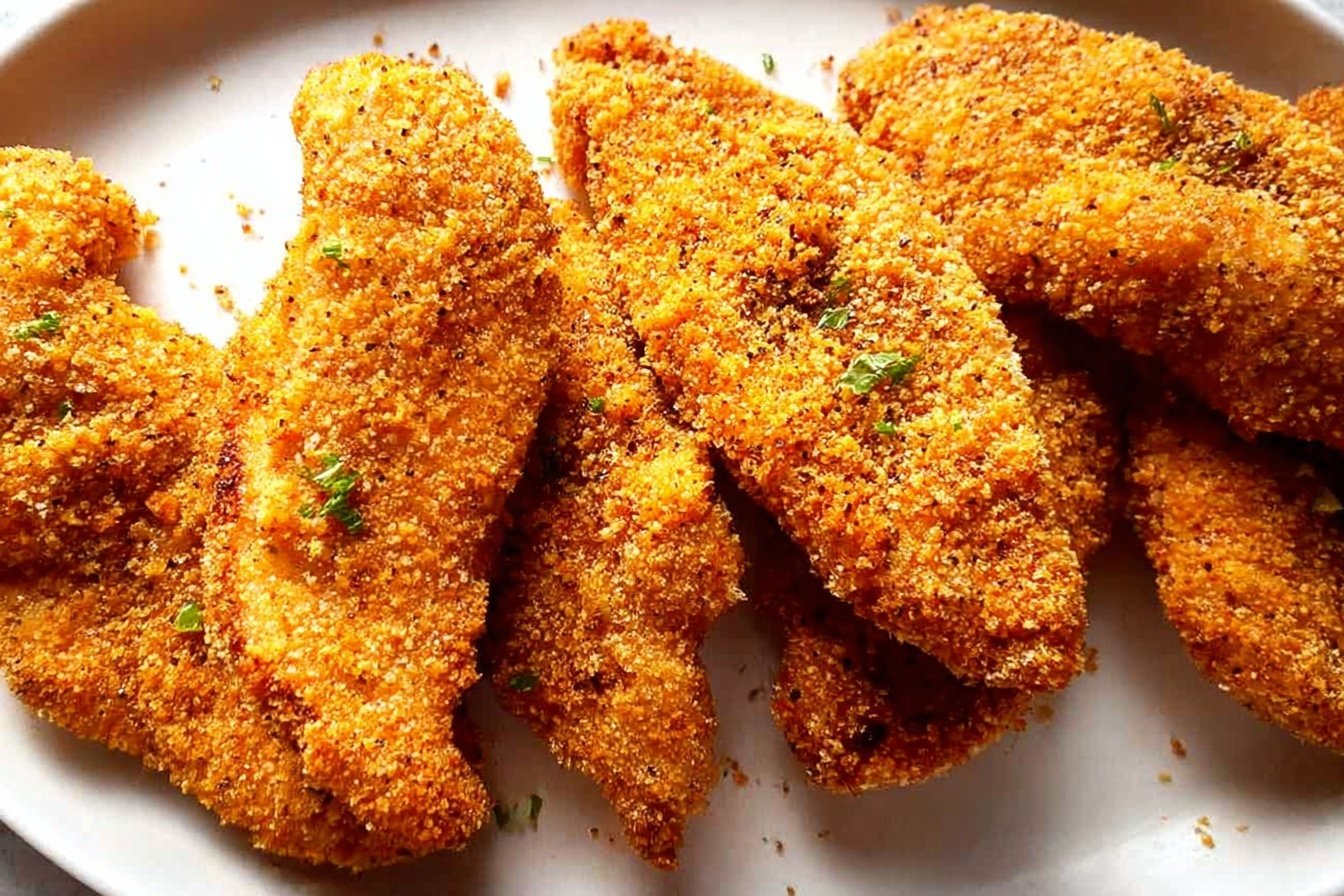
🍗 Savor ultra-crispy, juicy chicken tenders baked to perfection in the oven, offering a healthier alternative to deep-fried versions with less oil and guilt-free indulgence.
🥘 Ideal for busy weeknights or family dinners, this simple recipe delivers restaurant-quality crunch and flavor everyone will love.
Ingredients
– 500 grams (1 pound) chicken tenderloins or chicken breast
– 1 1/2 cups panko breadcrumbs
– 1 egg
– 1 tablespoon mayonnaise
– 1 1/2 tablespoons Dijon mustard (or other mustard)
– 2 tablespoons flour
– 1/2 teaspoon salt
– Black pepper to taste
– Oil spray
Instructions
1-Step 1: Preheat Your Oven Begin by preheating your oven to 200°C (390°F). If you have a fan-forced or convection setting, you can use 180°C instead.
2-Step 2: Toast the Panko Breadcrumbs Spread your 1 1/2 cups panko breadcrumbs on a baking tray and spray lightly with oil. Bake for 3 to 5 minutes until they turn a light golden color. Keep a close eye on them they can go from perfectly toasted to burnt quickly. Once toasted, transfer the breadcrumbs to a shallow bowl or plate.
3-Step 3: Prepare Your Baking Setup Place a wire rack on your baking tray if you have one. This setup allows hot air to circulate underneath the chicken, promoting even browning on all sides. If you don’t have a rack, don’t worry your tenders will still be delicious, just flip them halfway through baking for even cooking.
4-Step 4: Create the Flavorful Batter In a medium bowl, whisk together: Whisk until smooth and fully combined. The consistency should be thick enough to coat the back of a spoon.
5-Step 5: Coat the Chicken Add your 500 grams of chicken tenderloins (or sliced breast) to the batter bowl. Toss well to coat each piece thoroughly. Using tongs, pick up each battered piece and place it into the bowl of toasted panko breadcrumbs. Sprinkle additional breadcrumbs over the top, press down firmly to help them adhere, then transfer to your prepared baking tray.
6-Step 6: Bake to Golden Perfection Spray the coated chicken lightly with oil and optionally sprinkle with a pinch of salt. Bake for 15 minutes, or up to 20 minutes for larger pieces. The internal temperature should reach 74°C (165°F) for food safety.
7-Step 7: Serve and Enjoy Remove from the oven and serve immediately while hot and crispy.
Notes
🍞 Use panko breadcrumbs for a crunchier coating as they are larger than standard breadcrumbs and create better texture.
🔥 Toast the breadcrumbs before coating the chicken to achieve golden and crunchy tenders.
👐 Use tongs to handle the chicken and breadcrumbs to keep fingers clean.
- Prep Time: 15 minutes
- Cook Time: 15 minutes
- Category: Chicken
- Method: Baking
- Cuisine: American
Nutrition
- Serving Size: 1 serving (about 4-5 tenders)
- Calories: 416 kcal
- Sugar: 2g
- Sodium: 973mg
- Fat: 12g
- Saturated Fat: 2g
- Unsaturated Fat: 10g
- Trans Fat: 0g
- Carbohydrates: 29g
- Fiber: 1g
- Protein: 42g
- Cholesterol: 163mg
Keywords: crispy chicken tenders, oven baked chicken, healthy tenders, easy chicken recipe