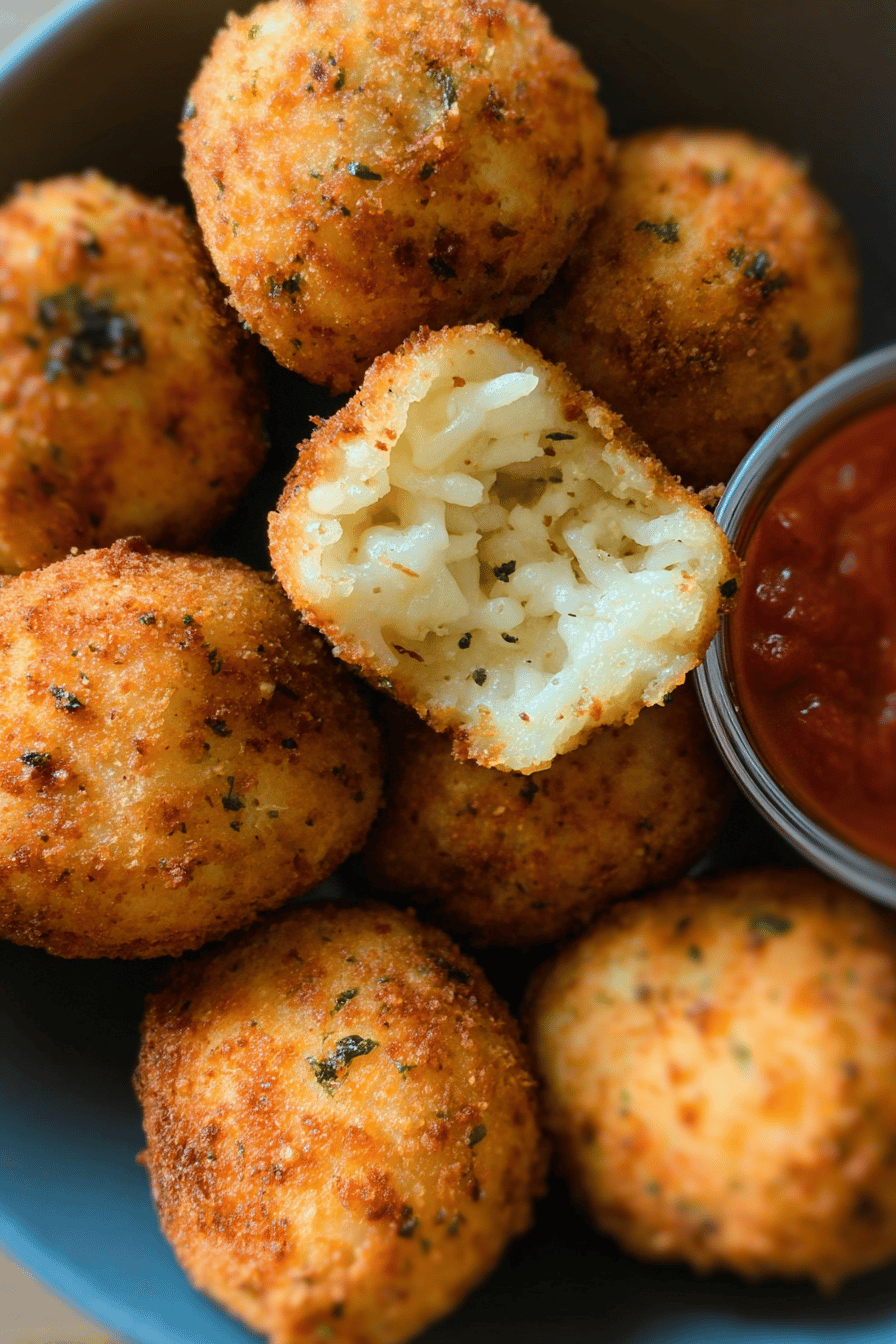
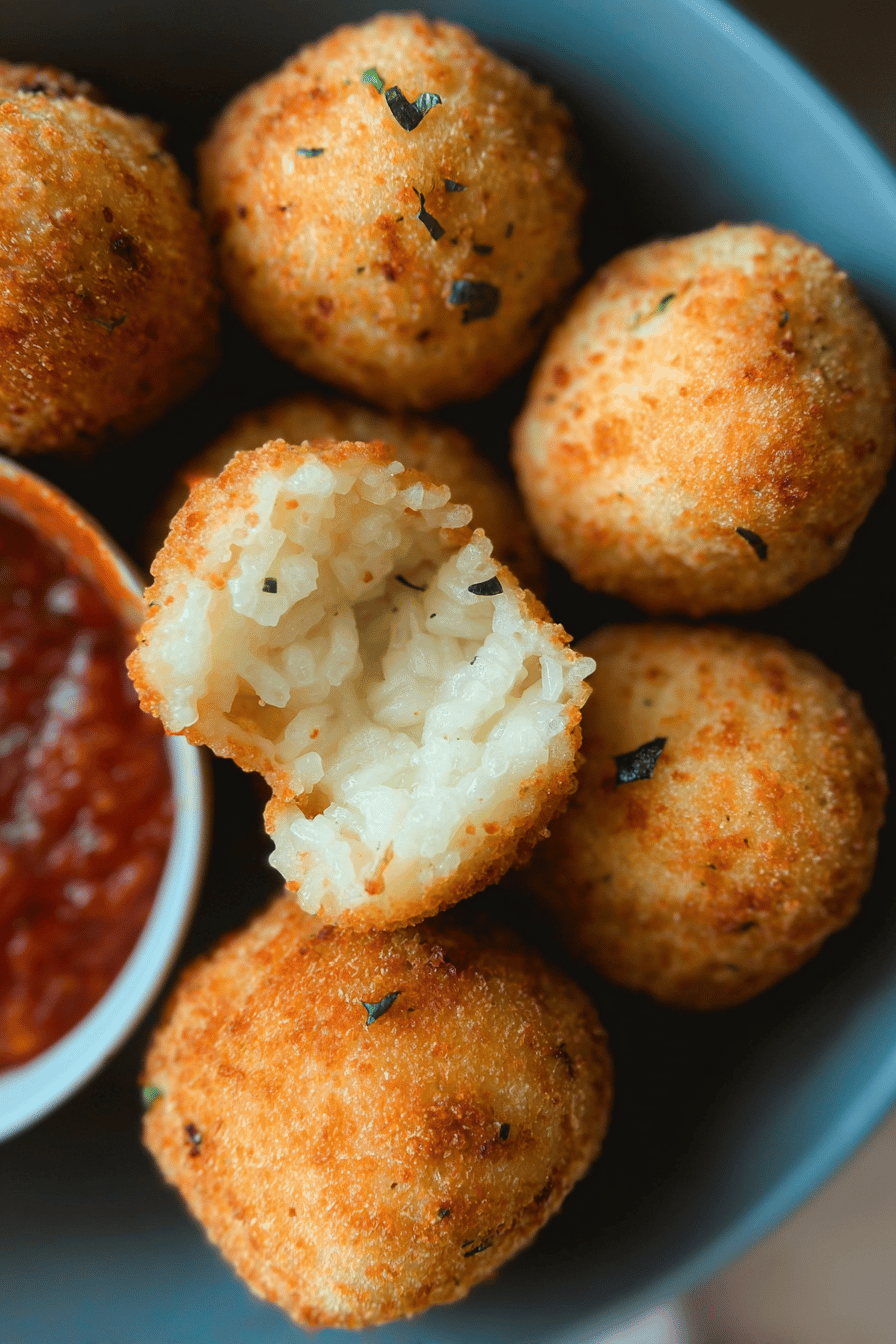
Why You’ll Love This Arancini Rice Balls
Have you ever craved a dish that’s easy to make yet packs a punch of flavor? This arancini rice balls recipe fits the bill, offering a simple way to create a delicious snack that feels special without taking over your kitchen. It’s perfect for busy days when you want something hearty and fun to share with family or friends. Let’s talk about what makes these tasty balls a go-to choice for home cooks everywhere.
Picture this: you’re in the kitchen, whisking up a storm with minimal fuss, and ending up with golden delights that everyone loves. The ease of preparation means you can whip up these arancini rice balls even if you’re new to cooking, thanks to straightforward steps that turn basic ingredients into something magical. Beyond that, these balls bring health benefits with fiber-rich rice and proteins that keep things nutritious without sacrificing taste.
One of the best parts is their versatility, allowing you to tweak the recipe for different dietary needs like vegan or gluten-free options. And don’t forget the distinctive flavor from herbs, cheeses, and textures that make each bite unforgettable. If you’re looking to add a bit of excitement to your meals, these creamy pasta variations on my blog might inspire you next.
Health and Adaptability Details
These arancini rice balls are not just tasty; they’re packed with wholesome elements. For instance, the rice provides fiber that supports digestion, while ingredients like peas add vitamins to boost your wellness. If you’re watching your diet, you can swap in lighter cheeses or veggies to keep it fresh and balanced. This adaptability makes them ideal for busy parents, students, and even diet-conscious folks who want meals that fit their lifestyle.
Jump To
- 1. Why You’ll Love This Arancini Rice Balls
- 2. Essential Ingredients for Arancini Rice Balls
- 3. How to Prepare the Perfect Arancini Rice Balls: Step-by-Step Guide
- 4. Dietary Substitutions to Customize Your Arancini Rice Balls
- 5. Mastering Arancini Rice Balls: Advanced Tips and Variations
- 6. How to Store Arancini Rice Balls: Best Practices
- 7. FAQs: Frequently Asked Questions About Arancini Rice Balls
- 8. Arancini Rice Balls
Essential Ingredients for Arancini Rice Balls
Every great recipe starts with the right ingredients, and for arancini rice balls, you’ll want to gather everything fresh and ready. This section breaks down what you need, focusing on precise measurements to ensure your dish turns out perfectly. We learnhealth benefits of rice from reliable sources, which is why using quality rice is key here.
For the Arancini Rice Balls:
- 2 Tbsp olive oil
- 2 Tbsp unsalted butter
- 1 onion, finely diced (about 1 cup)
- 1 cup ham, finely diced (about 3 oz)
- 2 cups Jasmine rice, un-rinsed
- 1 cup dry white wine
- 5 cups hot low sodium chicken broth or stock
- 1 tsp salt (plus more to sprinkle fried arancini)
- 1 cup frozen peas, fully thawed
- 1/3 cup parsley, finely chopped
- 1 cup parmesan cheese, shredded
- 4 oz mozzarella cheese, cut into 24 half-inch cubes
For Breading and Frying:
- 1 cup flour
- 3 large eggs, beaten
- 1 1/2 cups Italian-style bread crumbs
- Vegetable, canola, or grapeseed oil for frying
This list covers everything you need for a full batch, making it easy to shop and prepare. Remember, using fresh peas and quality cheese can enhance the flavor, turning your arancini into a standout dish. For more ideas on crispy coatings, check out this baked chicken recipe on the blog, which shares similar techniques.
How to Prepare the Perfect Arancini Rice Balls: Step-by-Step Guide
Ready to dive into making these delightful arancini rice balls? Follow along for a clear, step-by-step guide that takes the guesswork out of cooking. We’ll start with the basics and move through each stage, ensuring your results are crispy on the outside and creamy inside. This method draws from time-honored traditions, making it accessible for anyone in the kitchen.
First, heat the olive oil and butter in a heavy-bottomed pot over medium-high heat. Sauté the diced onion until it’s soft and golden, which takes about 4-5 minutes, then add the diced ham and cook for 2 more minutes until it’s golden too. This step builds a flavorful base that makes the rice balls truly special.
Next, stir in the Jasmine rice to coat it with the oil mixture, then pour in the white wine and cook until it’s mostly evaporated, about 2 minutes. Add the hot chicken broth and salt, cover the pot, and let it simmer until the liquid is mostly absorbed, roughly 15-17 minutes. Once that’s done, stir in the peas, cover again, and cook for another 2 minutes before spreading the mixture on a dish to cool.
Cooling and Shaping the Balls
After the rice cools to room temperature, mix in the parsley and parmesan cheese. Use wet hands and a heaping ice cream scoop to form the rice into balls, stuffing each one with a mozzarella cube and shaping it tightly. This part is where the magic happens, creating that gooey center everyone loves.
Prepare three shallow bowls with flour, beaten eggs, and bread crumbs. Dredge each rice ball in flour, dip it in the egg, and roll it in the bread crumbs for an even coating. Heat about 1 inch of oil in a pot to 350˚F and fry the balls in batches for about 3 minutes, turning to brown all sides.
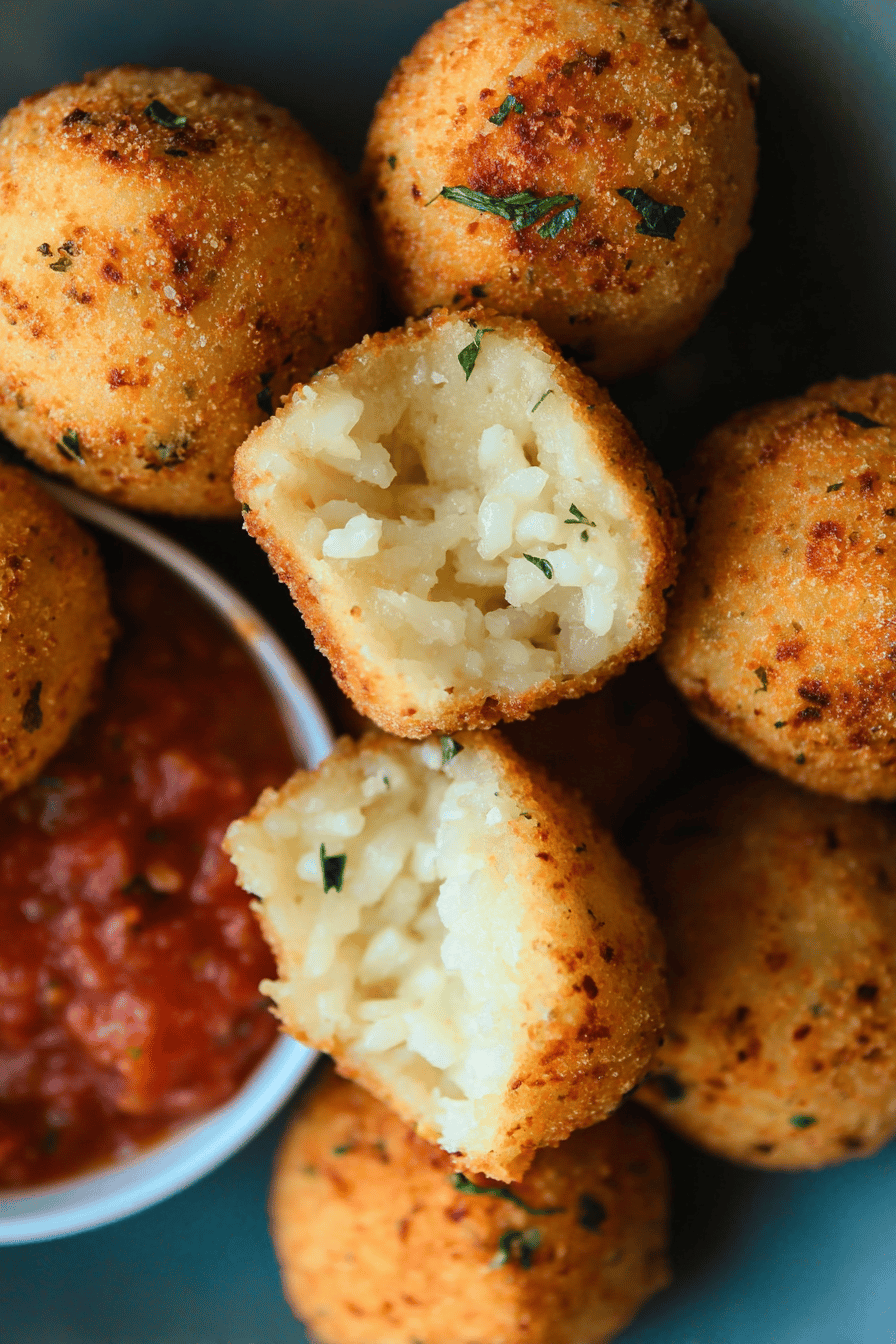
Finally, drain the fried arancini on paper towels, sprinkle with salt, and serve warm with marinara sauce. For extra tips on frying, visit deep frying tips to perfect your technique. This process, including prep time of about 25 minutes and cook time of about 35 minutes for a total of 1 hour, ensures a smooth experience.
Dietary Substitutions to Customize Your Arancini Rice Balls
One of the joys of cooking is making recipes your own, and arancini rice balls are no exception. Whether you’re dealing with allergies or preferences, simple swaps can keep this dish delicious for everyone. Let’s explore some easy changes that maintain the savory charm while fitting various diets.
For protein and main component alternatives, you might replace mozzarella with vegan cheese or skip it for a dairy-free version. Using lentils or mushrooms can add a protein-rich twist for plant-based eaters. When it comes to vegetables, seasonings, and sauces, try adding sautéed spinach, peas, or roasted peppers for extra nutrients and flavor.
- Use gluten-free flour and breadcrumbs to accommodate gluten intolerance.
- Experiment with spices like smoked paprika or fresh herbs such as basil and oregano.
- Opt for low-calorie versions by baking instead of frying.
These adjustments help make arancini versatile for busy parents, students, or anyone watching their diet, all while keeping that crispy, golden coating intact.
Mastering Arancini Rice Balls: Advanced Tips and Variations
Once you have the basics down, it’s time to level up your arancini rice balls with some pro techniques and creative twists. These tips will help you achieve that perfect crunch and flavor, turning your kitchen into a gourmet spot. From double-coating for extra crispiness to experimenting with fillings, there’s so much to explore with this recipe.
Pro Techniques and Flavor Ideas
For a crispier result, double coat the rice balls by dipping them in egg and breadcrumbs twice. Use a deep fryer to keep the oil at a consistent temperature, which prevents sogginess. If you’re feeling adventurous, try fillings like spicy chorizo or sun-dried tomatoes for a gourmet edge.
- Presentation tips: Serve on a bed of greens with a drizzle of balsamic for a fancy look.
- Make-ahead options: Freeze uncooked balls on a tray before bagging them for later use.
Nutritional highlights include about 190 calories per serving, with 23g carbohydrates and 8g protein, making it a balanced choice. The rice is compacted lightly to avoid absorbing too much oil, keeping the texture light and enjoyable.
How to Store Arancini Rice Balls: Best Practices
Storing your arancini rice balls properly ensures they stay fresh and tasty for later. Whether you’re prepping ahead or saving leftovers, follow these simple guidelines to maintain that crispy exterior. This is especially useful for working professionals or families with busy schedules.
- Refrigeration: Keep in an airtight container for up to 3 days and reheat in the oven at 350˚F to keep them crisp.
- Freezing: Freeze on a tray first, then move to bags for up to 1 month; reheat without thawing.
- Reheating: Always use the oven to preserve texture, as microwaving can make them soft.
For meal prep, cook in batches and only reheat what you need. Remember, to reheat frozen arancini, bake at 400˚F for 20 minutes.

FAQs: Frequently Asked Questions About Arancini Rice Balls
What are Arancini rice balls made of?
Arancini rice balls are made from cooked risotto rice that is shaped into balls, filled with ingredients like mozzarella cheese, meat ragù, or peas, then coated with breadcrumbs and deep-fried until crispy. The fillings can vary by region, but the classic Sicilian version typically includes a savory meat and cheese center surrounded by creamy rice.
How should I serve Arancini for the best taste?
Arancini are best served warm to enjoy their creamy, gooey center. Serve them fresh out of the fryer or reheat them in the oven to maintain the crispy breadcrumb exterior. They pair well with marinara sauce or a simple side salad for a balanced meal.
Can I make Arancini ahead of time and freeze them?
Yes, you can prepare Arancini in advance and freeze them before frying. Arrange the uncooked rice balls on a baking sheet to freeze individually, then transfer them to a sealed container. When ready to cook, fry them directly from frozen to keep the texture intact.
What is the best way to reheat leftover Arancini without losing crispiness?
To reheat Arancini and keep them crispy, place them on a baking sheet in a preheated oven at 400°F (200°C) for about 15 minutes if refrigerated, or 20 minutes if frozen. Avoid microwaving as it makes the coating soggy and the rice dense.
Are Arancini gluten-free, and how can I make them suitable for a gluten-free diet?
Traditional Arancini are not gluten-free due to the breadcrumb coating. To make them gluten-free, substitute regular breadcrumbs with gluten-free breadcrumbs or crushed gluten-free crackers. Ensure all fillings and frying oils are free from gluten contamination for safe consumption.

Arancini Rice Balls
- Total Time: 1 hour
- Yield: 24 arancini
- Diet: Contains Dairy
Description
🍚 These Arancini Rice Balls boast a crispy golden coating with a savory, cheesy filling, offering a delightful texture contrast.
🧀 Perfect as appetizers or snacks, they bring authentic Italian flavors to your table with simple steps and impressive results.
Ingredients
– 2 Tbsp olive oil
– 2 Tbsp unsalted butter
– 1 onion, finely diced (about 1 cup)
– 1 cup ham, finely diced (about 3 oz)
– 2 cups Jasmine rice, un-rinsed
– 1 cup dry white wine
– 5 cups hot low sodium chicken broth or stock
– 1 tsp salt (plus more to sprinkle fried arancini)
– 1 cup frozen peas, fully thawed
– 1/3 cup parsley, finely chopped
– 1 cup parmesan cheese, shredded
– 4 oz mozzarella cheese, cut into 24 half-inch cubes
– 1 cup flour
– 3 large eggs, beaten
– 1 1/2 cups Italian-style bread crumbs
– Vegetable, canola, or grapeseed oil for frying
Instructions
1-First, heat the olive oil and butter in a heavy-bottomed pot over medium-high heat. Sauté the diced onion until it’s soft and golden, which takes about 4-5 minutes, then add the diced ham and cook for 2 more minutes until it’s golden too. This step builds a flavorful base that makes the rice balls truly special.
2-Next, stir in the Jasmine rice to coat it with the oil mixture, then pour in the white wine and cook until it’s mostly evaporated, about 2 minutes. Add the hot chicken broth and salt, cover the pot, and let it simmer until the liquid is mostly absorbed, roughly 15-17 minutes. Once that’s done, stir in the peas, cover again, and cook for another 2 minutes before spreading the mixture on a dish to cool.
3-Cooling and Shaping the Balls After the rice cools to room temperature, mix in the parsley and parmesan cheese. Use wet hands and a heaping ice cream scoop to form the rice into balls, stuffing each one with a mozzarella cube and shaping it tightly. This part is where the magic happens, creating that gooey center everyone loves.
4-Prepare three shallow bowls with flour, beaten eggs, and bread crumbs. Dredge each rice ball in flour, dip it in the egg, and roll it in the bread crumbs for an even coating. Heat about 1 inch of oil in a pot to 350˚F and fry the balls in batches for about 3 minutes, turning to brown all sides.
5-Finally, drain the fried arancini on paper towels, sprinkle with salt, and serve warm with marinara sauce. For extra tips on frying, visit deep frying tips to perfect your technique. This process, including prep time of about 25 minutes and cook time of about 35 minutes for a total of 1 hour, ensures a smooth experience.
Notes
🍞 Use Italian-style bread crumbs for a finer crumb that binds better and creates a crispier coating.
⚖️ Compact and lightly coat the rice to avoid absorbing excess oil and keep the texture light.
🔥 Serve arancini warm for a creamy and cheesy center that is most enjoyable.
- Prep Time: 25 minutes
- Cook Time: 35 minutes
- Category: Appetizer
- Method: Frying
- Cuisine: Italian
Nutrition
- Serving Size: 1 arancini
- Calories: 190
- Sugar: 1 gram
- Sodium: 384 mg
- Fat: 6 grams
- Saturated Fat: 2 grams
- Carbohydrates: 23 grams
- Fiber: 1 gram
- Protein: 8 grams
- Cholesterol: 33 mg
Keywords: arancini rice balls, crispy rice balls, Italian snacks, cheesy rice balls


