Introduction to Buckeye Brownie Cookies
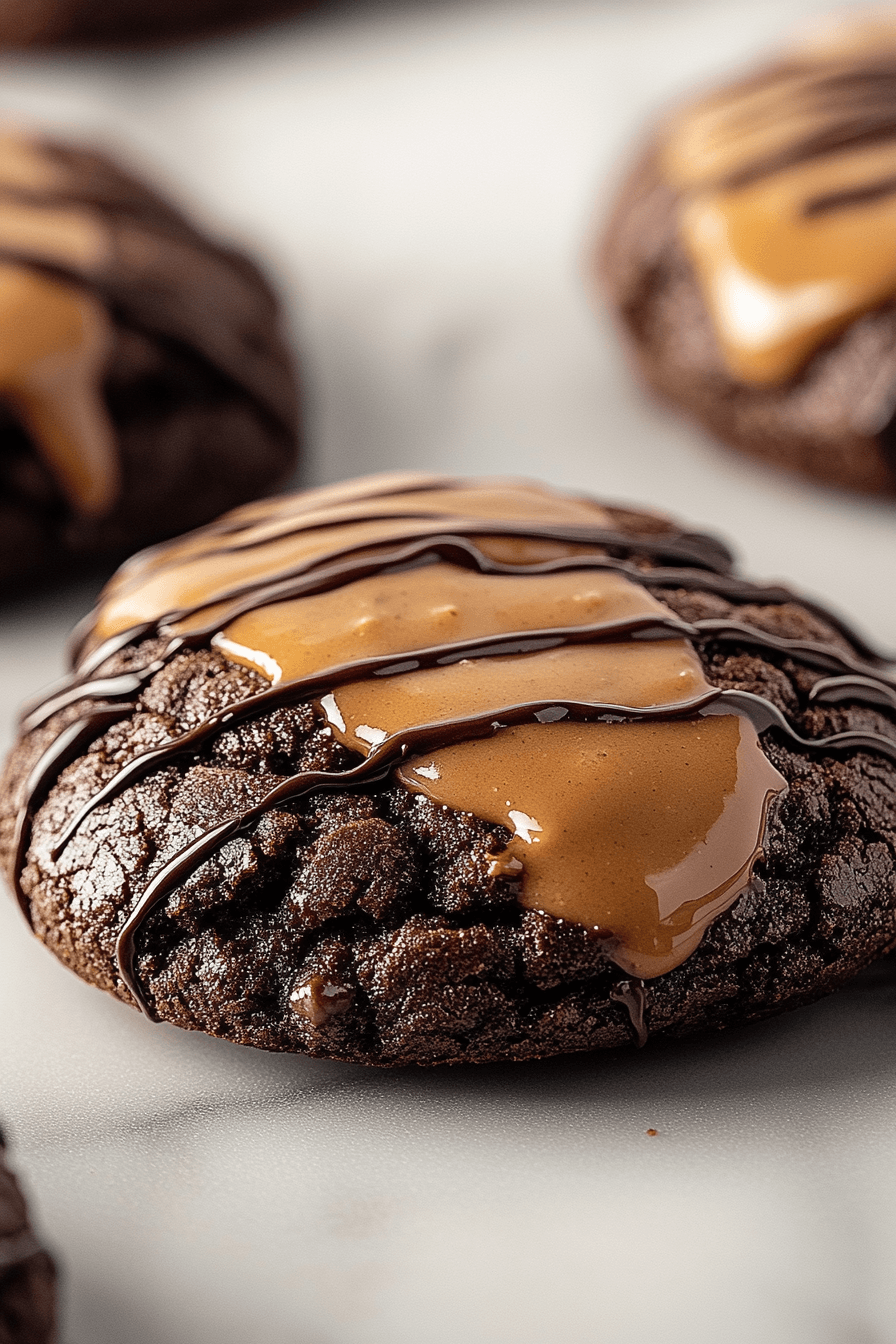
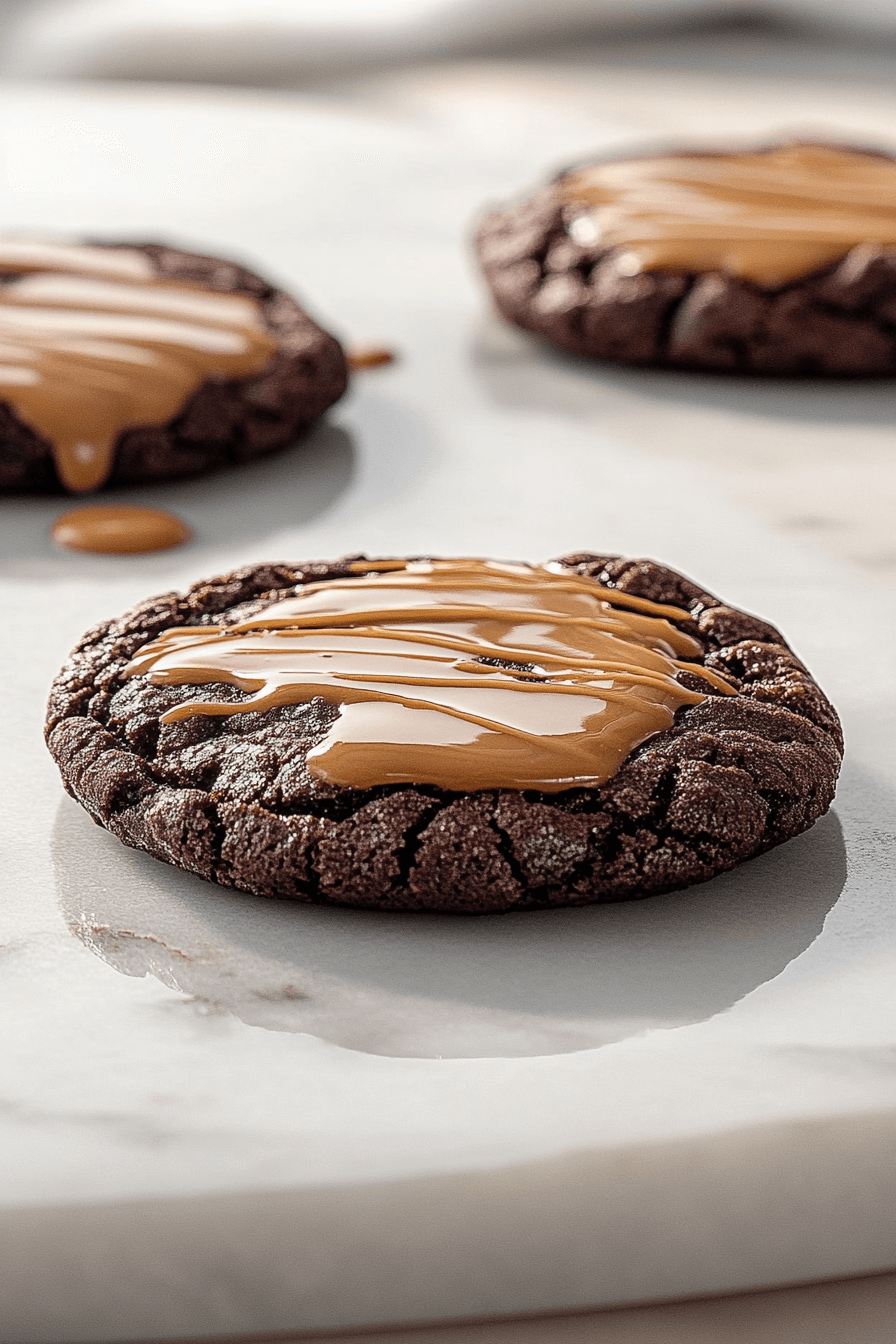
Imagine sinking your teeth into a luscious Buckeye Brownie Cookie, where decadent chocolate melds seamlessly with creamy peanut butter. These delightful treats, featuring a simple recipe, are a must-try for anyone who adores both flavors. Perfect for indulgence, Buckeye Brownie Cookies bring a taste of traditional buckeye candies to your table, combining chewy fudge with a sweet and nutty center. Whether you’re a busy parent, a student, or simply a dessert enthusiast, this easy-to-follow recipe from rows of state’s pride is sure to become a family favorite, greaat for all occasions.
Jump To
- 1. Introduction to Buckeye Brownie Cookies
- 2. Benefits and Advantages of Buckeye Brownie Cookies
- 3. Ingredients Overview
- 4. How to Prepare the Perfect Buckeye Brownie Cookies: Step-by-Step Guide
- 5. Mastering Buckeye Brownie Cookies: Advanced Tips and Variations
- 6. How to Store Buckeye Brownie Cookies: Best Practices
- 7. Nutritional Value of Buckeye Brownie Cookies
- 8. FAQs: Frequently Asked Questions About Buckeye Brownie Cookies
- 9. Buckeye Brownie Cookies Recipe for Chocolate and Peanut Butter
Benefits and Advantages of Buckeye Brownie Cookies
Crafting Buckeye Brownie Cookies offers numerous benefits, making it an exceptional choice for dessert lovers. Firstly, the recipe’s simplicity ensures even novice bakers can achieve a scrumptious result, requiring minimal prep time and effort. Secondly, the combination of chocolate and peanut butter means these cookies are not just delightful but also rich in flavor, catering to those with a sweet tooth. Next, they provide versatility by allowing for dietary adjustments, thus accommodating vegan or gluten-free preferences. Enjoy the best of both worlds with this treat, blending the timeless charm of buckeye candies with the warmth of homemade brownies.
Ingredients Overview
Essential Ingredients for Buckeye Brownie Cookies
- Boxed Brownie Mix: Use your favorite brand as the base. It offers convenience and ensures a rich, chocolaty flavor.
- Butter: Adds moisture and richness to the cookies. If seeking a dairy-free option, substitute with vegan butter.
- Cream Cheese: Contributes to the fudgy texture. Reduced-fat or dairy-free cream cheese works well for a lighter or vegan substitute.
- Egg: Helps bind the ingredients together. Use a flax egg or applesauce for eggless cookies.
- Peanut Butter: Creamy peanut butter is the traditional choice. Opt for a natural version or almond butter to cater to personal preferences.
- Powdered Sugar: Sweetens the peanut butter filling. Consider substituting with a sugar alternative for a lower-calorie option.
- Vanilla Extract: Enhances the flavor of the filling. Ensure it’s pure vanilla for the best taste.
- Chocolate Chips: For that irresistible melted topping. Dark chocolate chips can create a deeper cocoa profile.
- Optional – Dutch Process Cocoa Powder: Intensifies the chocolate’s depth of flavor if you’re keen on more cocoa richness.
- Optional Sea Salt: A sprinkle on top complements the sweetness with a savory touch, balancing flavors.
Dietary Substitutions to Customize Your Buckeye Brownie Cookies
For those wanting to customize their Buckeye Brownie Cookies, here are some potential dietary substitutions:
- Gluten-Free Alternative: Choose a gluten-free brownie mix. Ensure the peanut butter and other ingredients are also certified gluten-free.
- Vegan Version: Use flaxseed egg replacements, vegan butter, and plant-based cream cheese to keep them vegan-friendly.
- Reduced Sugar Option: Opt for powdered erythritol or stevia-based powdered sugar to maintain sweetness without added calories.
- Nut-Free Adaptation: Substitute peanut butter with sunflower seed butter to make the cookies safe for those with nut allergies.
How to Prepare the Perfect Buckeye Brownie Cookies: Step-by-Step Guide
Creating Buckeye Brownie Cookies at home is a rewarding experience. Here’s how you can craft them step-by-step:
- First Step: Preheat your oven to 350°F (175°C). Line a baking sheet with parchment paper for easy cleanup.
- Second Step: In a large mixing bowl, combine the boxed brownie mix, softened butter, cream cheese, and egg. Use a hand mixer to ensure a smooth batter.
- Third Step: Scoop tablespoon-sized mounds of dough onto the prepared baking sheet. Flatten slightly with the back of a spoon, as the cookies won’t spread much during baking.
- Fourth Step: Bake in the preheated oven for 10-12 minutes or until the edges set while the centers remain soft. Keep an eye on them to avoid overbaking.
- Fifth Step: While the cookies are in the oven, prepare the peanut butter filling by combining peanut butter, powdered sugar, and vanilla extract in a small bowl. Mix until smooth.
- Sixth Step: Once the cookies are done, remove from the oven and make small indentations with the back of a spoon while they are still warm. This step allows for the perfect spot for the peanut butter filling.
- Seventh Step: Spoon a teaspoon of the peanut butter mixture into each indentation. Let the cookies rest until cool to the touch.
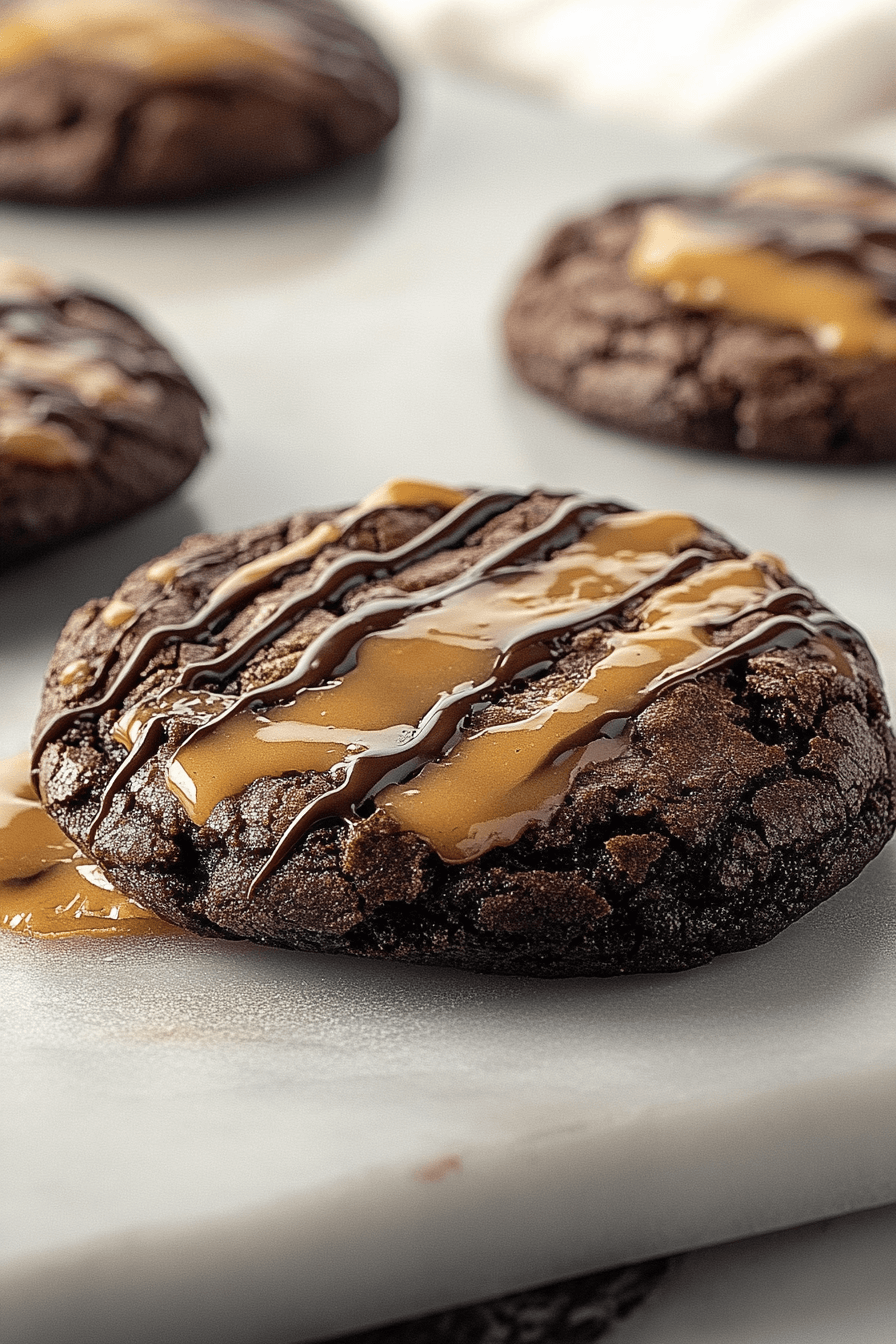
- Eighth Step: Melt chocolate chips in a microwave-safe bowl, stirring every 30 seconds to prevent overheating. Once smooth, drizzle or spread a little on top of each cookie.
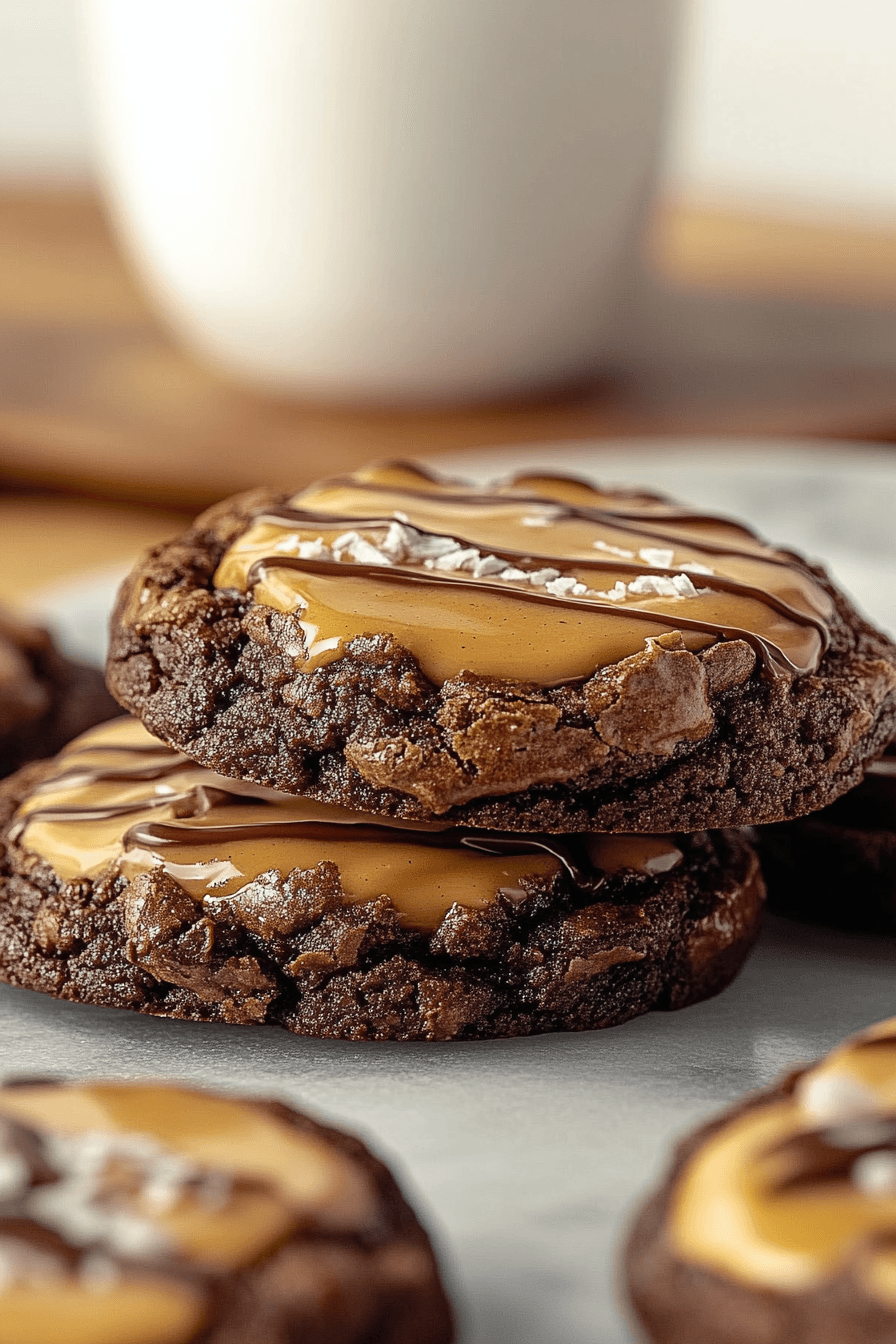
- Ninth Step: For an added touch, lightly sprinkle sea salt on top while the chocolate is still wet. Ensure the cookies are fully cooled before serving.
This recipe can easily accommodate different preferences and dietary guidelines, making it versatile for any occasion. Explore this Chocolate Chip Cheesecake Cookies recipe for another delightful treat, or find your inspiration by checking out unwrapping the history of Buckeye candies for more culinary ideas.
Mastering Buckeye Brownie Cookies: Advanced Tips and Variations
Creating the perfect Buckeye Brownie Cookies goes beyond just following the basic recipe. Here are advanced tips and variations to ensure your cookies are a hit every time.
Expert Baking Tips
- Use Quality Ingredients: Opt for high-quality chocolate chips or wafers for a smoother finish and richer taste.
- Cooling Time: Allow the cookies to cool slightly before adding the peanut butter layer to prevent it from melting too much.
- Pressing Indentations: Use the back of a small spoon to make gentle indentations while the cookies are warm. This creates the perfect pocket for your creamy peanut butter filling.
- Avoid Overbaking: Remove the cookies as soon as the edges are set but the center looks slightly underbaked. They will continue to cook as they cool.
Delicious Variations to Try
- Chocolate Variants: Mix it up by using white chocolate or a swirl of milk and dark chocolate for a different taste profile.
- Nutty Twist: Add chopped nuts such as walnuts or pecans to the brownie mix for added crunch and flavor.
- Spiced Touch: Add a dash of cinnamon or espresso powder to the brownie base for a warming, enhanced flavor.
- Festive Flare: Sprinkle crushed peppermint or colorful sprinkles on the melted chocolate for a festive look, perfect for holidays or special occasions.
Creating a Low-Calorie Version
For those conscious of their calorie intake, consider the following modifications:
- Opt for a sugar-free brownie mix and reduce added sugars in the peanut butter layer by choosing natural peanut butter.
- Substitute powdered sugar with a low-calorie sweetener to maintain sweetness without the calories.
- Use dark chocolate, which typically contains less sugar than milk chocolate.
By mastering these tips and exploring creative variations, you’ll be sure to impress anyone who tries your Buckeye Brownie Cookies. The possibilities are endless, allowing you to adapt to your tastes and dietary needs effortlessly. Plus, for more dessert inspiration, you might want to try these Chocolate Thumbprint Cookies featured on Valentina Recipes.
How to Store Buckeye Brownie Cookies: Best Practices
Ensuring your Buckeye Brownie Cookies remain fresh and delicious is essential. Here are the best practices for storing these irresistible treats:
Room Temperature Storage
For short-term storage, Buckeye Brownie Cookies can be kept in an airtight container at room temperature for up to a week. Ensure they are completely cooled before sealing to prevent condensation, which can make cookies soggy.
Refrigeration Tips
Refrigerating your cookies is ideal if making them ahead of time for a party. Place them in a sealed container separating layers with parchment paper to avoid sticking. They can be stored in the fridge for up to two weeks while maintaining optimal texture and flavor.
Freezing Instructions
- Before Chocolate Coating: Consider freezing the cookies before adding the chocolate drizzle. Layer them between wax paper in a container or freezer bag, ensuring no air is trapped.
- After Full Preparation: If you’ve already completed the recipe, you can still freeze the cookies. Wrap each cookie individually in plastic wrap, then place them together in a freezer bag or container to prevent freezer burn.
- Defrosting Method: When you’re ready to enjoy, allow the cookies to thaw overnight in the refrigerator or at room temperature for about 1 hour. Adding a fresh chocolate drizzle after defrosting can enhance their presentation.
Following these storage methods ensures your Buckeye Brownie Cookies remain delightful long after they’re baked. Enjoy the luxury of having these treats ready for any occasion! For more delicious baking ideas, don’t miss Valentina’s recipe on Red Velvet White Chocolate Cheesecake.
Nutritional Value of Buckeye Brownie Cookies
Understanding the nutritional profile of Buckeye Brownie Cookies can help you make informed decisions, especially if you are health-conscious or monitoring your diet. Each indulgent cookie serves as a delightful combination of flavors while providing ample energy for your day. Let’s delve into the nutritional aspects of these scrumptious treats.
Calories and Macronutrients
The caloric content of your Buckeye Brownie Cookies can vary based on ingredient choices, especially the type of chocolate and peanut butter used. On average, one cookie contains approximately 150-200 calories. Here’s a breakdown of the macronutrients for a single serving:
| Macronutrient | Amount (per cookie) |
|---|---|
| Carbohydrates | 20-25g |
| Protein | 3-4g |
| Fats | 8-10g |
Vitamins and Minerals
Apart from macronutrients, Buckeye Brownie Cookies offer essential vitamins and minerals, albeit in smaller quantities. The presence of peanuts contributes vitamin E, magnesium, and potassium, while the cocoa powder provides iron and antioxidants.
Dietary Considerations
For those with specific dietary needs, adapting the recipe can help maintain its nutritional balance. Vegan options can swap dairy with plant-based substitutes, while gluten-free flour can cater to those with gluten sensitivities. To reduce sugar intake, consider using a natural sweetener alternative.
Conclusion on Nutritional Value
Although Buckeye Brownie Cookies are a treat, their nutritional profile allows them to fit into a balanced diet when consumed in moderation. With slight modifications, these cookies can provide a delightful experience without compromising on dietary preferences or nutritional benefits.
FAQs: Frequently Asked Questions About Buckeye Brownie Cookies
1. What are the main ingredients needed to make Buckeye Brownie Cookies?
To create these delightful cookies, you’ll need a boxed brownie mix, butter, cream cheese, an egg, peanut butter, powdered sugar, vanilla extract, and your choice of chocolate chips or wafers for the chocolate topping. These ingredients work harmoniously to bring out the rich flavors and textures of the cookies.
2. How long do Buckeye Brownie Cookies need to bake in the oven?
Baking these cookies doesn’t take much time and generally takes around 12 to 15 minutes in the oven at 350°F (175°C). However, it’s essential to closely monitor them to avoid over-baking. The cookies should be slightly firm around the edges while remaining soft in the center.
3. Can I use natural peanut butter instead of creamy peanut butter for the peanut butter layer?
Yes, you can substitute natural peanut butter for creamy peanut butter in the recipe. However, keep in mind that natural peanut butter tends to be runnier, which might affect the texture of the filling. To counterbalance this, you might need to adjust the amount of powdered sugar or add a pinch of salt to maintain the consistency and flavor.
4. How should I store Buckeye Brownie Cookies to keep them fresh?
To keep your Buckeye Brownie Cookies fresh, store them in an airtight container at room temperature for up to one week. If you plan to keep them for a more extended period, you can freeze them before adding the chocolate topping. Simply place them in a ziplock bag or freezer-safe container for up to three months. When ready to enjoy, let them thaw at room temperature before adding the final chocolate drizzle.
Print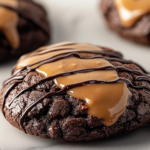
Buckeye Brownie Cookies Recipe for Chocolate and Peanut Butter
- Total Time: 25 minutes
Description
🍫✨ Indulge in the perfect blend of fudgy brownie cookies, creamy peanut butter filling, and rich chocolate topping – all made effortlessly with a boxed mix for a quick and irresistible treat! ✨🥜
🍪🎉 No chilling required, minimal prep time, and a deliciously soft texture make these Buckeye Brownie Cookies ideal for holidays, parties, or whenever you crave a sweet, chocolatey delight! 🎉🍫
Ingredients
Boxed brownie mix
Butter
Cream cheese
Egg
Peanut butter
Powdered sugar
Vanilla extract
Chocolate chips or chocolate melting wafers
Dutch process cocoa powder (optional)
Sea salt (optional)
Instructions
1. Preheat oven to 350°F (175°C) and line a baking sheet with parchment paper.
2. In a bowl, mix boxed brownie mix, melted butter, cream cheese, and an egg until combined.
3. Scoop dough into balls and place on the prepared baking sheet.
4. Bake for 10-12 minutes until cookies are set but slightly soft.
5. While cookies bake, mix peanut butter, powdered sugar, and vanilla until smooth.
6. Remove cookies from oven and immediately press an indentation in the center of each.
7. While cookies are still warm, add a small scoop of peanut butter filling to each indentation.
8. Let cookies cool completely before adding chocolate topping.
9. Melt chocolate chips or chocolate wafers until smooth.
10. Drizzle or spread melted chocolate over the cooled cookies.
11. Optionally, sprinkle with sea salt for extra flavor.
12. Let chocolate set before serving or storing.
13. Store in an airtight container at room temperature or freeze before adding toppings.
Notes
Press an indentation into the warm cookies right after baking to create the perfect spot for the peanut butter filling.
Add the peanut butter filling while the cookies are still warm to help it set smoothly and stick well.
Let the cookies cool completely before drizzling or spreading the chocolate topping to keep the layers neat.
- Prep Time: 10
- Cook Time: 15
- Category: Dessert
- Method: Baking
- Cuisine: American